


There’s something magical about whipping up Homemade Sandwich Recipes in minutes—they’re my go-to when life gets hectic but I still want something fresh and satisfying. I swear, nothing beats the crunch of crisp veggies stacked between soft bread, especially when you’ve got that perfect mayo-mustard combo going on. This recipe? It’s my lunchtime lifesaver, packed with all the good stuff and totally customizable. Whether I’m rushing out the door or craving a quick bite, this sandwich never lets me down. The best part? You probably have everything you need in your fridge right now!
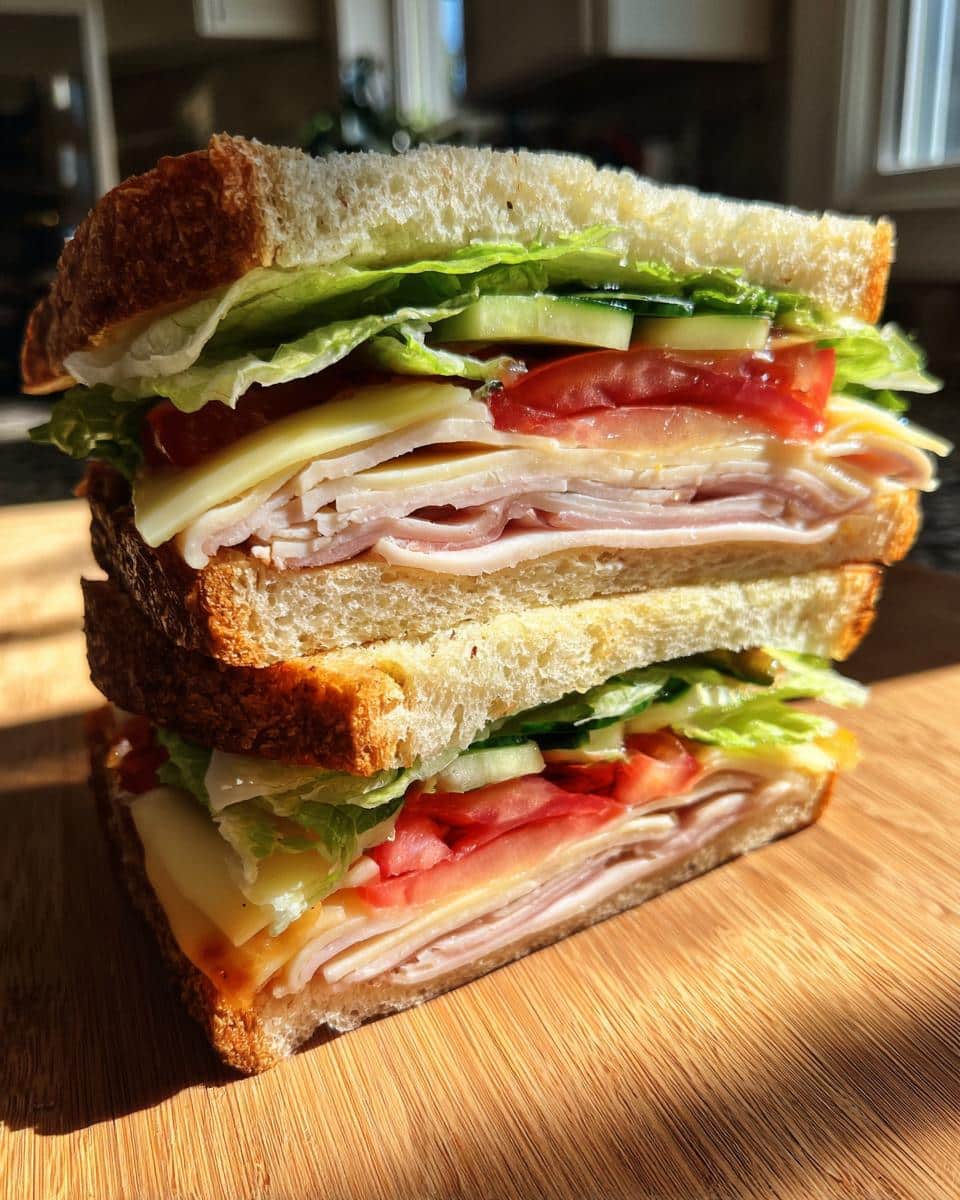
Ingredients for Homemade Sandwich Recipes
Here’s exactly what you’ll need to make the perfect homemade sandwich – I’ve learned through trial and error that fresh, quality ingredients make all the difference!
- 2 slices of bread (I prefer sourdough or whole grain for extra texture)
- 1 tablespoon mayonnaise (or Greek yogurt for a lighter option)
- 2 lettuce leaves, washed and patted completely dry (this prevents sogginess!)
- 3 slices of tomato, about 1/4 inch thick (pat these dry too)
- 4 slices of cucumber, thinly sliced
- 2 slices of cheese (cheddar, Swiss, or provolone work beautifully)
- 3 slices of turkey or ham (about 2 ounces total)
- 1 teaspoon mustard (optional but adds great tang – Dijon is my favorite)
Pro tip: Have all your ingredients prepped and ready before assembling – it makes the layering process so much easier!
How to Make Homemade Sandwich Recipes
Okay, let’s make this sandwich magic happen! I’ve made these so many times I could probably do it in my sleep, but I’ll walk you through each step carefully. The key is taking your time with each layer – rushing means you’ll end up with a lopsided mess (trust me, I’ve been there!).
Step 1: Prep the Bread
First things first – grab your bread slices. If you like a little crunch, pop them in the toaster for about 2 minutes until golden (but not too dark!). While they’re toasting, spread that creamy mayo on one slice – I do about 1 tablespoon, making sure to get all the way to the edges. If you’re using mustard, spread it on the other slice now. This double-spread technique means every bite has perfect flavor distribution!
Step 2: Layer Ingredients
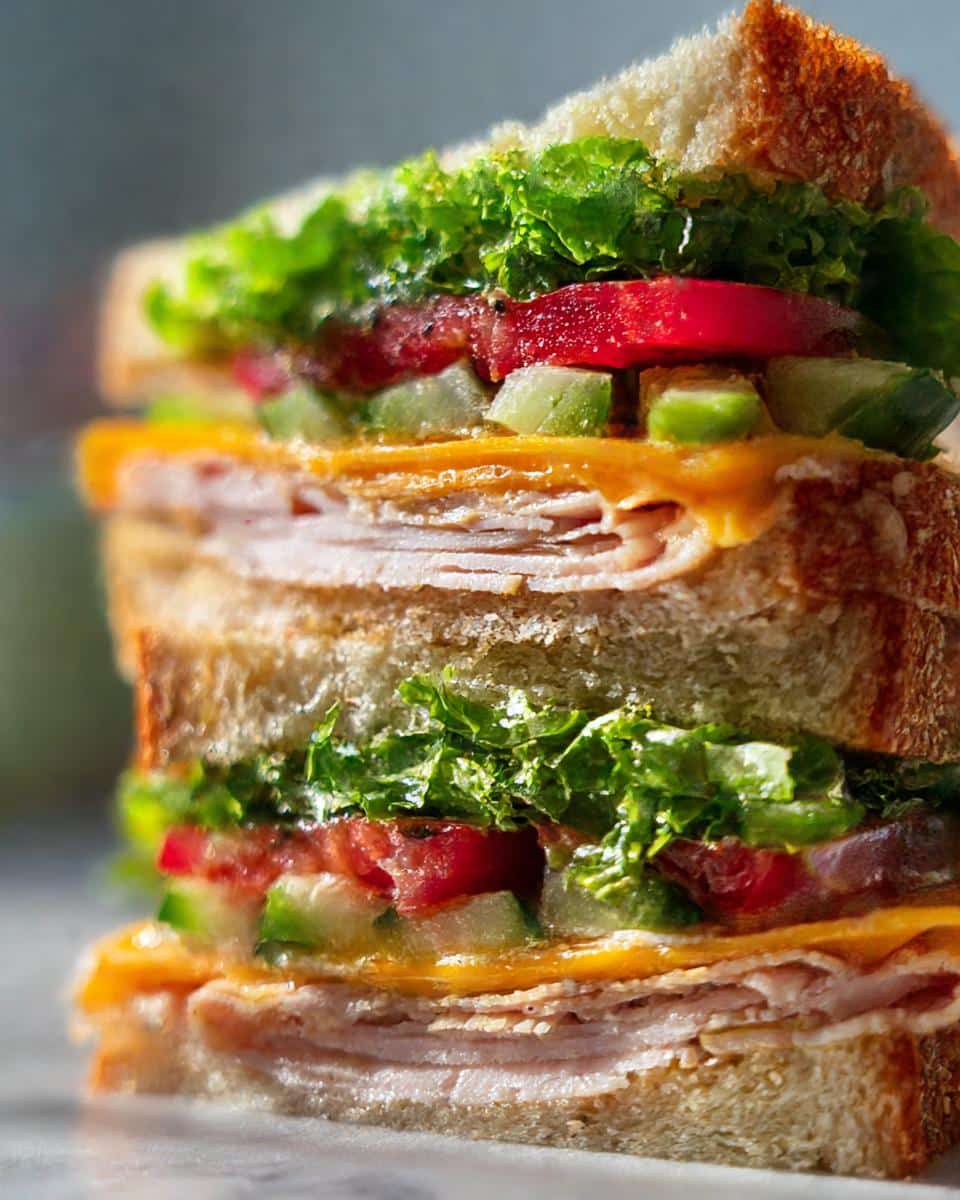
Here’s where the sandwich architecture comes in – and yes, there’s a method to the madness! Start with your dry lettuce leaves on the mayo’d slice (this creates a moisture barrier). Next, add those perfectly patted-dry tomato slices, followed by cucumber ribbons. Now the cheese – place it directly on the veggies so it starts to soften slightly. Top with your turkey or ham slices, folding them gently so they don’t hang over the edges too much.
Step 3: Assemble and Serve
Almost there! Carefully place the second bread slice (mustard side down, if using) on top of your masterpiece. Press down lightly with your palm – not too hard, just enough to help everything stick together. Now for my favorite part: cutting! Use a serrated knife and saw gently back and forth to get clean cuts without squishing. I always cut diagonally because, let’s be honest, triangle sandwiches just taste better. Serve immediately while that bread is still crisp and the cheese is dreamy!
Why You’ll Love These Homemade Sandwich Recipes
Listen, I’ve made more sandwiches than I can count, and this recipe? It’s got everything you could want in a quick meal. Here’s why it’s become my absolute favorite:
- Lightning fast – I’m talking 5 minutes flat! Perfect for those “I’m starving right now” moments when takeout isn’t an option.
- Totally yours to tweak – Swap turkey for chicken, add avocado, throw in some sprouts…this recipe is just a starting point for your sandwich creativity!
- Fresh ingredients make all the difference – When you use crisp veggies and quality bread, you can actually taste the difference from those sad deli sandwiches.
- No cooking required – My kitchen stays cool in summer, and cleanup is basically just wiping crumbs off the counter. Win!
Every time I make this, I’m reminded why homemade beats store-bought every single time – you control what goes in, and it always tastes better when you make it with love (and maybe an extra slice of cheese).
Ingredient Notes & Substitutions
One of the best things about homemade sandwich recipes is how easily you can swap ingredients based on what you have or dietary needs! Here are my tried-and-true substitutions that still deliver amazing flavor:
- Bread alternatives: Gluten-free bread works great (toast it first for better texture). For low-carb options, try large lettuce wraps or keto bread.
- Dairy-free? Vegan cheese slices have come a long way – my favorite brands melt surprisingly well. Or skip cheese altogether and add extra avocado.
- Protein swaps: Grilled tofu, roasted chickpeas, or even canned tuna make excellent vegetarian options. Leftover rotisserie chicken works wonders too!
- Condiment ideas: Hummus instead of mayo, sriracha for heat, or pesto for an herby twist all bring new life to the basic recipe.
The key is keeping similar textures – crunchy veggies stay crunchy, soft spreads stay creamy. Beyond that? Get creative with what you love!
Tips for Perfect Homemade Sandwich Recipes
After years of sandwich-making triumphs (and a few disasters), I’ve learned a few tricks that take homemade sandwiches from good to “oh-my-gosh-can-you-make-me-another” status. These are my golden rules:
The Dry Veggie Rule
Here’s the secret they don’t tell you – water is the enemy of sandwich perfection! Always pat your lettuce, tomatoes, and cucumbers completely dry with paper towels before assembling. I learned this the hard way when my first attempts turned into soggy bread soup by lunchtime. Now I’m militant about it – even shaking excess water off washed greens before patting. Your future self will thank you when that sandwich stays crisp for hours!
The Press Technique
Don’t just slap ingredients together – build them with intention! After each layer, I gently press down with my fingers to create an even surface. This prevents that annoying “ingredient slide-out” when you take a bite. For extra stability, assemble heavier items (like meats and cheeses) toward the center. My grandma taught me this trick – she’d say “A sandwich should hold together like a good friendship!”
The Knife Matters
That dull kitchen knife you’ve been using? It’s murdering your sandwich presentation! A sharp serrated knife cuts cleanly through all layers without squishing. I hold mine at a slight angle and use a gentle sawing motion – no downward pressure needed. Pro tip: Wipe the blade between cuts for spotless slices every time. It’s these little details that make your homemade sandwiches look as good as they taste!
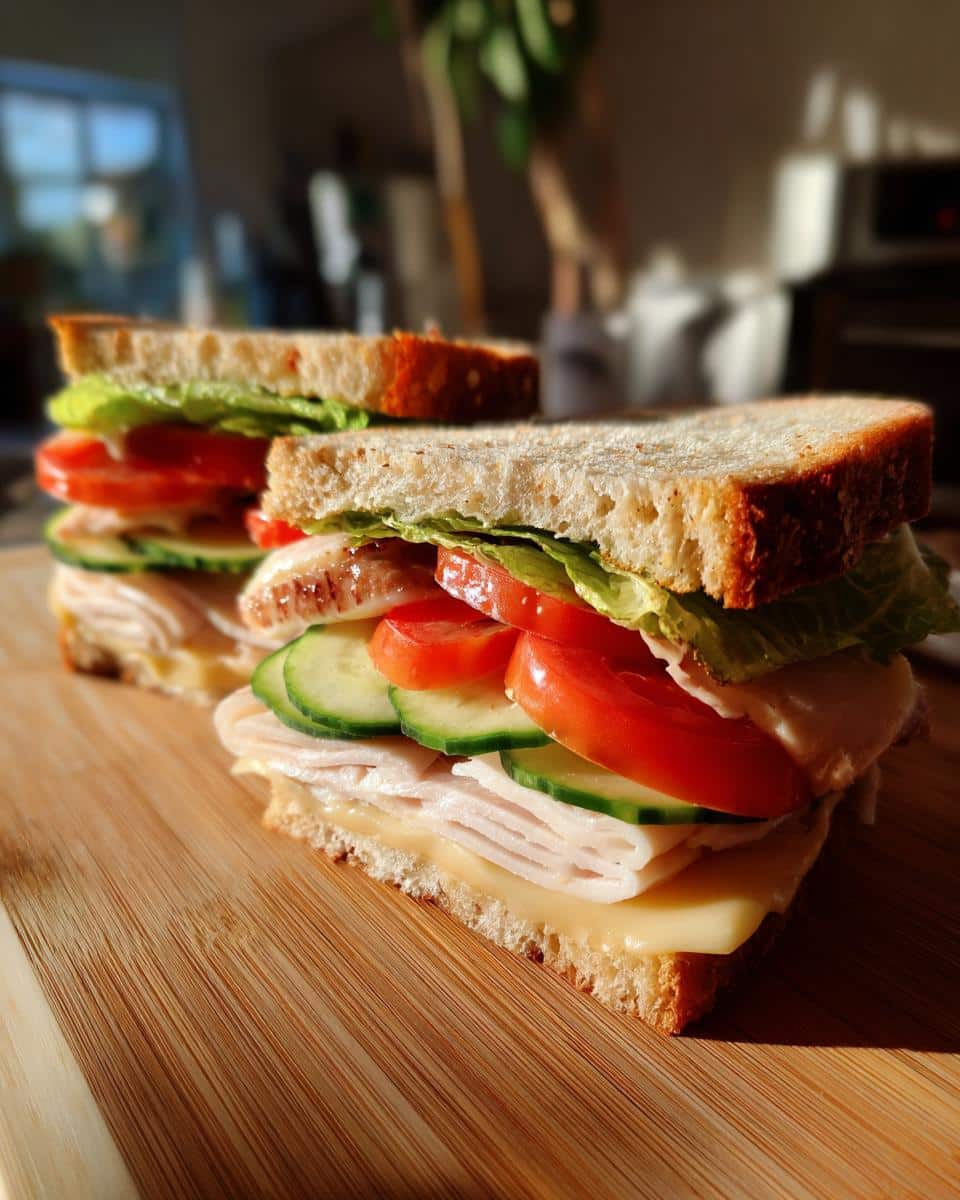
Remember – great sandwiches aren’t just thrown together, they’re crafted with care. Follow these simple tips, and you’ll be amazed at the difference they make in every bite!
Serving Suggestions for Homemade Sandwich Recipes
Now that you’ve crafted your perfect sandwich, let’s talk about what to serve with it! I’ve found that the right sides can turn a simple sandwich into a full meal experience. Here are my favorite pairings that I keep going back to:
Classic Crispy Companions
Nothing beats the satisfying crunch of good potato chips alongside a fresh sandwich. I’m partial to kettle-cooked varieties for extra texture – the saltiness perfectly balances the sandwich flavors. On lazy weekends, I’ll make my own sweet potato chips (just thinly slice, toss with olive oil, and bake at 400°F for 15 minutes). For something different, try pretzels or pita chips with hummus for dipping!
Soup for Cozy Days
When the weather turns chilly, I love pairing my sandwich with a warm bowl of tomato soup – it’s the ultimate comfort combo! My quick version? Sauté some garlic in olive oil, add canned tomatoes and broth, simmer for 10 minutes, then blend until smooth. For creamier options, roasted red pepper or butternut squash soup work beautifully too. Pro tip: Use the sandwich for dipping – those crispy edges soaking up savory soup? Absolute heaven!
Fresh & Light Options
On hot summer days, I keep things light with a simple side salad. My go-to is mixed greens with cherry tomatoes, cucumber, and a quick lemon vinaigrette (just lemon juice, olive oil, salt, and pepper shaken in a jar). For extra crunch, I’ll add some sunflower seeds. Another favorite? Sliced apples with peanut butter for dipping – the sweet-salty combo is irresistible, and it makes the meal feel more substantial without being heavy.
Remember, the best pairings are whatever makes you happy! Some days it’s just a pickle spear and a handful of grapes, and that’s perfectly delicious too. The beauty of homemade sandwich recipes is how easily they adapt to whatever mood or season you’re in.
Storage & Reheating
Let’s talk about keeping your sandwich fresh – because sometimes you need to pack lunch for later or save half for tomorrow. I’ve ruined my fair share of sandwiches by storing them wrong, so learn from my mistakes!
The Wrap Trick
Parchment paper is your sandwich’s best friend for fridge storage. It lets the bread breathe just enough to stay fresh without getting soggy like plastic wrap does. Here’s my method: wrap tightly like a little present, tucking the ends underneath to seal. If I’m feeling fancy, I’ll tie it with kitchen twine – makes me feel like I’m opening a gourmet deli package at lunchtime!
To Microwave or Not to Microwave
Here’s the deal – that gorgeous crispy bread you worked so hard on? It turns rubbery in the microwave faster than you can say “soggy sandwich.” If you must reheat, I recommend the oven or toaster oven at 300°F for about 5 minutes. Better yet? Eat it cold! The flavors often blend together beautifully overnight (though I’d remove any lettuce first – nobody likes warm, wilted greens).
Ingredient-Specific Tips
Some components store better than others – tomatoes can make bread mushy after a few hours, so I often pack them separately in a small container. Mustard and mayo hold up fine, but creamy spreads like avocado are best added fresh. Cheese? It stays perfect overnight, developing even more flavor. My rule of thumb: assemble what you can in advance, then add delicate items right before eating.
For best quality, eat within 24 hours – though I won’t judge if you sneak a bite straight from the fridge at midnight. We’ve all been there!
Nutritional Information
Okay, let’s talk numbers – but don’t worry, I promise this won’t turn into a boring nutrition lecture! Here’s the breakdown for my go-to sandwich recipe, though remember these are estimates (my nutritionist friend helped me calculate them). What I love is how you can easily adjust based on your dietary needs!
- Serving Size: 1 full sandwich (about 6-7 ounces total)
- Calories: Approximately 350 (but who’s counting when it’s this delicious?)
- Carbs: 40g (mostly from that wholesome bread and veggies)
- Protein: 20g (thank you, turkey and cheese!)
- Fat: 12g (the good kind from mayo and cheese)
- Fiber: 4g (those crisp veggies really do the work)
Now for my standard disclaimer (because I’m no scientist!): These numbers can vary based on the exact ingredients and brands you use. Thicker bread? More cheese? Extra avocado? It all adds up differently. The beauty is that you’re in control – want it lighter? Swap in turkey breast and skip the mayo. Need more fuel? Add an extra slice of cheese and some bacon. That’s the magic of homemade – you make it work for YOU!
Personally, I don’t obsess over numbers – I focus on using fresh, quality ingredients that make me feel good. When I eat this sandwich, I know I’m getting a balanced mix of protein, veggies, and carbs that keeps me satisfied for hours. And really, isn’t that what matters most?
Frequently Asked Questions
I get asked sandwich questions all the time – seems everyone wants to know the secrets to perfect homemade creations! Here are the answers to the queries that pop up most often in my kitchen (and my very honest opinions about them):
Can I make these sandwiches ahead of time?
Absolutely, but with some smart prep! I often assemble everything except the wet ingredients (mayo, mustard, tomatoes) the night before. Wrap tightly in parchment paper and refrigerate. In the morning, I’ll add the condiments and slice the tomatoes fresh – this keeps that perfect crispness intact. For school lunches, I’ll sometimes pack components separately and let the kids build their own at mealtime (they love this!).
What’s the best bread for homemade sandwiches?
Oh, this starts wars in my house! Personally, I’m team sourdough all the way – it’s sturdy enough to hold all the fillings without getting soggy, with that irresistible tangy flavor. My husband swears by seeded whole grain for extra nutrition. The truth? Any fresh, quality bread works! Just avoid super soft sandwich bread unless you’re toasting it first (learned that the messy way). Pro tip: For picnic sandwiches, ciabatta or focaccia hold up beautifully.
How do I prevent my sandwich from getting soggy?
After many tragic sandwich fails, I’ve mastered the anti-sog strategy! First, always pat veggies dry (I’m like a sandwich detective with my paper towels). Second, spread condiments edge-to-edge – they create a moisture barrier. Third, put lettuce between wet ingredients and bread. My grandma’s trick? Lightly toast one side of each bread slice before assembling – the toasted sides go inward to repel moisture like magic!
Can I freeze these sandwiches?
Here’s my controversial take: please don’t! Freezing turns the bread into a weird spongy texture and makes veggies limp. The only exception? If you’re making grilled cheese sandwiches – those freeze surprisingly well when wrapped properly (just reheat in a skillet). For regular sandwiches, they’re so quick to make fresh that freezing just isn’t worth it in my opinion!
What’s your favorite unexpected sandwich addition?
Ooh, great question! I’m obsessed with adding thinly sliced apples (especially honeycrisp) to turkey sandwiches – the sweet crunch is unreal! My other wildcard ingredient? A smear of fig jam with blue cheese and roasted chicken. Sounds fancy but takes two seconds to assemble. Honestly though? The real secret is whatever makes YOUR taste buds happy. That’s the beauty of homemade – no sandwich police telling you what you can or can’t do!
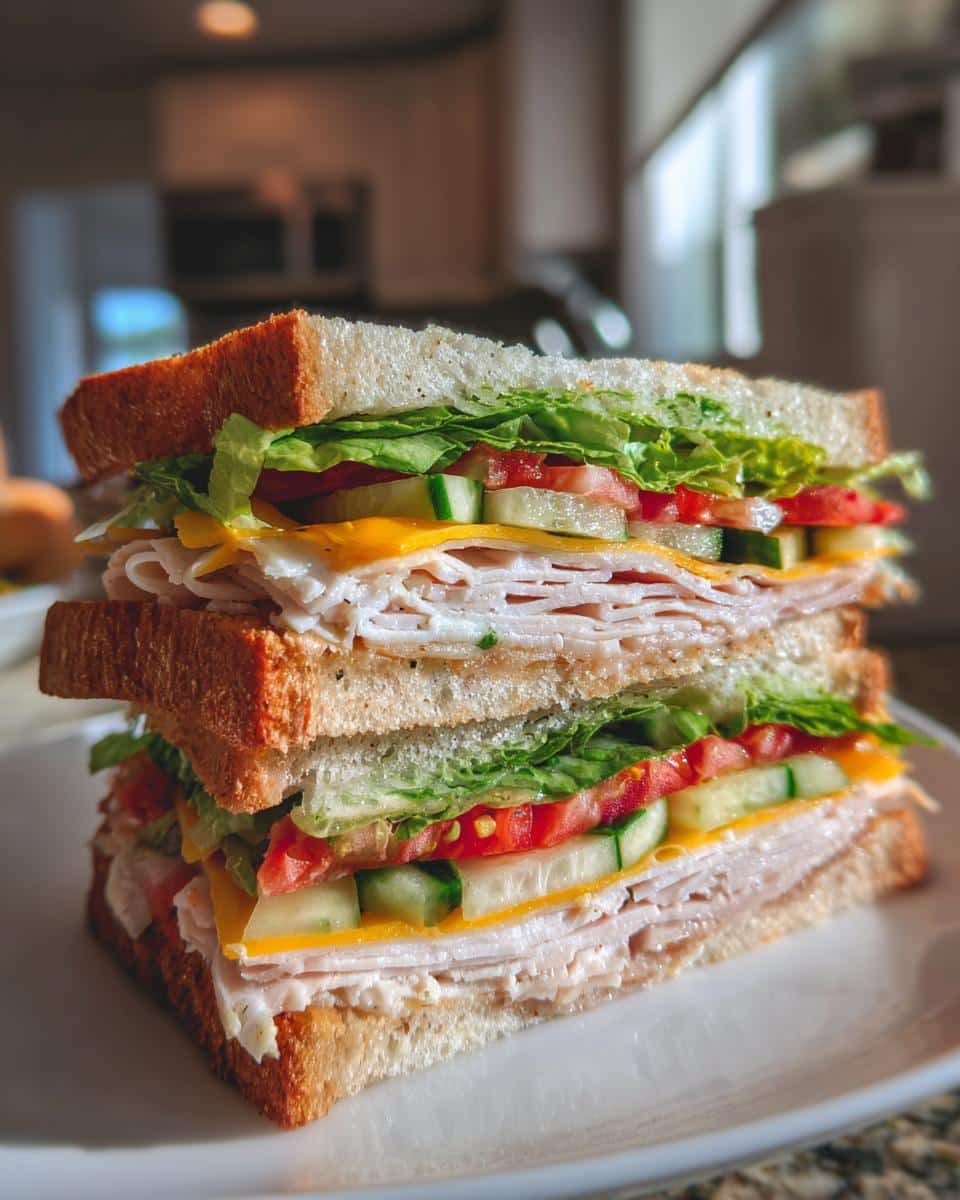
Got more questions? Hit me up anytime – I could talk sandwiches all day! Nothing makes me happier than helping people create their perfect lunch masterpiece. For more recipe ideas, check out my Pinterest page!
Print
Amazing 5-Minute Homemade Sandwich Recipes You’ll Crave
- Total Time: 5 minutes
- Yield: 1 sandwich 1x
- Diet: Low Calorie
Description
Easy and delicious homemade sandwich recipes for quick meals.
Ingredients
- 2 slices of bread
- 1 tbsp mayonnaise
- 2 lettuce leaves
- 3 slices of tomato
- 4 slices of cucumber
- 2 slices of cheese
- 3 slices of turkey or ham
- 1 tsp mustard (optional)
Instructions
- Spread mayonnaise on one slice of bread.
- Layer lettuce, tomato, cucumber, cheese, and turkey/ham.
- Add mustard if desired.
- Top with the second slice of bread.
- Cut in half and serve.
Notes
- Use fresh ingredients for better taste.
- Customize with your favorite veggies or proteins.
- Toast the bread for extra crispiness.
- Prep Time: 5 minutes
- Cook Time: 0 minutes
- Category: Lunch
- Method: No-Cook
- Cuisine: International
Nutrition
- Serving Size: 1 sandwich
- Calories: 350
- Sugar: 5g
- Sodium: 600mg
- Fat: 12g
- Saturated Fat: 4g
- Unsaturated Fat: 6g
- Trans Fat: 0g
- Carbohydrates: 40g
- Fiber: 4g
- Protein: 20g
- Cholesterol: 40mg