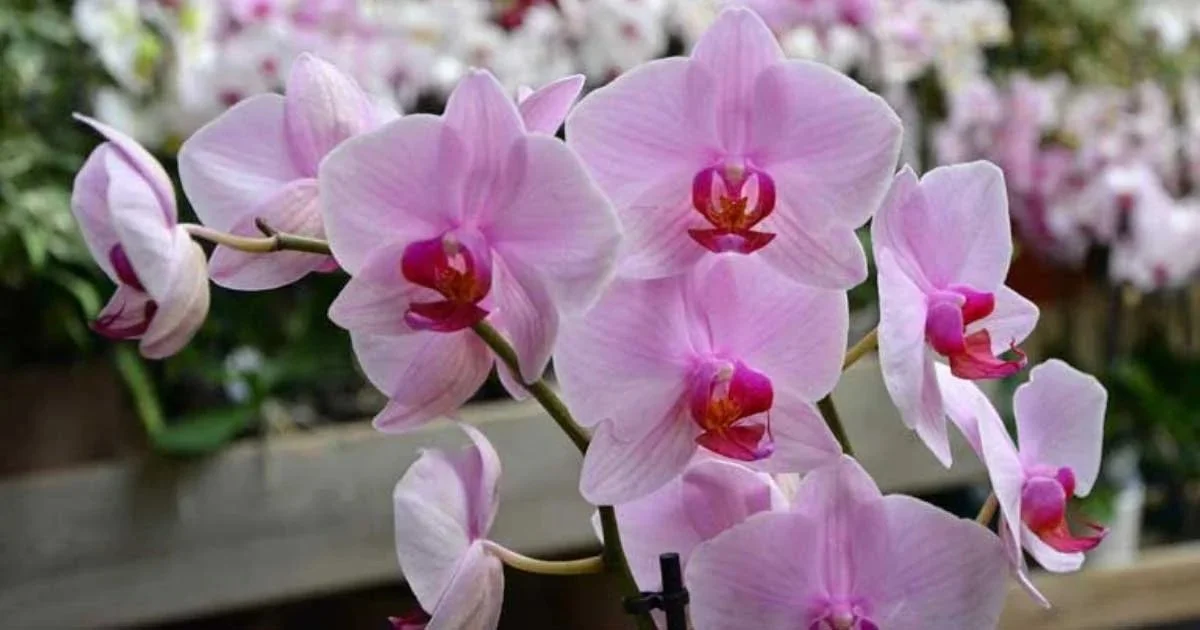

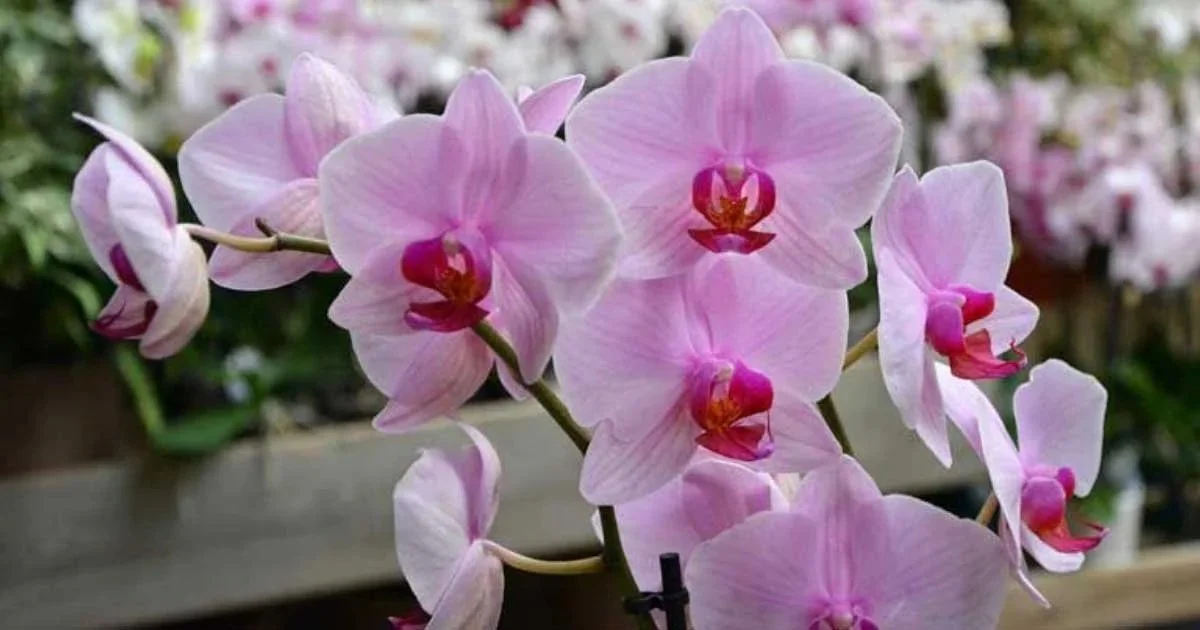
How to Revive an Orchid: Step-by-Step Guide
Are you struggling to keep your orchid alive? Don’t worry; you’re definitely not alone. Many homeowners share this challenge, but with some patience and the right approach, you can help your beloved plant thrive once again. This guide will equip you with the essential steps to rejuvenate your orchid and bring back its breathtaking beauty.
Understanding Your Orchid’s Needs
Before diving into the revival process, it’s crucial to understand what your orchid requires to flourish. Orchids are unique plants that thrive under specific conditions, especially concerning light, moisture, and growing medium. Neglecting even one of these essential factors can lead to problems like yellowing leaves, limp blooms, or fragile roots. By grasping these needs, you set the stage for effective care.
Step 1: Assess the Situation
Start by closely inspecting your orchid. Look for warning signs that indicate its health. Here are some common distress signals:
- Yellowing leaves: Often due to overwatering or insufficient light.
- Droopy flowers: A sign of dehydration or nutrient deficiency.
- Dark or mushy roots: This can be indicative of root rot, which frequently results from excessive moisture.
If you see these symptoms, don’t despair. Despite their delicate appearance, orchids are resilient and can recover with the correct care.
Step 2: Clean the Roots
Now that you’ve identified the issues, it’s time to tend to the roots. Gently remove your orchid from its pot and rinse the roots under lukewarm water to clear away old potting mix and any dead roots. Focus on these details:
- Healthy roots should feel firm and have a green or silvery-white hue.
- Dead roots are typically brown or black and mushy. Trim these away using sterilized scissors to prevent the spread of disease.
Taking the time to thoroughly clean the roots is a pivotal step toward your orchid’s recovery.
Step 3: Choose the Right Potting Medium
With clean roots, it’s time to repot your orchid. Fresh, suitable potting medium is essential for healthy growth. Orchids prefer well-draining mixes composed of bark, moss, or specially formulated orchid soil. This helps prevent moisture retention, which could harm your plant.
When repotting:
- Select a pot that has plenty of drainage holes.
- Gently position the roots in the new medium, ensuring they’re not packed tightly, as this can suffocate them.
Step 4: Adjust Watering and Light Conditions
Next, you’ll want to address your orchid’s watering needs. Given their sensitivity to moisture, it’s important to find a balance. Here’s a simple watering guideline:
- In winter: Water once a week.
- In summer: Water every 5–7 days, especially during dry spells.
Lighting is equally important. Orchids thrive in bright, indirect sunlight—think of a window that receives gentle morning light. Avoid direct sunlight, as it can scorch the leaves, hindering recovery.
Step 5: Patience and Care
After repotting and adjusting light and watering, the key is patience. Your orchid will need time to adapt to its new environment. Keep an eye out for new growth or roots; these are positive indicators that your care is making a difference.
Common Mistakes to Avoid
As you embark on this revitalization journey, be vigilant about these common pitfalls:
- Overwatering: This is often the main culprit behind orchid decline. Always allow the potting medium to dry out between waterings.
- Insufficient humidity: Orchids thrive in humidity levels between 40% to 60%. If your home is dry, consider using a humidity tray or a room humidifier.
- Ignoring light needs: If you notice leaf burn, your orchid may be receiving too much sunlight. Conversely, if the leaves look dark and limp, it may need more light.
Signs You’re on the Right Track
How will you know your efforts are paying off? Look for signs of new growth! While recovery can take time, observing new leaves or roots sprouting is a clear sign that your orchid is responding positively to the care you’ve given.
Frequently Asked Questions
How long does it take for an orchid to recover?
Recovery can span from a few weeks to several months, depending on how you alter its care.
Can I use regular potting soil for orchids?
No, standard potting soil retains too much moisture, which is detrimental to orchids. Opt for a specialized orchid mix instead.
Should I fertilize my orchid while it’s recovering?
It’s best to wait for visible new growth before introducing fertilizer. Once recovery begins, a diluted orchid fertilizer can promote healthy growth.
Conclusion
Reviving an orchid may seem daunting, but with the right knowledge and care, you can restore its beauty! Focus on understanding your orchid’s needs and create the right environment for it to thrive. Just remember: gardening is a lesson in patience and resilience, not just for your plants but also for yourself. Welcome the journey of bringing your orchid back to life and enjoy the charm it adds to your home.