
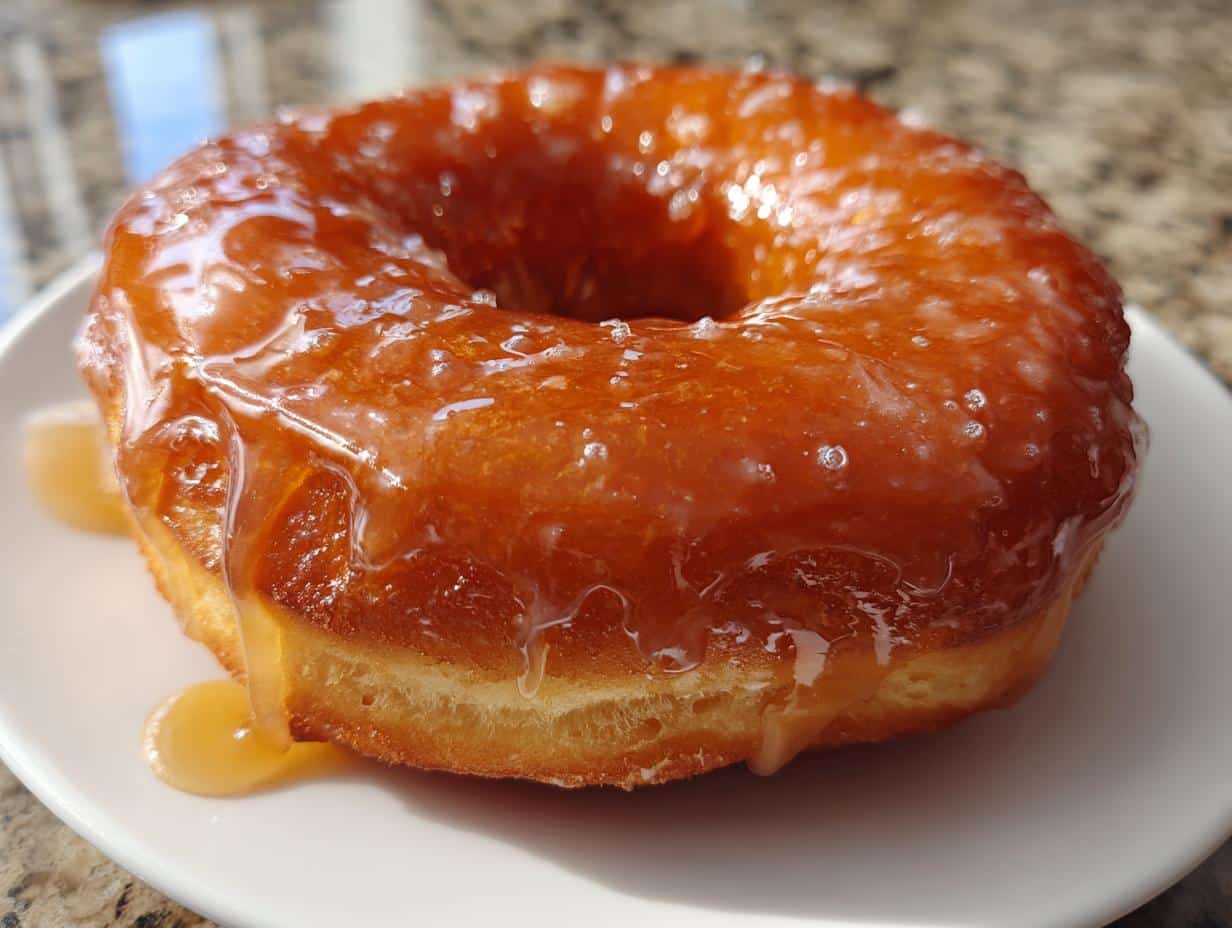
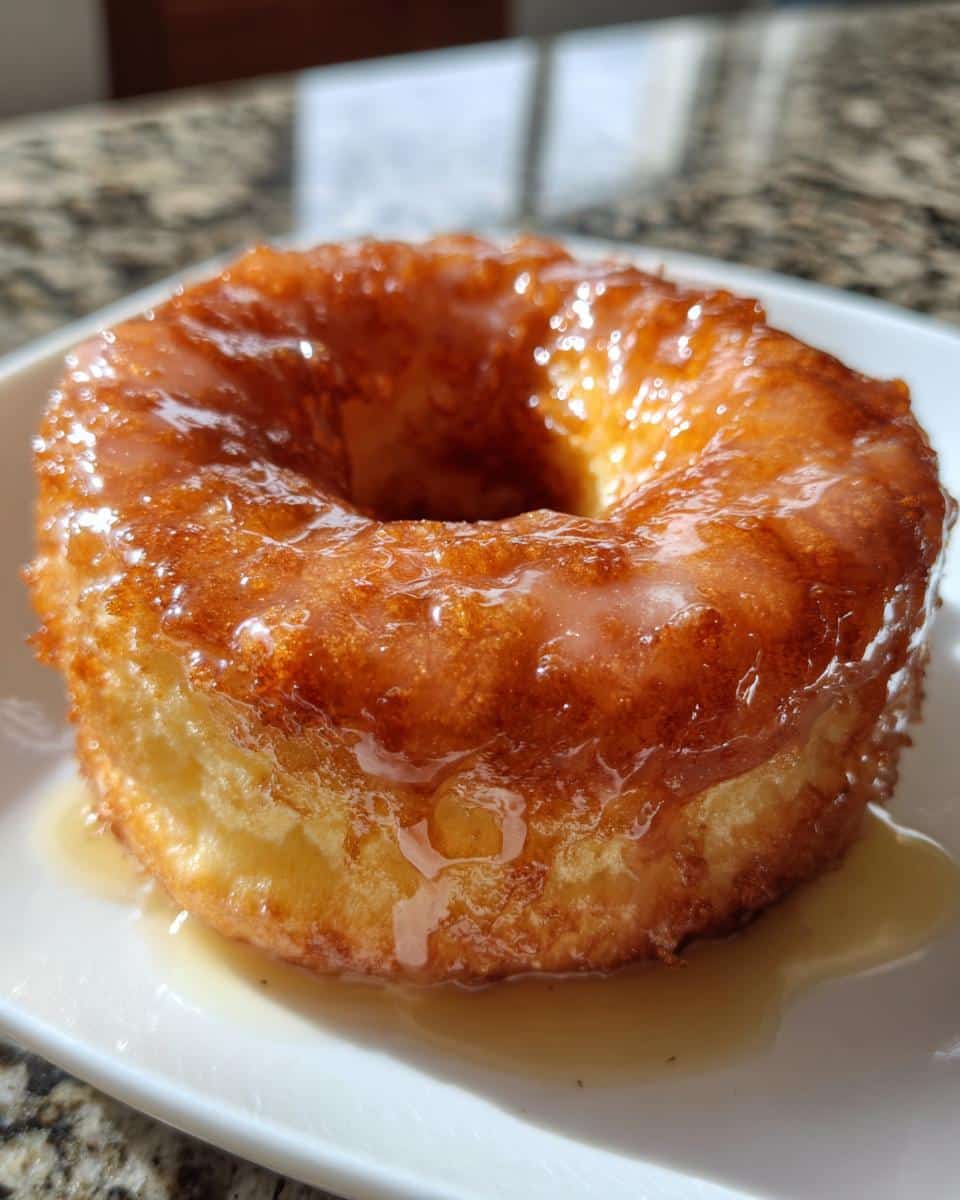
Oh my goodness, you have to try these maple glazed doughnuts! There’s nothing quite like biting into a warm, fluffy homemade doughnut with that sweet, sticky maple glaze dripping down your fingers. I swear, the smell alone will have your whole family running to the kitchen. When I was a kid, my grandma used to make these for special Sunday mornings, and now I love recreating that magic for my own kids. The best part? They’re way easier to make than you’d think – no fancy equipment needed, just simple ingredients and about 30 minutes of your time for pure maple bliss.
Why You’ll Love These Maple Glazed Doughnuts
Listen, I know everyone says their recipe is the best, but these doughnuts? They’re truly something special. Here’s why:
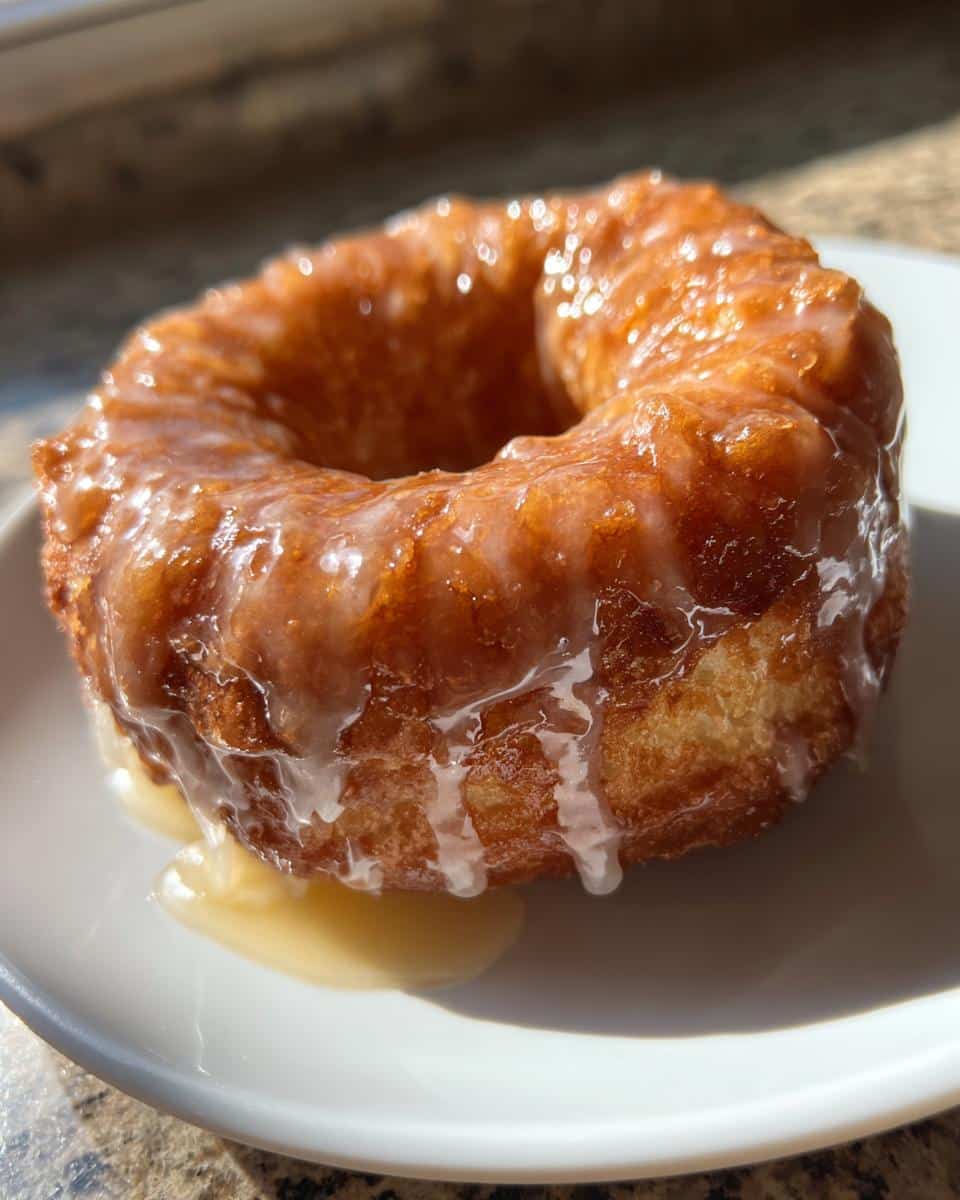
- That cloud-like texture – so light and fluffy you’ll swear they’re from a bakery
- The glaze…ohhh the glaze! Just the right amount of sweet maple flavor without being overpowering
- They come together faster than you’d think – perfect for lazy weekend mornings
- That incredible smell wafting through your house? Pure happiness in doughnut form
- They’ll make you feel like a pastry chef (even if you’re usually a “burn toast” kind of cook)
Trust me, one bite and you’ll be hooked. These are the doughnuts dreams are made of!
Ingredients for Maple Glazed Doughnuts
Alright, let’s talk ingredients – and no, you don’t need anything fancy! This is the kind of recipe where you’ll probably have most of this in your pantry already. But here’s the thing – using just the right amounts makes all the difference between “good” doughnuts and “oh-my-gosh-I-need-another-one” doughnuts.
- 2 cups all-purpose flour – spoon and level it, don’t scoop!
- 1/2 cup granulated sugar – this is the sweet spot (pun intended) for perfect sweetness
- 1 tsp baking powder + 1/2 tsp baking soda – our rising dream team
- 1/2 tsp salt – it’s not much, but it balances everything beautifully
- 1/2 cup buttermilk – the secret to ultra-tender doughnuts (see my trick below if you don’t have any!)
- 1 large egg – straight from the fridge is fine
- 2 tbsp melted butter – unsalted is best here
- 1 tsp vanilla extract – pure, not imitation, if you can swing it
Quick buttermilk hack: No buttermilk? No problem! Mix 1/2 cup regular milk with 1/2 tbsp vinegar or lemon juice, let it sit for 5 minutes, and voilà – perfect buttermilk substitute.
Equipment Needed
Don’t stress about fancy gear – you likely have everything already! Here’s what you’ll need:
- A heavy pot (Dutch oven works great) or deep fryer if you have one
- Mixing bowls – one big, one medium
- A doughnut cutter (or improvise with a round cookie cutter and shot glass!)
- Candy/deep-fry thermometer – trust me, this is worth digging out of your drawer
- Slotted spoon or spider strainer for fishing out those golden beauties
- Wire rack with paper towels underneath for draining
See? Nothing crazy – just simple tools for doughnut magic!
How to Make Maple Glazed Doughnuts
Okay, let’s get to the fun part – making these little circles of joy! I’ll walk you through each step like I’m right there in the kitchen with you. Just follow along, and before you know it, you’ll be biting into homemade doughnut perfection.
Preparing the Dough
First things first – whisk together all your dry ingredients (flour, sugar, baking powder, baking soda, and salt) in that big bowl. In the medium bowl, beat the egg lightly, then mix in the buttermilk, melted butter, and vanilla. Now here’s the crucial part – pour the wet ingredients into the dry and stir just until combined. I mean it – stop stirring the second you don’t see dry flour anymore! Overmixing = tough doughnuts, and we want clouds, not hockey pucks.
Shaping and Frying
Turn your dough onto a lightly floured surface and pat it out to about 1/2-inch thickness – no rolling pin needed! Use your doughnut cutter (or that cookie cutter/shot glass combo) to cut out your circles. Heat your oil to exactly 350°F (the thermometer is your best friend here). Carefully lower 2-3 doughnuts at a time into the oil – they’ll puff up beautifully! Fry for about 2 minutes per side until they’re that perfect golden brown. Drain them on the wire rack and try (I know it’s hard) to let them cool just a bit before glazing.
Making the Maple Glaze
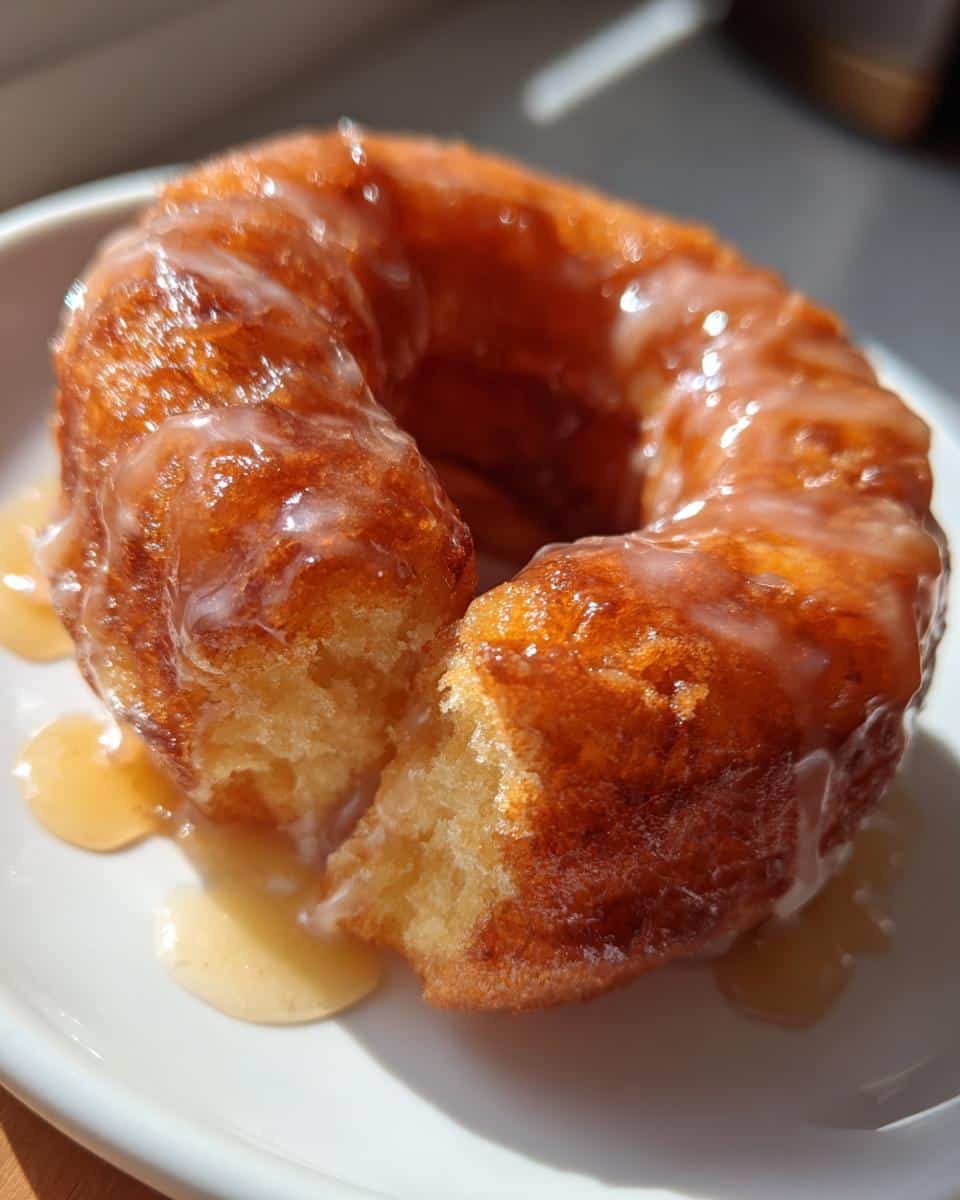
While your doughnuts are cooling, make that glorious glaze. Just whisk together the powdered sugar, maple syrup, and milk until smooth. You want it thick enough to coat the back of a spoon but thin enough to drizzle – add more milk a teaspoon at a time if needed. Now dip each warm doughnut top into the glaze, let the excess drip off, and set them back on the rack to set. Pro tip: put some parchment under the rack to catch drips – cleanup will be a breeze!
Tips for Perfect Maple Glazed Doughnuts
Listen, after making these doughnuts more times than I can count, I’ve picked up some tricks that’ll take yours from good to “can I have your recipe?” status:
- Oil temp is EVERYTHING – 350°F is the magic number. Too hot and they’ll burn; too cool and they’ll soak up oil like sponges. Check often with that thermometer!
- Let the dough rest for 5 minutes after mixing – it makes rolling so much easier (less sticky hands = happy cook).
- For the glaze, warm doughnuts are your friend – not piping hot (it’ll slide right off), but not cold either (it won’t stick well).
- Add a splash of maple extract to the glaze if you really want that flavor to pop – just a 1/4 teaspoon does wonders!
- If your glaze gets too thick? Add milk drop by drop. Too thin? More powdered sugar a tablespoon at a time.
There you go – my not-so-secret secrets for doughnut perfection!
Variations and Substitutions
One of the best things about this recipe? How easily you can make it your own! Here are some of my favorite twists:
- Cinnamon sugar: Skip the glaze and toss warm doughnuts in a mix of cinnamon and sugar – childhood nostalgia in every bite!
- Honey glaze: Swap the maple syrup for honey if that’s what you’ve got – just as delicious with a different kind of sweetness.
- Chocolate drizzle: Melt some chocolate chips with a splash of cream and zigzag it over the maple glaze for double the decadence.
- Gluten-free: Use a 1:1 gluten-free flour blend (I’ve had great results with Bob’s Red Mill).
- Dairy-free: Substitute almond milk + vinegar for buttermilk, and use coconut oil instead of butter.
The possibilities are endless – once you’ve mastered the basic recipe, have fun playing around!
Serving and Storing Maple Glazed Doughnuts
Oh, these doughnuts are absolute heaven when fresh – that warm, fluffy center with the maple glaze just barely set is pure magic. I always serve them within an hour of frying if I can. But let’s be real – leftovers happen!
For storing, pop them in an airtight container at room temperature for up to 2 days (if they last that long). The glaze might get a tad sticky, but they’ll still taste amazing. Want to revive them? Just 10 seconds in the microwave brings back that fresh-from-the-fryer feel. You can also freeze unglazed doughnuts for up to a month – thaw, warm slightly, then glaze for a quick treat anytime!
Nutritional Information
Okay, let’s talk numbers – but remember, these are just estimates and might change based on your exact ingredients or brand choices. Each maple glazed doughnut clocks in at about 220 calories, with 15g sugar and 3g protein. They’re definitely a treat, but hey – everything in moderation, right? That’s what I tell myself as I reach for seconds!
Frequently Asked Questions
I get asked these questions all the time about my maple glazed doughnuts, so let me save you some trouble with my tried-and-true answers!
Can I Make These Doughnuts Ahead?
Absolutely! The dough keeps great overnight in the fridge – just wrap it tight in plastic. You can also freeze unglazed fried doughnuts for up to a month. When you’re ready, thaw at room temp, warm briefly in the oven, then glaze fresh for that “just made” taste.
What’s the Best Maple Syrup to Use?
For the richest flavor, go with Grade B or Dark Color maple syrup – it packs that deep, caramel-y maple taste. In a pinch, Grade A works fine, or you can boost milder syrups with 1/4 tsp maple extract. Whatever you use, just promise me you won’t use pancake syrup – it’s not the same!
Other burning questions? Can you bake instead of fry? (Technically yes, but they won’t be as dreamy.) How long do they stay fresh? (About 2 days max – if your willpower lasts that long!) Need more maple flavor? (Add a splash of extract to the glaze.) There – now you’re officially a doughnut expert!
Share Your Maple Glazed Doughnuts Experience
I’d love to hear how your doughnut adventure goes! Did you add any fun twists? Maybe your kids went crazy for them like mine do? Drop a comment below or tag me in your photos – nothing makes me happier than seeing your kitchen successes. Now go enjoy those golden, maple-drenched beauties!
For more delicious recipes and inspiration, check out our Pinterest page!
Print
Irresistible Maple Glazed Doughnuts in 30 Minutes Flat
- Total Time: 25 mins
- Yield: 12 doughnuts 1x
- Diet: Vegetarian
Description
Homemade maple glazed doughnuts that are soft, fluffy, and coated with a sweet maple glaze.
Ingredients
- 2 cups all-purpose flour
- 1/2 cup granulated sugar
- 1 tsp baking powder
- 1/2 tsp baking soda
- 1/2 tsp salt
- 1/2 cup buttermilk
- 1 large egg
- 2 tbsp melted butter
- 1 tsp vanilla extract
- 1 cup powdered sugar
- 2 tbsp maple syrup
- 1 tbsp milk
Instructions
- Preheat oil in a deep fryer or large pot to 350°F.
- Mix flour, sugar, baking powder, baking soda, and salt in a bowl.
- Whisk buttermilk, egg, melted butter, and vanilla in another bowl.
- Combine wet and dry ingredients to form a dough.
- Roll dough on a floured surface and cut into doughnut shapes.
- Fry doughnuts in hot oil for 2 minutes per side until golden.
- Drain on paper towels.
- Mix powdered sugar, maple syrup, and milk to make the glaze.
- Dip warm doughnuts in the glaze and let set.
Notes
- For extra flavor, add a pinch of cinnamon to the dough.
- Replace buttermilk with regular milk mixed with 1/2 tbsp vinegar if needed.
- Let doughnuts cool slightly before glazing for best results.
- Prep Time: 15 mins
- Cook Time: 10 mins
- Category: Dessert
- Method: Deep-frying
- Cuisine: American
Nutrition
- Serving Size: 1 doughnut
- Calories: 220
- Sugar: 15g
- Sodium: 180mg
- Fat: 8g
- Saturated Fat: 3g
- Unsaturated Fat: 4g
- Trans Fat: 0g
- Carbohydrates: 35g
- Fiber: 1g
- Protein: 3g
- Cholesterol: 25mg