

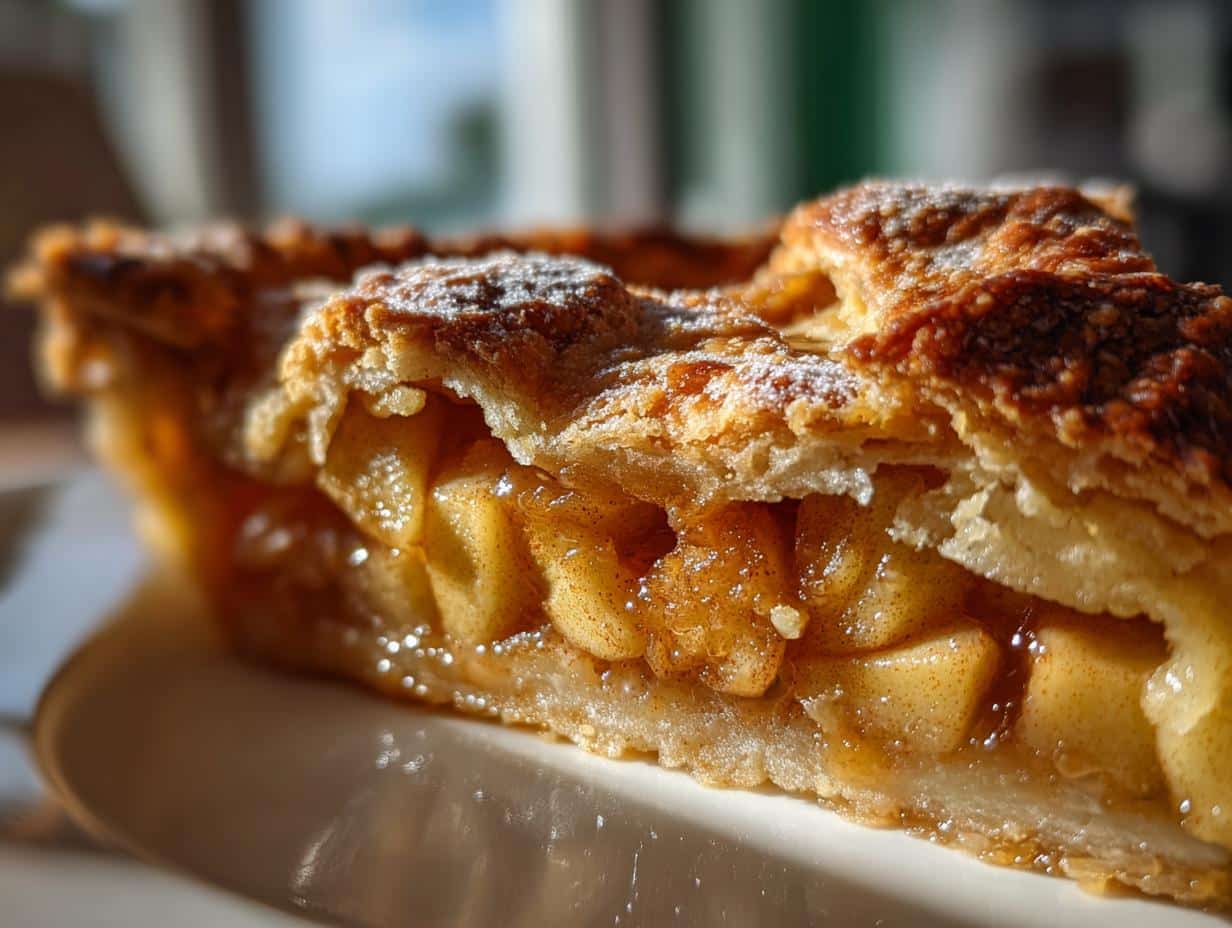
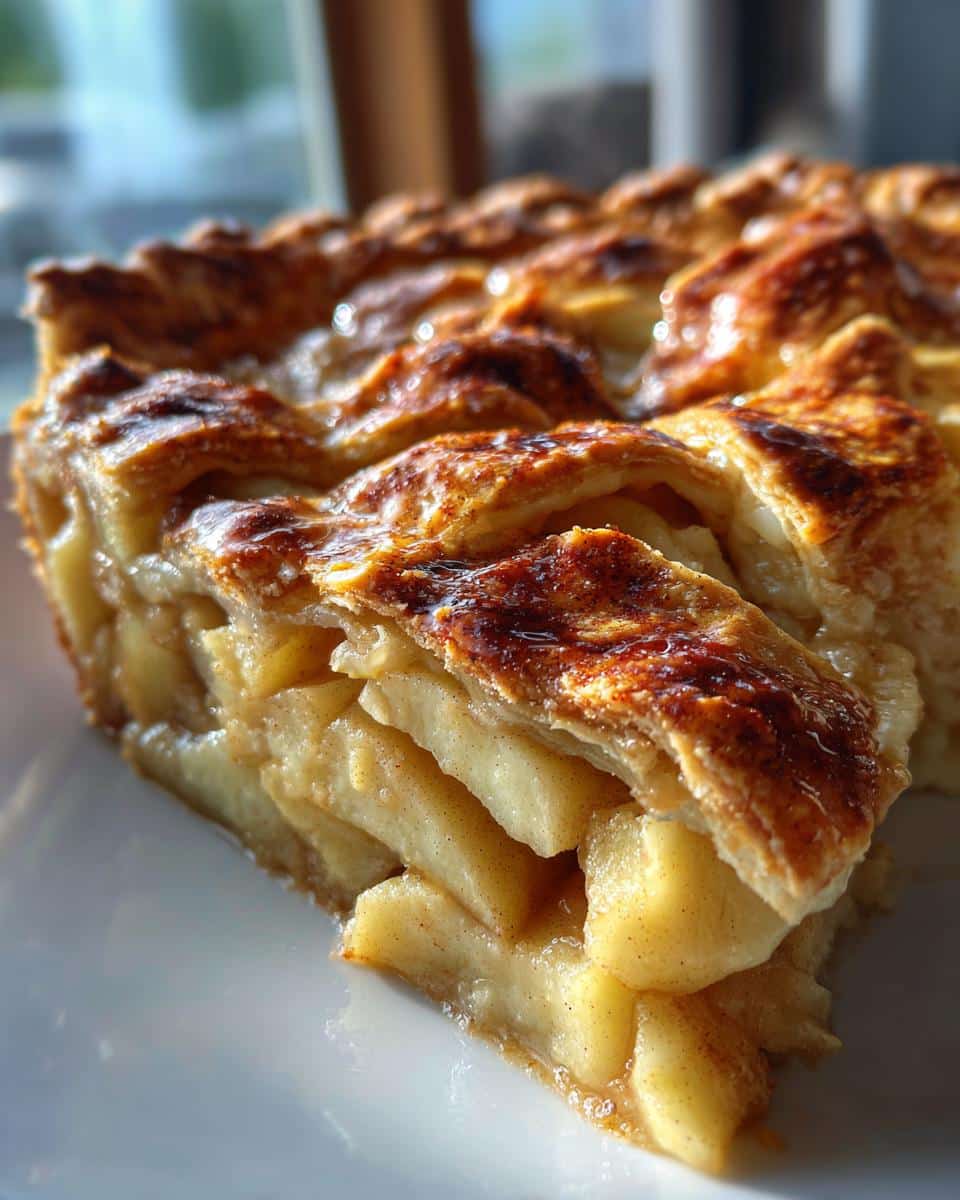
Nothing beats the smell of an old-fashioned apple pie baking in the oven – that heavenly mix of cinnamon, butter, and caramelized apples instantly takes me back to childhood. My grandma would make this recipe every fall when the apple trees were heavy with fruit, and we’d all gather in her flour-dusted kitchen to “help” (mostly just stealing bites of dough). This classic old-fashioned apple pie recipe has been passed down through generations in my family, and it’s still the one I turn to when I want that perfect balance of flaky crust and spiced apple filling. There’s something magical about how simple ingredients – flour, butter, apples, and sugar – transform into pure comfort food. Whether you’re carrying on a family tradition or starting a new one, this pie is guaranteed to make your kitchen smell like home.
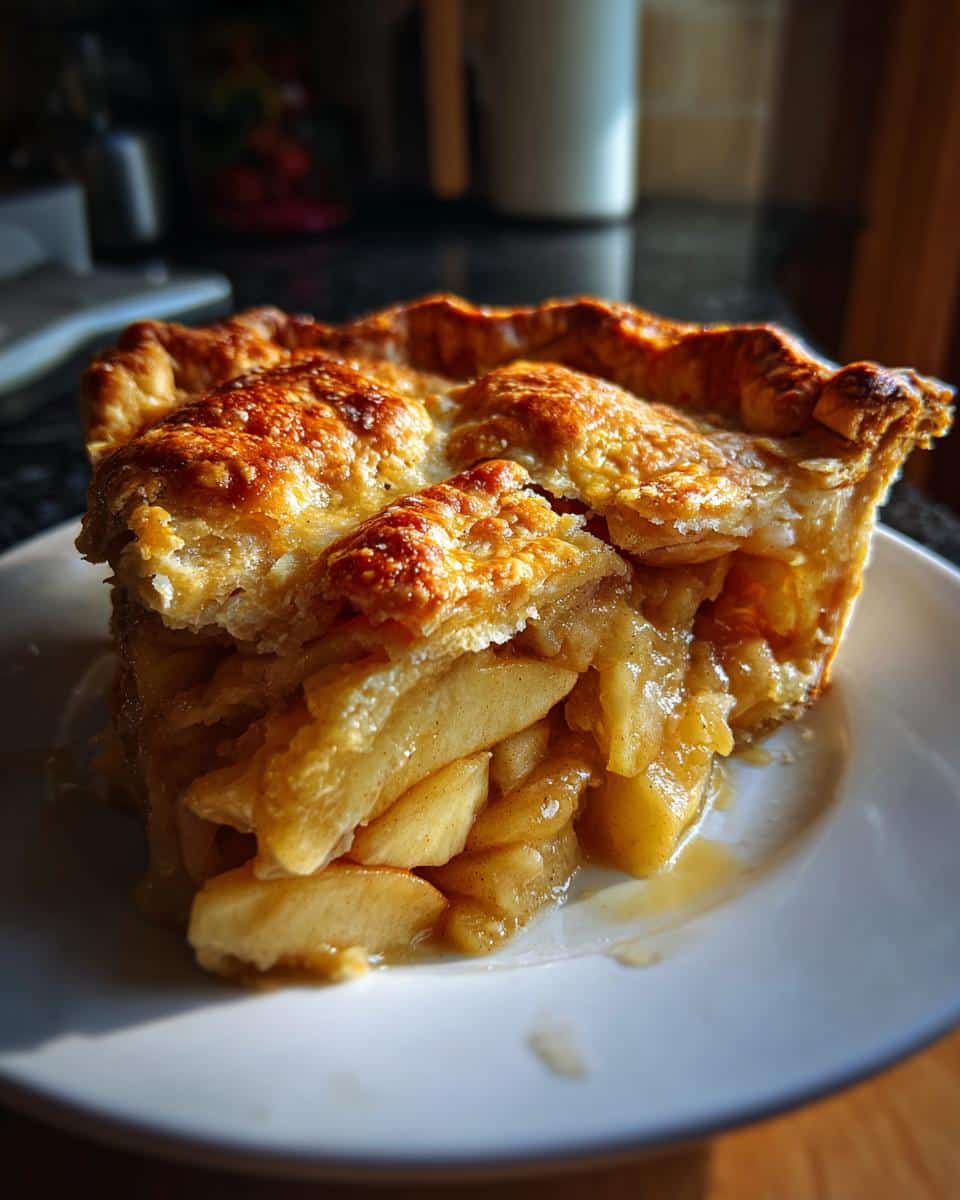
Why You’ll Love This Old-Fashioned Apple Pie Recipe
This isn’t just any apple pie—it’s the kind that makes people close their eyes and sigh after the first bite. Here’s why it’s special:
- That flaky crust: The secret? Chilled butter and just enough ice water to bring it together. It bakes up so tender, you’ll want to eat the trimmings straight off the counter.
- Perfectly spiced filling: We’re talking cinnamon and nutmeg in just the right amounts—enough to warm you up without overpowering the apples’ natural sweetness.
- No-fuss process: If you can slice apples and roll dough, you’re golden. I’ve made this pie bleary-eyed at 6AM and it still turns out beautifully.
Trust me, once you try this version, those grocery store pies will taste like cardboard in comparison.
Ingredients for Old-Fashioned Apple Pie
Gathering the right ingredients makes all the difference in this pie – trust me, I learned this the hard way when I once tried substituting margarine (never again!). Here’s exactly what you’ll need:
For the perfect flaky crust:
- 2 1/2 cups all-purpose flour (spooned and leveled)
- 1 tsp salt
- 1 cup unsalted butter, chilled and cubed (yes, cold butter is non-negotiable!)
- 6-8 tbsp ice water (keep measuring cup in freezer until needed)
For the spiced apple filling:
- 6 cups thinly sliced apples (I use half Granny Smith, half Honeycrisp)
- 3/4 cup granulated sugar
- 2 tbsp fresh lemon juice (bottled just isn’t the same)
- 1 tsp ground cinnamon
- 1/4 tsp ground nutmeg (freshly grated if possible)
- 2 tbsp unsalted butter, diced small (for dotting the filling)
- 1 egg, beaten (for that gorgeous golden crust)
Pro tip: Measure everything before starting – it makes the process so much smoother when you’re not scrambling mid-recipe!
Equipment You’ll Need for Old-Fashioned Apple Pie
You don’t need fancy gadgets to make this pie – just a few trusty tools from your kitchen. Here’s what I always grab:
- A 9-inch pie dish (glass or ceramic works best for even baking)
- Rolling pin (my grandma’s wooden one is my favorite)
- Large mixing bowls (one for crust, one for filling)
- Pastry cutter or fork (for blending butter into flour)
- Sharp knife or apple corer/slicer (for those perfect apple slices)
- Pastry brush (for that golden egg wash)
See? Nothing complicated. These basics have been making perfect pies for generations!
How to Make Old-Fashioned Apple Pie
Okay, let’s get to the fun part! Making this pie is easier than you think – just follow these steps and you’ll have a golden, fragrant masterpiece in no time. I’ve included all my little tricks that make this recipe foolproof.
Preparing the Pie Crust
First, whisk together your flour and salt in a large bowl. Now for the butter – I like to cut mine into small cubes while it’s still cold, then toss them in the flour mixture. Use your pastry cutter (or two forks if you’re improvising) to cut the butter into the flour until it looks like coarse crumbs with some pea-sized butter pieces remaining. This is what gives the crust those beautiful flaky layers!
Next, drizzle in the ice water one tablespoon at a time, mixing gently with a fork after each addition. Stop when the dough just starts to come together – you want it to hold its shape when pressed, but not be sticky. Divide the dough into two equal discs, wrap them in plastic, and chill for at least 30 minutes (this relaxes the gluten and prevents shrinkage).
Making the Apple Filling
While the dough chills, let’s prep those apples! Peel and core them first, then slice about 1/4-inch thick – thin enough to soften nicely but thick enough to keep some texture. Toss them with lemon juice immediately to prevent browning (and add a nice bright note to balance the sweetness).
In a separate bowl, mix together the sugar, cinnamon, and nutmeg. Sprinkle this over the apples and toss gently until every slice is coated. Let this sit for about 15 minutes – you’ll be amazed how much juice the apples release! This natural syrup helps create that luscious filling texture.
Assembling and Baking the Pie
Roll out one dough disc on a floured surface to about 12 inches in diameter. Carefully transfer it to your pie dish, letting the edges hang over. Fill with the apple mixture (including all those delicious juices!) and dot with the diced butter.
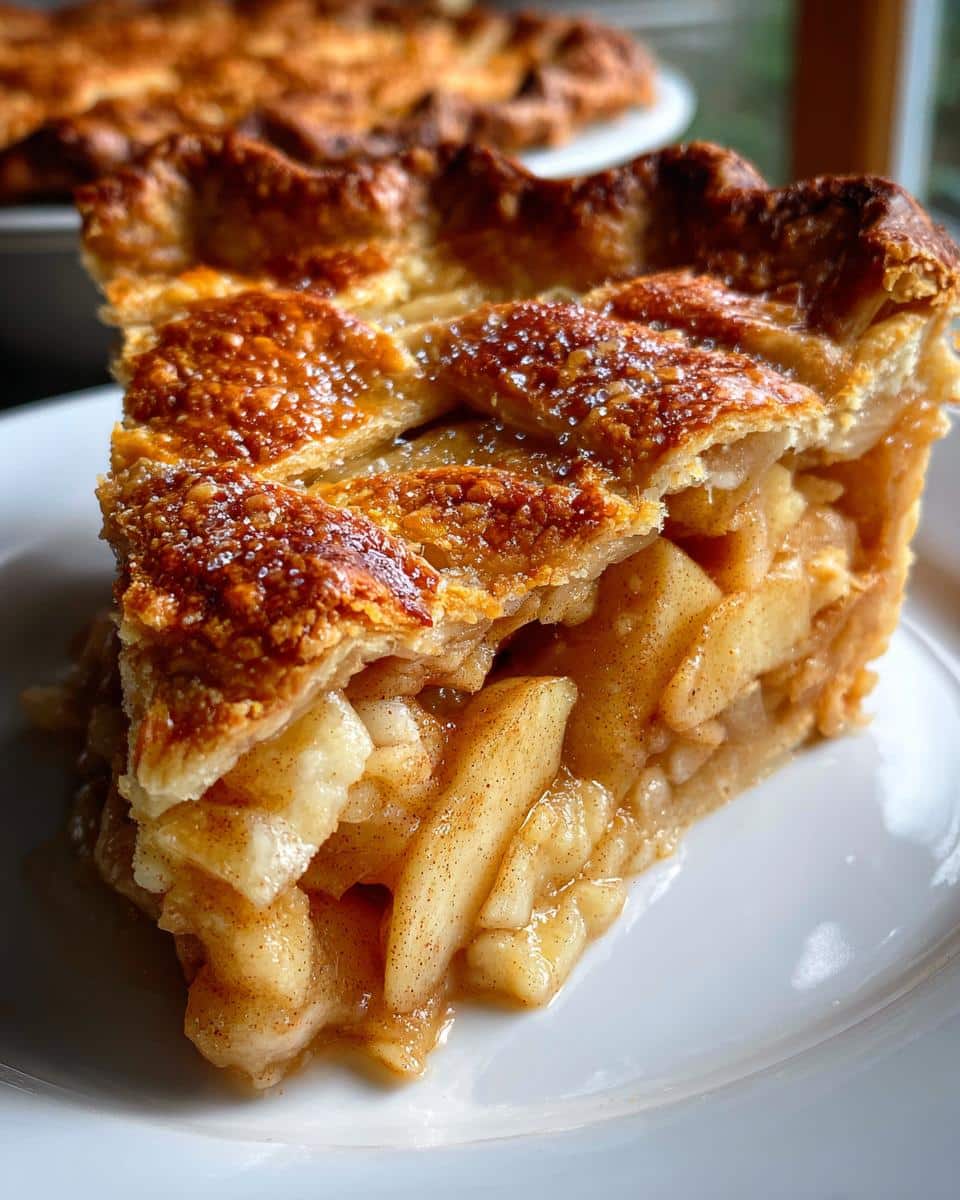
Roll out the second dough disc and place it over the filling. Trim the edges to about 1 inch overhang, tuck them under, and crimp however you like – I use my fingers to make a simple fluted edge. Cut a few slits in the top crust to let steam escape, then brush with beaten egg for that gorgeous golden shine.
Bake at 375°F (190°C) for 45-55 minutes, until the crust is deep golden brown and the filling is bubbly. If the edges brown too quickly, just tent them with foil. Let the pie cool for at least 2 hours before slicing – I know it’s hard to wait, but this lets the filling set properly!
Tips for the Perfect Old-Fashioned Apple Pie
After making this pie more times than I can count, here are my foolproof secrets for pie perfection:
- Apple selection is everything: Mix tart Granny Smith with sweet Honeycrisp for balanced flavor and texture that holds up during baking.
- Prevent soggy bottoms: Sprinkle a tablespoon of flour or breadcrumbs on the bottom crust before adding filling – it soaks up extra juices.
- Patience pays off: Letting the baked pie cool completely (yes, 2 full hours!) means neat slices instead of apple soup.
- Keep it cold: If the dough gets sticky while rolling, pop it back in the fridge for 10 minutes to firm up.
These little tricks make all the difference between a good pie and a “can I have the recipe?” pie!
Common Variations for Old-Fashioned Apple Pie
While I adore the classic version, sometimes I like to mix things up! Try adding a drizzle of caramel sauce to the apples before baking – it creates this incredible gooey layer. Cranberries lend a festive tartness during holidays. Feeling fancy? Skip the full top crust and weave a pretty lattice instead. My friend swears by tossing in chopped pecans for crunch. The beauty of this recipe is how easily you can personalize it while keeping that nostalgic apple pie soul.
Serving and Storing Old-Fashioned Apple Pie
Oh, the joy of serving this pie warm with a big scoop of vanilla ice cream melting over the top – that cold cream meeting the spiced apples is pure magic! If you’re feeling fancy, a drizzle of caramel sauce takes it over the top. Leftovers? Ha! But if you somehow have some, keep it covered at room temperature for up to 2 days. For longer storage, wrap slices tightly and freeze for up to 3 months – just reheat in a 350°F oven until crisp again. Pro tip: The frozen slices make amazing impromptu desserts when unexpected guests drop by!
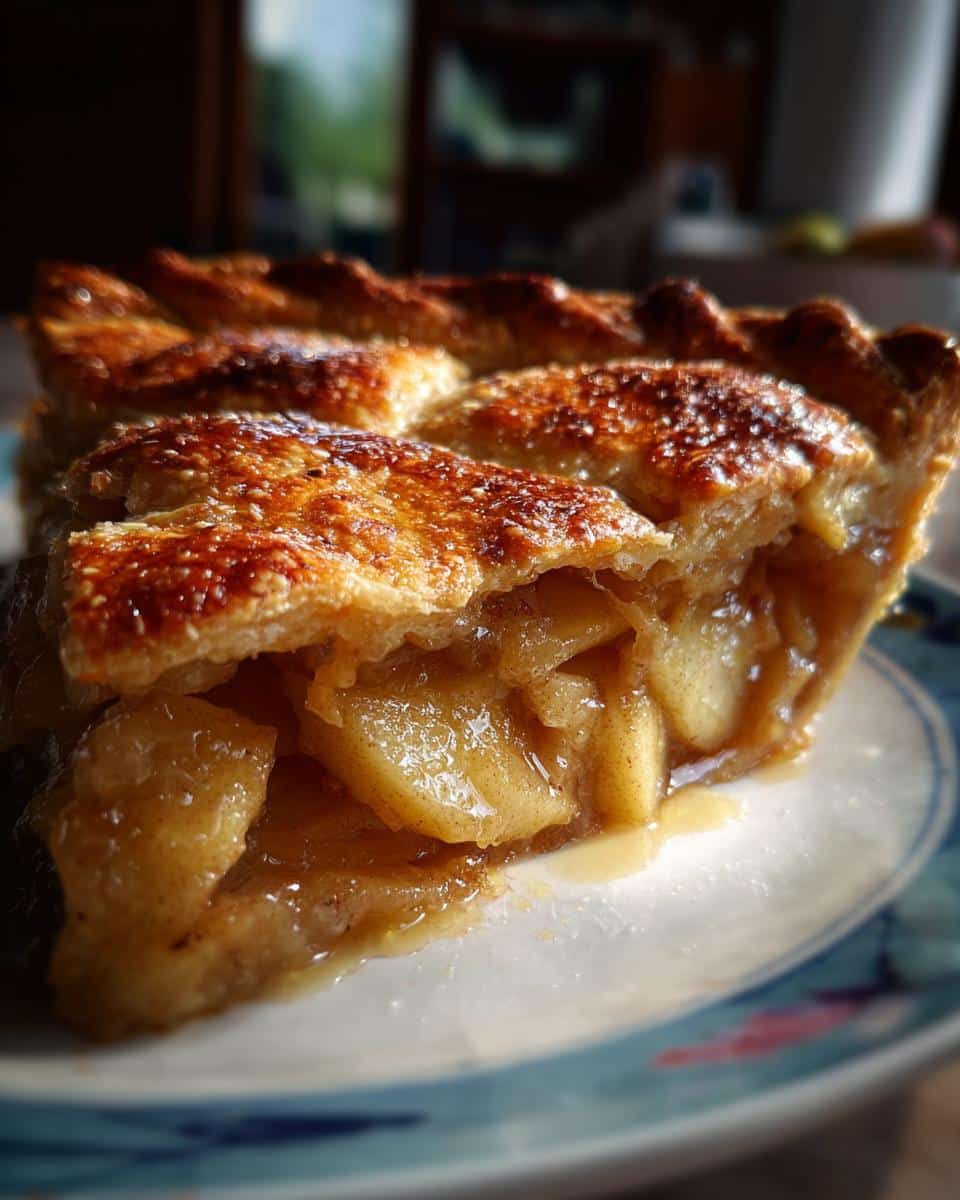
Old-Fashioned Apple Pie Recipe FAQs
After years of baking this pie (and fielding questions from friends), here are the answers to the most common apple pie dilemmas:
Can I use store-bought crust in a pinch?
I won’t tell Grandma if you don’t! While homemade crust tastes best, a quality refrigerated crust works in emergencies. Just skip the pre-baked crusts – they get too crispy. For best results, chill store-bought dough before rolling to mimic our from-scratch texture.
How do I prevent the filling from bubbling over?
That sticky mess happens when we get over-enthusiastic with the apples! Leave about 1/2 inch between the filling and crust rim. Placing a baking sheet underneath catches any rogue drips – because burnt sugar smells aren’t as charming as the pie itself.
Why did my bottom crust turn out soggy?
Three tricks: 1) Make sure your apples aren’t swimming in juice before baking (drain excess if needed) 2) Sprinkle the bottom crust with breadcrumbs or flour 3) Bake on the oven’s lowest rack where heat is strongest. This creates the perfect crisp-but-tender foundation.
Can I make this pie ahead of time?
Absolutely! Assemble up to 1 day ahead and refrigerate unbaked (wrap tightly). The chilled dough actually bakes up flakier. For longer storage, freeze the unbaked pie up to 3 months – just add 10-15 extra minutes when baking from frozen.
Nutritional Information for Old-Fashioned Apple Pie
Now, let’s be honest – we don’t eat apple pie for its health benefits! But if you’re curious, here’s the nutritional breakdown per slice (based on 8 servings): about 320 calories, 25g sugar, and 14g fat. Remember, these estimates vary based on your exact ingredients – like how generous you are with that butter! The apples do provide 3g of fiber per serving, so we’ll call that a win. Everything in moderation, right? Now go enjoy that slice guilt-free.
For more delicious recipes and inspiration, check out our Pinterest page!
Print
Grandma’s Secret 5-Ingredient Old-Fashioned Apple Pie Recipe
- Total Time: 1 hour 20 minutes
- Yield: 8 servings 1x
- Diet: Vegetarian
Description
A classic old-fashioned apple pie with a flaky crust and sweet cinnamon-spiced filling.
Ingredients
- 2 1/2 cups all-purpose flour
- 1 tsp salt
- 1 cup unsalted butter, chilled and cubed
- 6–8 tbsp ice water
- 6 cups thinly sliced apples (Granny Smith or Honeycrisp)
- 3/4 cup granulated sugar
- 2 tbsp lemon juice
- 1 tsp ground cinnamon
- 1/4 tsp ground nutmeg
- 2 tbsp unsalted butter, diced
- 1 egg, beaten (for egg wash)
Instructions
- Mix flour and salt in a bowl. Cut in butter until crumbly.
- Gradually add ice water until dough forms. Divide into two discs and chill for 30 minutes.
- Preheat oven to 375°F (190°C). Roll out one dough disc for the bottom crust and place in a pie dish.
- Toss apples with sugar, lemon juice, cinnamon, and nutmeg. Fill the crust with the apple mixture.
- Dot with diced butter. Roll out the second dough disc, place on top, and crimp edges.
- Cut slits in the top crust. Brush with egg wash.
- Bake for 45-55 minutes until golden brown. Cool before serving.
Notes
- Use a mix of tart and sweet apples for balanced flavor.
- Chill the dough to prevent shrinkage.
- Let the pie cool to set the filling.
- Prep Time: 30 minutes
- Cook Time: 50 minutes
- Category: Dessert
- Method: Baking
- Cuisine: American
Nutrition
- Serving Size: 1 slice
- Calories: 320
- Sugar: 25g
- Sodium: 150mg
- Fat: 14g
- Saturated Fat: 8g
- Unsaturated Fat: 5g
- Trans Fat: 0g
- Carbohydrates: 45g
- Fiber: 3g
- Protein: 3g
- Cholesterol: 45mg