
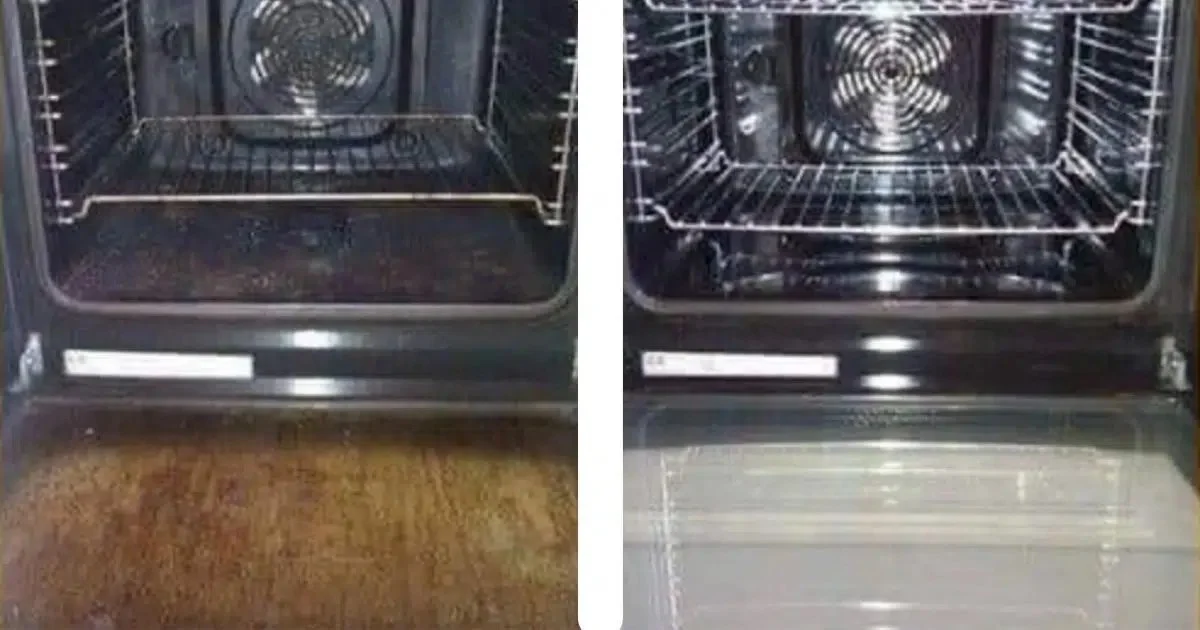
How to Clean Your Oven (Including the Glass Door) With Minimal Effort
Cleaning the oven is one of those chores that’s easy to postpone. Grease splatters, baked-on food, and stubborn stains build up over time, making the job seem much harder than it actually is. While many ovens include a self-cleaning cycle, it doesn’t always remove every bit of grime—especially around the glass door and oven walls.
Fortunately, there’s a simple method that uses steam to loosen grease before you start wiping. With the right preparation, you can spend less time scrubbing and more time enjoying a clean, fresh-looking oven.
Why Steam Makes Cleaning Easier
Heat and moisture help soften baked-on grease and food residue, making them much easier to remove.
By creating steam inside the oven before cleaning, stubborn grime loosens naturally, reducing the amount of scrubbing required afterward.
Quick Tip: Always make sure your oven has completely cooled before wiping it clean.
What You’ll Need
Gather these supplies before you begin:
- Oven-safe bowl
- Boiling water
- Microfiber cloth
- Non-scratch sponge
- Liquid dish soap
- Warm water
- Rubber gloves (optional)
If your oven manufacturer recommends a steam-clean setting, use that feature whenever possible.
Step 1: Warm the Oven
Preheat the oven to its lowest temperature for about 10 minutes.
Turn the oven off before continuing.
A slightly warm oven helps create steam more effectively.
Step 2: Create Steam
Place an oven-safe bowl filled with boiling water on the center rack.
Close the oven door and allow the steam to circulate for 30 to 45 minutes.
During this time, the moisture helps soften grease, baked-on spills, and food residue.
Step 3: Remove the Bowl
Carefully remove the bowl once the oven has cooled enough to handle safely.
Be cautious, as both the bowl and the remaining water may still be hot.
Step 4: Wipe Down the Interior
Mix a few drops of dish soap into warm water.
Using a microfiber cloth or non-scratch sponge, wipe:
- The oven walls
- The oven floor
- The back panel
- The inside of the door
Most grease should come away with light pressure after the steam treatment.
For stubborn spots, allow the damp cloth to rest on the stain for a few minutes before wiping again.
Step 5: Clean the Oven Window
The oven window often collects grease splatters that make it difficult to see inside while cooking.
To clean the glass:
- Apply warm, soapy water with a soft sponge.
- Let it sit for several minutes.
- Wipe away grease using a microfiber cloth.
- Dry with a clean cloth for a streak-free finish.
Avoid abrasive scrubbers that could scratch the glass.
Don’t Forget the Oven Racks
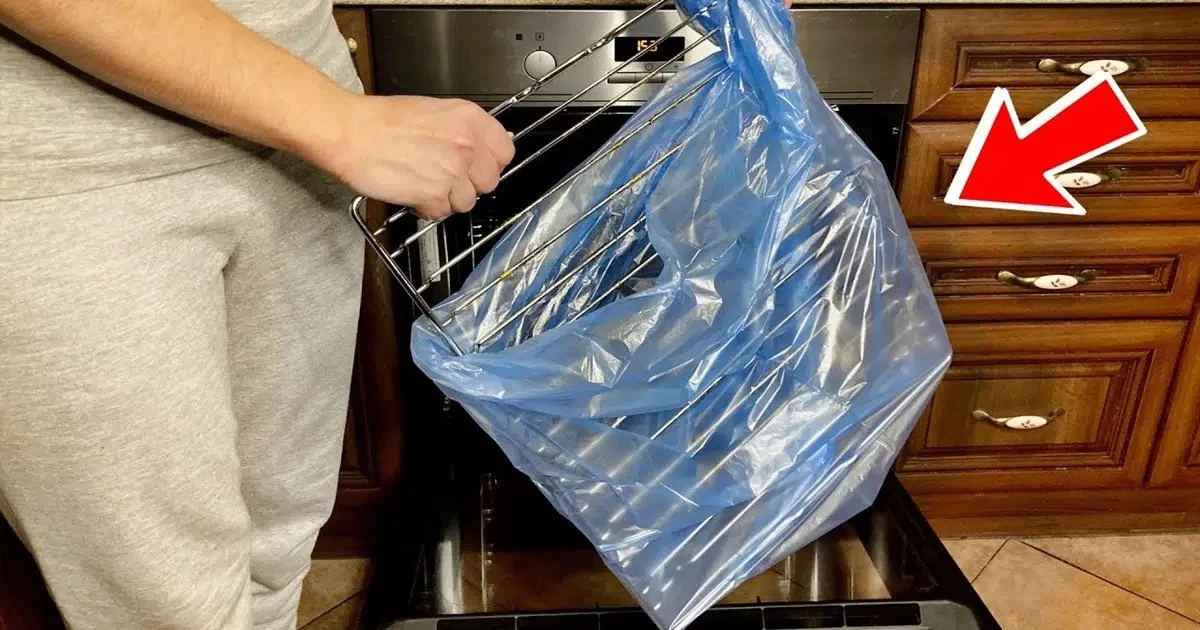
While the oven is steaming, remove the racks if possible.
Wash them separately by:
- Soaking them in hot water with dish soap.
- Scrubbing gently with a non-abrasive sponge.
- Rinsing thoroughly.
- Allowing them to dry before placing them back inside the oven.
Tips to Keep Your Oven Cleaner Longer
Regular maintenance helps prevent heavy buildup.
Try these simple habits:
- Wipe spills after each use once the oven cools.
- Place a baking sheet under dishes that may bubble over.
- Clean small splatters before they bake onto the surface.
- Deep clean the oven every three to six months, depending on how often you cook.
A few minutes of maintenance can save hours of scrubbing later.
Good to Know: Check your oven’s owner’s manual before using any cleaning method. Some self-cleaning and specialty oven finishes require specific care instructions.
Avoid Mixing Cleaning Chemicals
If you decide to use a commercial oven cleaner, always follow the manufacturer’s directions.
Never mix different cleaning products together, especially products containing bleach, ammonia, or acids, as dangerous fumes can result.
Using one cleaner at a time is the safest approach.
Final Thoughts
Cleaning your oven doesn’t have to involve harsh scrubbing or hours of hard work. Using steam to loosen grease before wiping the interior can make routine cleaning much easier while helping restore your oven’s appearance.
By cleaning spills promptly and giving your oven a deeper clean every few months, you’ll keep it looking better, cooking more efficiently, and ready for your next favorite meal.