
Your Toaster Is Grosser Than You Think (Here’s How to Fix That)
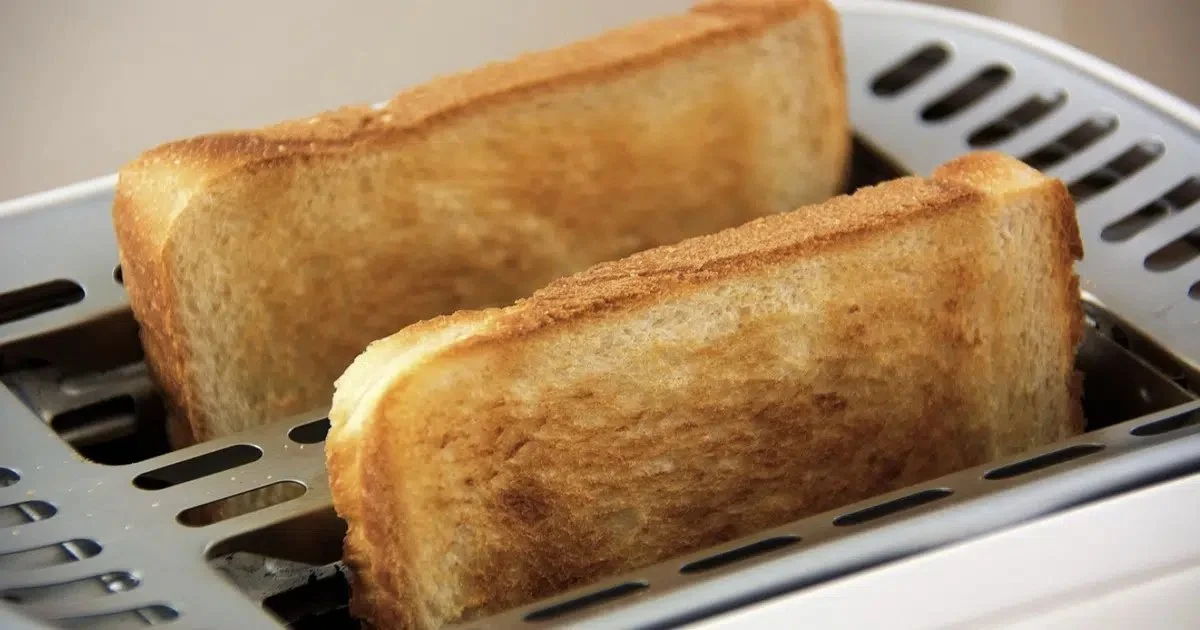
Most of us use our toaster almost every day, yet it’s one of the most overlooked kitchen appliances when it comes to cleaning. Every slice of bread leaves behind tiny crumbs that collect at the bottom of the toaster. Over time, those crumbs burn, creating unpleasant odors, smoke, and even a potential fire hazard.
The good news is that cleaning a toaster is quick, easy, and doesn’t require any special products. With just a few minutes of maintenance every couple of weeks, you can keep your toaster working efficiently and your kitchen smelling fresh.
Why You Should Clean Your Toaster
Burnt crumbs aren’t just unsightly—they can affect how your toaster performs. As crumbs continue to accumulate, they may:
- Produce a burnt smell every time you toast bread.
- Create smoke during use.
- Increase the risk of small flare-ups inside the appliance.
- Attract insects if food particles are left for long periods.
Regular cleaning also helps extend the life of your toaster by preventing excessive buildup around the heating elements.
What You’ll Need
Fortunately, you probably already have everything you need:
- A soft pastry brush or small paintbrush
- A microfiber cloth
- Mild dish soap
- Warm water
- A wooden toothpick or cotton swab for tight spaces
- A trash can or sink
Avoid using abrasive scrubbers or harsh chemicals, as they can damage the toaster’s finish.
Before You Start
Safety always comes first.
Always unplug the toaster before cleaning and allow it to cool completely if it has been used recently. Never immerse the toaster in water or spray cleaning products directly inside the appliance.
Step 1: Empty the Crumb Tray
Most modern toasters include a removable crumb tray located at the bottom.
Slide the tray out carefully and empty the crumbs into the trash. Wash the tray with warm, soapy water, then rinse and dry it completely before reinstalling it.
This simple step removes most of the debris hiding inside the toaster.
Step 2: Shake Out Loose Crumbs
With the crumb tray removed, hold the toaster upside down over a trash can and gently shake it.
You’ll likely be surprised by how many crumbs fall out. Avoid hitting or banging the toaster, as this could damage the internal heating elements.
Step 3: Brush the Interior
Use a soft pastry brush to loosen crumbs that remain inside the bread slots.
Work gently around the heating elements without touching or bending them. Never insert knives, forks, or any metal objects into the toaster, even if a crumb seems stuck.
If necessary, use a wooden toothpick or cotton swab to carefully remove stubborn debris near the openings.
Step 4: Clean the Exterior
The outside of the toaster collects fingerprints, grease, and dust just like any other kitchen appliance.
Dampen a microfiber cloth with warm water and add a drop of mild dish soap if needed. Wipe the exterior thoroughly, paying extra attention to the handle, lever, buttons, and control dial.
Finish by wiping everything dry with a clean cloth.
For stainless steel toasters, wipe in the direction of the metal grain to help prevent streaks.
How Often Should You Clean a Toaster?
The ideal cleaning schedule depends on how often you use it.
- Empty the crumb tray every one to two weeks.
- Give the entire toaster a thorough cleaning about once a month.
- Clean it sooner if you notice smoke, burning smells, or visible crumb buildup.
Keeping up with regular maintenance prevents heavy buildup and makes each cleaning session much easier.
Common Mistakes to Avoid
To protect both your toaster and your safety, avoid these common mistakes:
- Never submerge the toaster in water.
- Don’t spray cleaner directly into the bread slots.
- Never use metal utensils inside the toaster.
- Avoid putting any part of the toaster in the dishwasher unless the manufacturer specifically states that the removable crumb tray is dishwasher-safe.
- Don’t clean the appliance while it’s plugged in.
Simple Tips to Keep Your Toaster Cleaner
A few small habits can reduce crumb buildup between cleanings:
- Empty the crumb tray regularly instead of waiting until it’s full.
- Shake out loose crumbs every few uses.
- Avoid placing heavily buttered or cheese-covered bread directly into the toaster.
- Store the toaster covered or in a cabinet if you don’t use it daily to minimize dust buildup.
Final Thoughts
Cleaning your toaster is one of the easiest kitchen maintenance tasks, yet it’s often forgotten. Spending just a few minutes every couple of weeks removing crumbs, wiping the exterior, and cleaning the crumb tray can eliminate burnt odors, improve performance, and help keep your appliance working safely.
A clean toaster not only makes better toast—it also helps keep your kitchen cleaner, fresher, and safer with very little effort.