
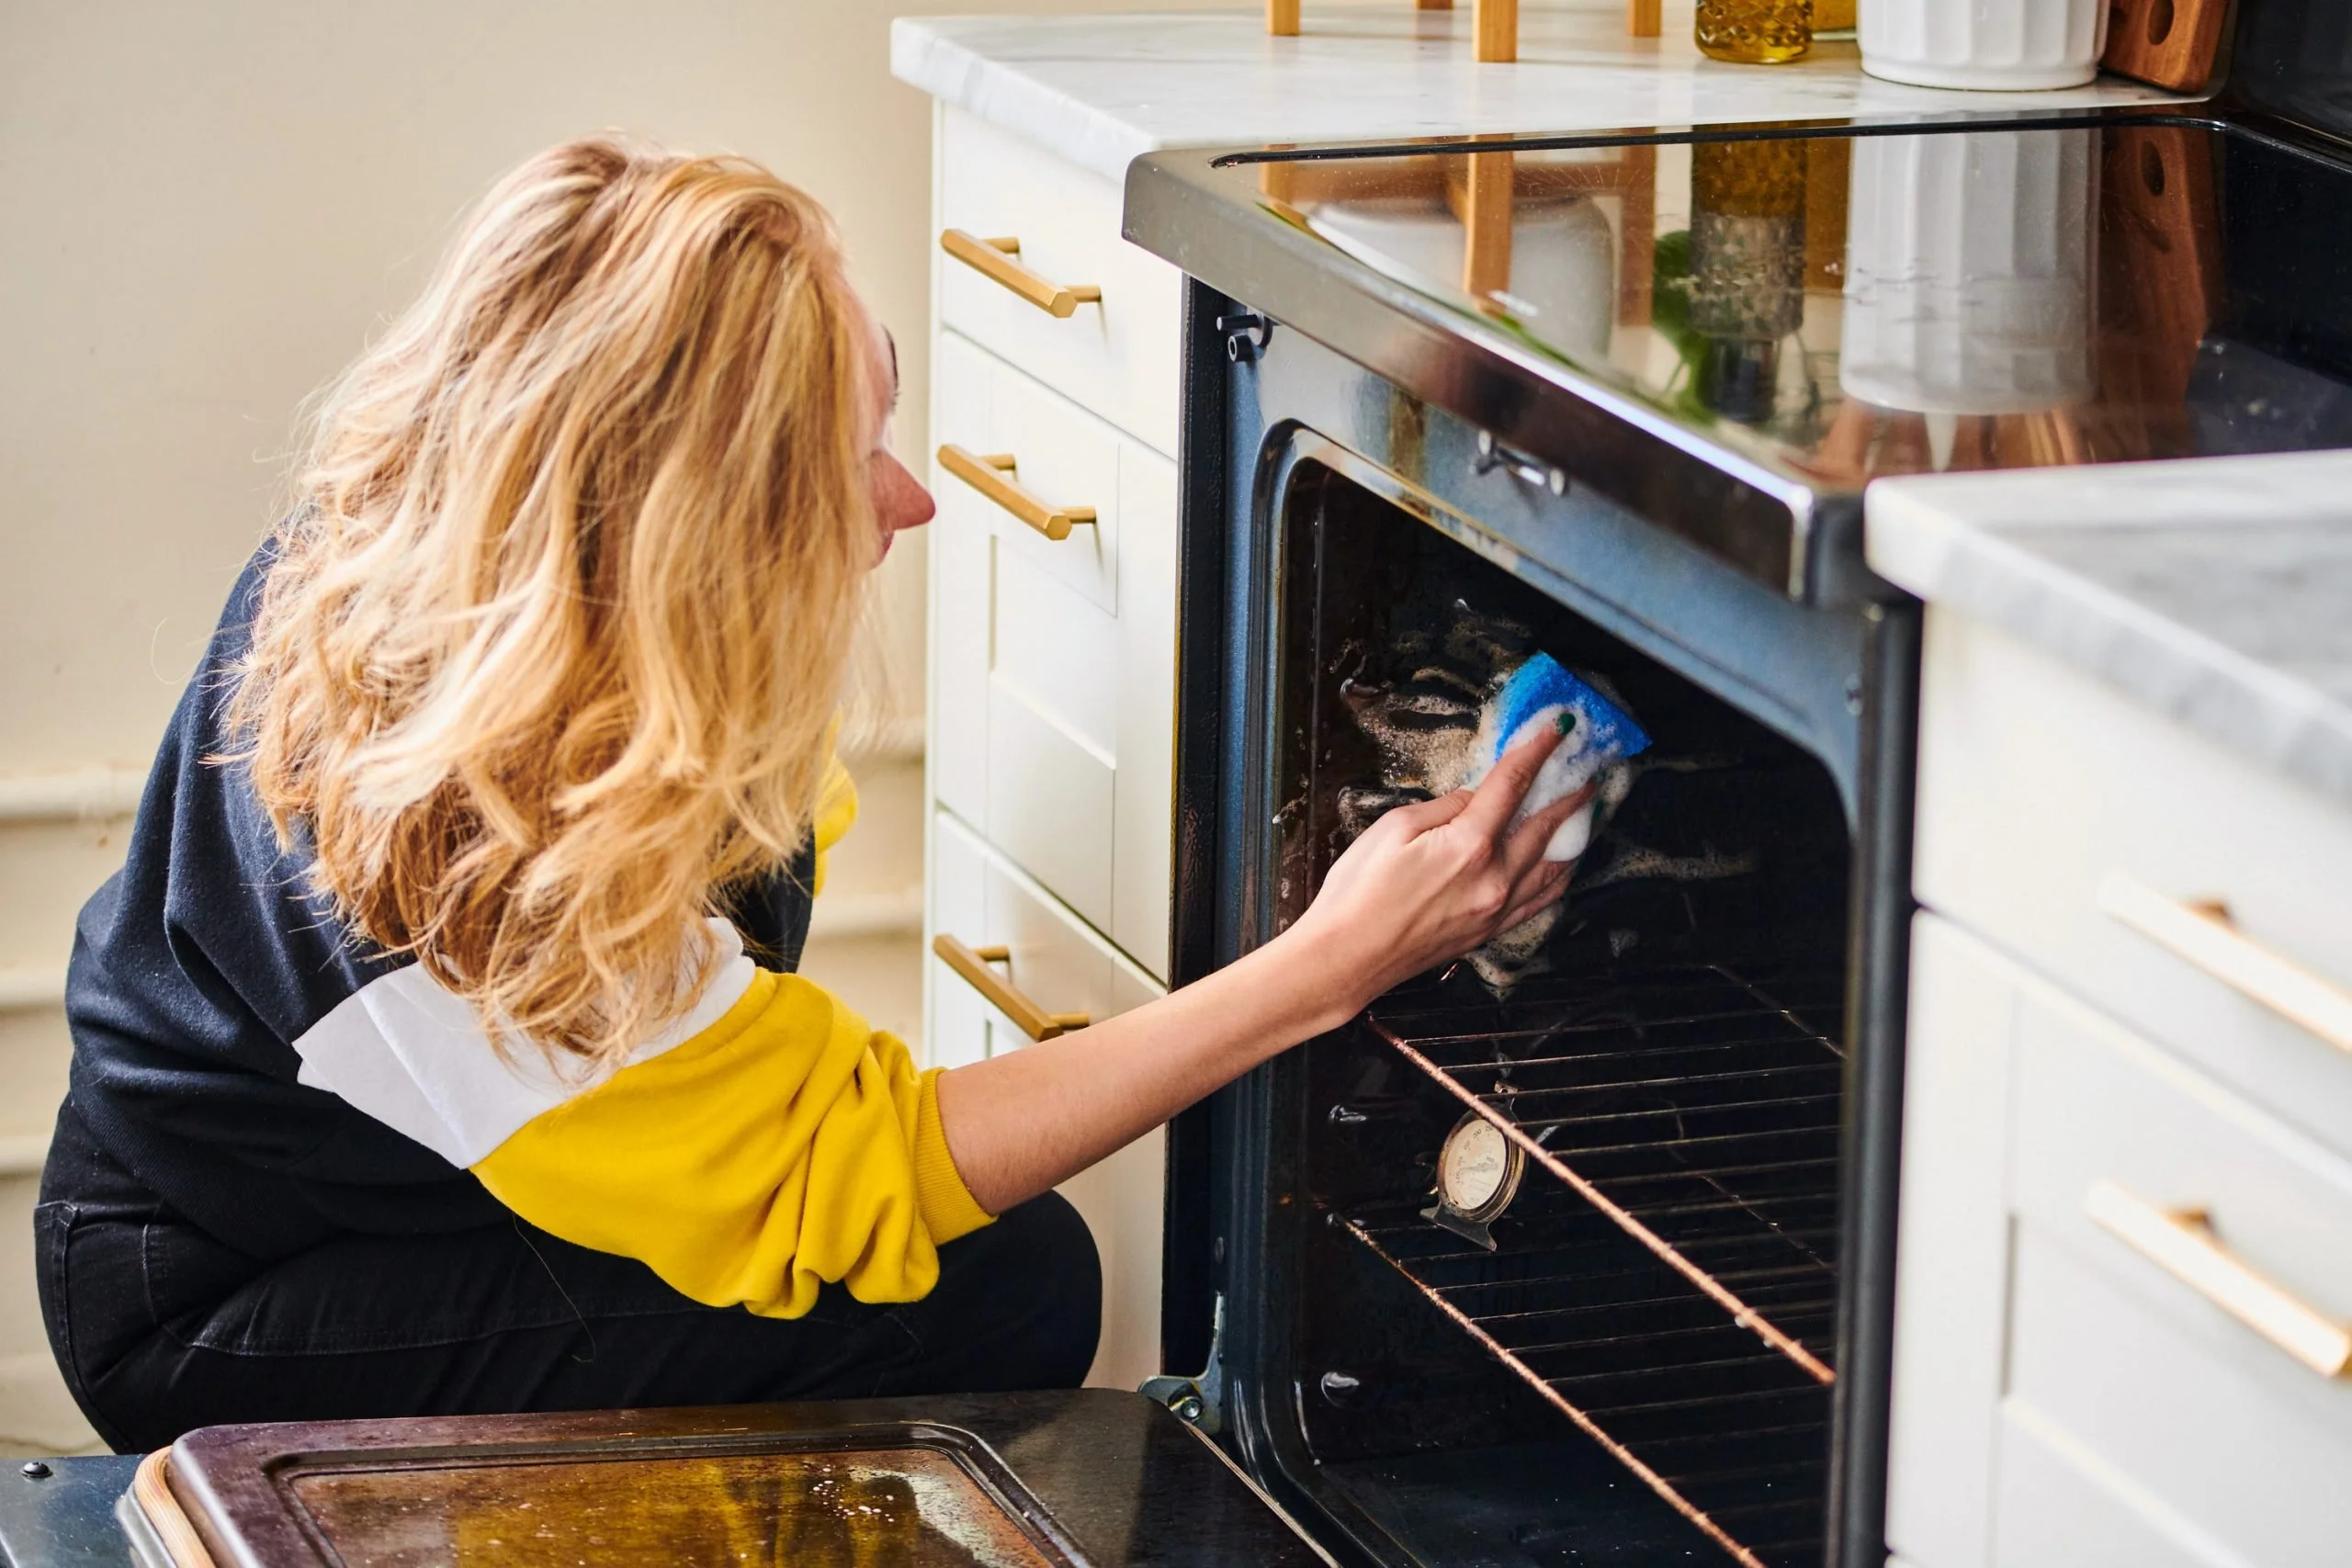
How to Best Clean Your Oven According to Kitchen Experts
Cleaning the oven can often feel like an overwhelming task, especially after holiday feasts or regular family dinners. Over time, grease, grime, and burnt-on food can accumulate, turning what was once a gleaming appliance into a daunting chore. Many of us dread the thought of scrubbing away at the buildup, but it doesn’t have to be a Herculean effort. With the right approach and reliable products, you can restore your oven to its sparkling state without losing your mind.
Here’s a straightforward guide to the best ways to clean your oven, featuring insights from kitchen experts and practical methods that can fit your cleaning style.
Why Cleaning Your Oven Matters
Beyond aesthetics, having a clean oven is crucial for maintaining food safety and efficiency. Residual food particles can not only impart unpleasant smells but can also affect cooking times and the overall performance of your appliance. While it might be easy to overlook this task amidst our busy schedules, neglecting oven maintenance can lead to burnt-on messes that become increasingly difficult to remove over time.
Choosing the Right Cleaning Products
When it comes to oven cleaners, you have several options at your disposal:
Commercial Cleaners
If you prefer a hassle-free approach, commercial oven cleaners are often your best bet. A top recommendation is Easy-Off Fume Free Oven Cleaner. This effective product battles stubborn grease and grime with ease, requiring only a spray and some patience. Simply apply the cleaner, let it sit overnight, and come morning, a damp cloth should whisk away the debris. Just keep a window cracked open to mitigate any lingering fumes.
Another effective choice is Great Value Oven Cleaner. While it might not perform as smoothly as the Easy-Off version, it’s a more economical option that still gets the job done without breaking the bank.
Natural Alternatives
If you prefer a more natural approach, consider using baking soda and vinegar. Here’s a quick method:
- Make a Paste: Combine baking soda with a little water to create a thick paste.
- Apply: Spread it evenly across the greasy areas of your oven, avoiding the heating elements.
- Let it Sit: Allow it to sit for several hours or overnight to break down the grime.
- Wipe Clean: Use a damp cloth or sponge to remove the paste, wiping away any remaining residue with a solution of vinegar and water.
Just keep in mind that this method may require more elbow grease and time compared to using commercial cleaners, but many find it satisfying to rely on simple household items.
Step-by-Step Cleaning Process
Gather Your Supplies: Depending on your cleaning choice, gather either your commercial cleaner or your natural ingredients like baking soda, vinegar, and a damp cloth.
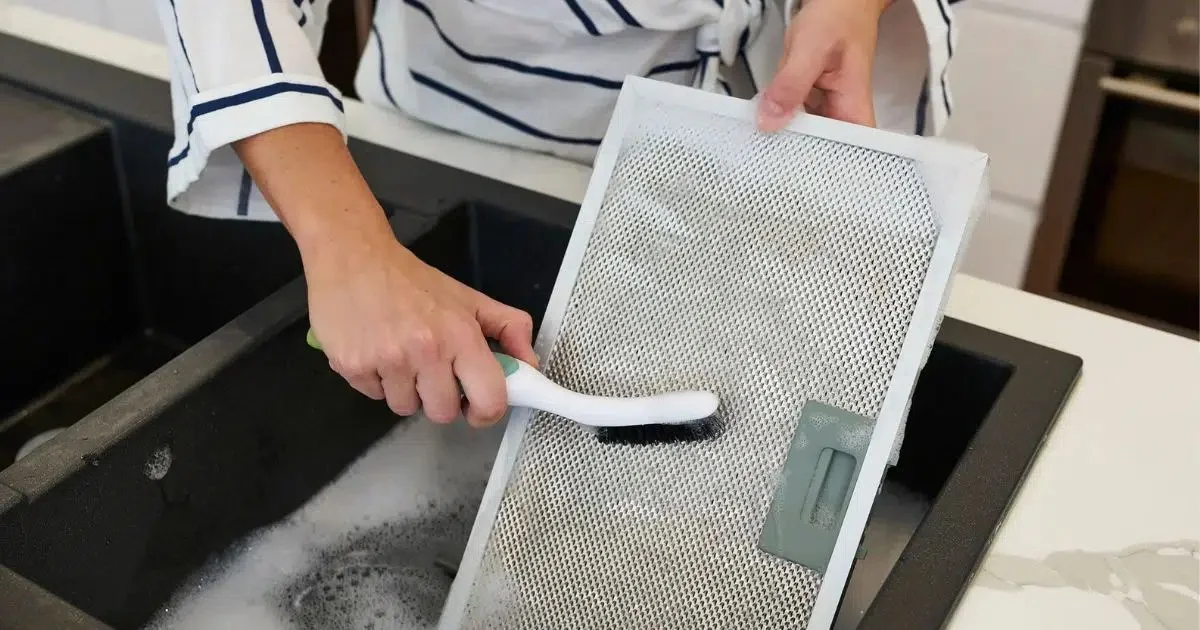
Prepare the Oven: Remove any large food debris from the bottom of the oven. For those who have removable oven racks, take them out as well, as they can be cleaned separately in the sink with soapy water.
Apply the Cleaner: If using a commercial product, follow the label directions for application timing. For a natural solution, you’ll spread your baking soda paste where necessary and let it do its work.
Scrub if Necessary: After the designated time, either wipe down the surfaces with a damp cloth (for commercial products) or scrub gently with a sponge in the case of the baking soda and vinegar method.
Final Wipe: You may need to finish off with a clean damp cloth to ensure all residues are gone. Check if you missed any spots, especially around the oven door and edges.
Replace the Racks: Make sure everything is dry before returning the oven racks to their original positions.
Common Mistakes to Avoid
- Neglecting Periodic Cleaning: Regular maintenance reduces the amount of grime buildup, making your next clean much simpler.
- Overusing Cleaning Products: More isn’t always better. Using too much cleaner can leave a sticky residue that may become a magnet for dust after cleaning.
- Inappropriate Tools: Avoid using abrasive scrubbers on self-cleaning surfaces, as these can scratch the oven coating.
A Little Prevention Goes a Long Way
To avoid hefty cleaning sessions down the line, consider lining your baking sheets with aluminum foil to catch drips. Also, wiping up messes as they happen will help keep your oven cleaner in the long run.
Overall, sticking to a regular cleaning schedule—be it monthly or quarterly—will keep your oven in top shape and make those cooking sessions much more enjoyable. Remember, a little elbow grease now can save you a mountain of effort (and frustration) later!
By staying on top of your oven cleaning, you’ll not only enhance your cooking experience but also maintain a safe kitchen environment for you and your loved ones. So don’t put it off any longer—your oven deserves some TLC!