

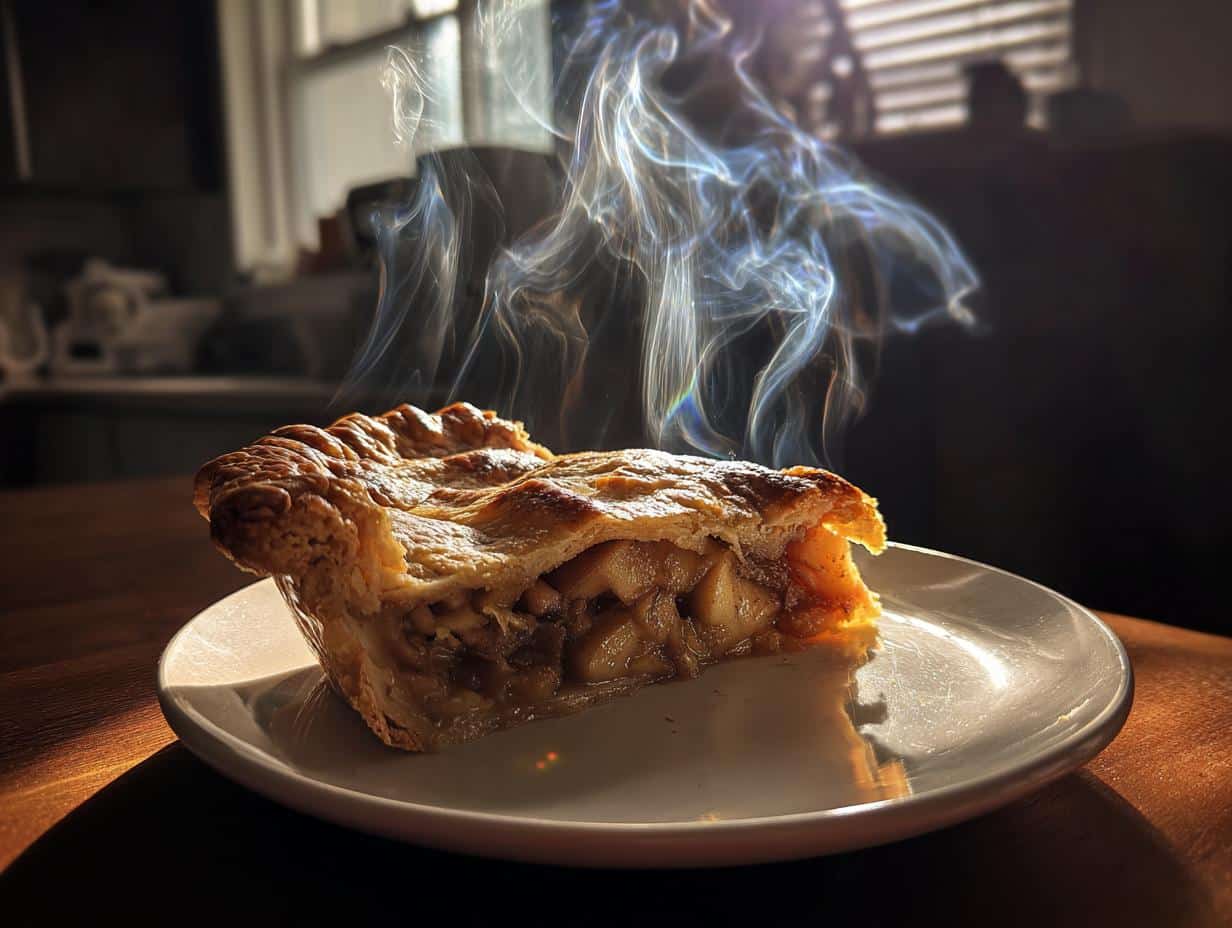
There’s just something magical about the smell of apple pie baking when the leaves start to turn, right? It instantly transports me back to crisp autumn afternoons, helping my mom roll out dough. This classic apple pie recipe is my absolute go-to for fall desserts. It’s got that perfect flaky crust that shatters just right, and the filling? Oh, it’s a warm hug of sweet, spiced apples that just screams cozy. Trust me, this pie is a winner for any fall gathering!
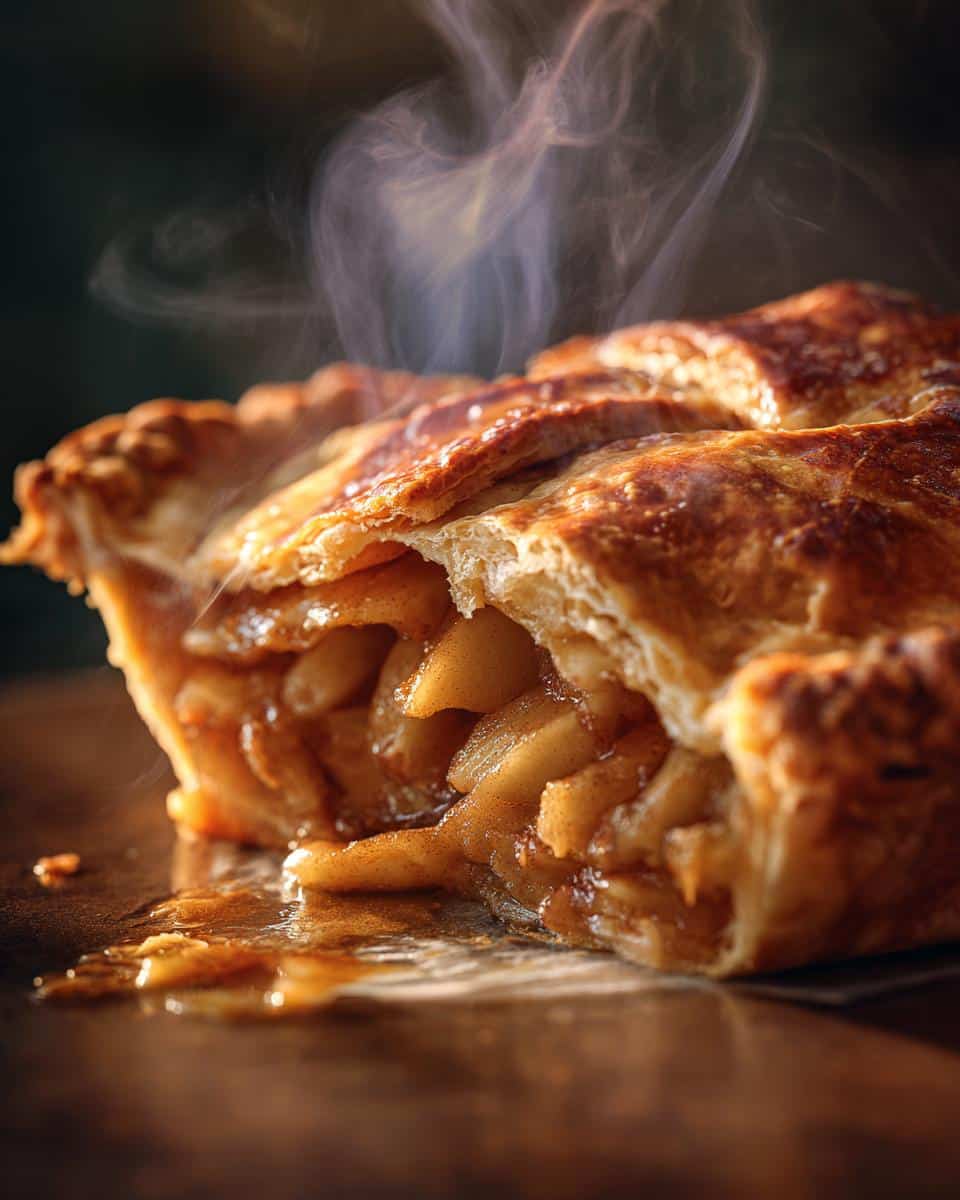
Why You'll Love This Classic Apple Pie Recipe for Fall Desserts
Seriously, this apple pie is a dream for anyone who loves fall desserts! It’s surprisingly easy to whip up, even if you’re new to pie-making. It’s pure comfort in every bite, with that perfect balance of sweetness and spice that just makes you feel good. Plus, the aroma that fills your kitchen while it bakes is pure autumn magic. It’s absolutely perfect for any autumn gathering you’ve got planned!
Gathering Your Ingredients for Perfect Fall Desserts
Alright, let’s get our ducks in a row for this amazing fall dessert! You’ll need a good double pie crust – I’ve got a fantastic recipe for that, but honestly, a good store-bought one works in a pinch too. For the filling, grab about 6 medium apples to make roughly 6 cups when you slice them nice and thin. Make sure they’re peeled! Then, you’ll need 3/4 cup of granulated sugar and 1/4 cup of packed brown sugar for that lovely caramel depth. A tablespoon of flour helps thicken things up, and for that signature fall dessert flavor, we’re using 1 teaspoon of cinnamon, 1/4 teaspoon of nutmeg, and a pinch of allspice. Oh, and don’t forget the lemon juice and those little butter pieces!
Pie Crust Essentials
You absolutely need a good double pie crust for this. It’s the foundation of our fall dessert! Make sure it’s chilled and ready to go. A flaky, buttery crust is non-negotiable for that perfect bite.
The Heart of Fall Desserts: Apple Filling
The apples are the star, of course! A mix of sweet and tart apples, like Honeycrisp and Granny Smith, gives you the best flavor. The granulated sugar brings sweetness, while the brown sugar adds a richer, almost molasses-like note that’s just divine in fall desserts. The flour? It’s our secret weapon for a perfectly gooey, not watery, filling. And those spices – cinnamon, nutmeg, and allspice – they’re what make it taste like pure autumn! For more on selecting the best apples, check out this guide on apple varieties for baking.
Finishing Touches for Your Fall Dessert
A little bit of lemon juice brightens up the apples. Those small butter pieces dotted on top melt into the filling, making it extra luscious. And for that gorgeous golden glow and a little crunch, we’ll use an egg wash and a sprinkle of sugar right before baking.
Step-by-Step Instructions to Create Delicious Fall Desserts
Preparing the Crust and Filling
Okay, first things first, let’s get that oven preheating to 400°F (200°C). While it’s warming up, gently place one of your pie crusts into a 9-inch pie plate. You want it to fit nicely, so just trim the edges a bit, leaving a little overhang. Now, grab a big bowl and toss those thinly sliced apples with the granulated sugar, that lovely packed brown sugar, the flour, cinnamon, nutmeg, and allspice. Make sure all those beautiful apple slices are coated evenly – that’s where all that amazing fall dessert flavor comes from! Once they’re all dressed up, pour this glorious apple mixture right into your pie crust-lined plate. Try to spread it out evenly.
Assembling and Decorating Your Fall Dessert
Next, we’ll drizzle that lemon juice all over the apples. This really helps to brighten up the flavor and keeps the apples from browning too much. Then, dot the top of the apple mixture with those little pieces of butter. They’ll melt down into the filling as it bakes, making it extra rich and delicious! Now, carefully place your second pie crust over the top. You want to seal those edges really well, so crimp them together firmly – this is key to keeping all that yummy filling inside. Don’t forget to cut a few slits or vents in the top crust; this lets the steam escape while baking. Finally, give the top crust a nice brush with your beaten egg wash and sprinkle that extra tablespoon of sugar over it for a beautiful, crunchy finish. It just makes your fall dessert look so inviting!
Baking Your Perfect Fall Dessert
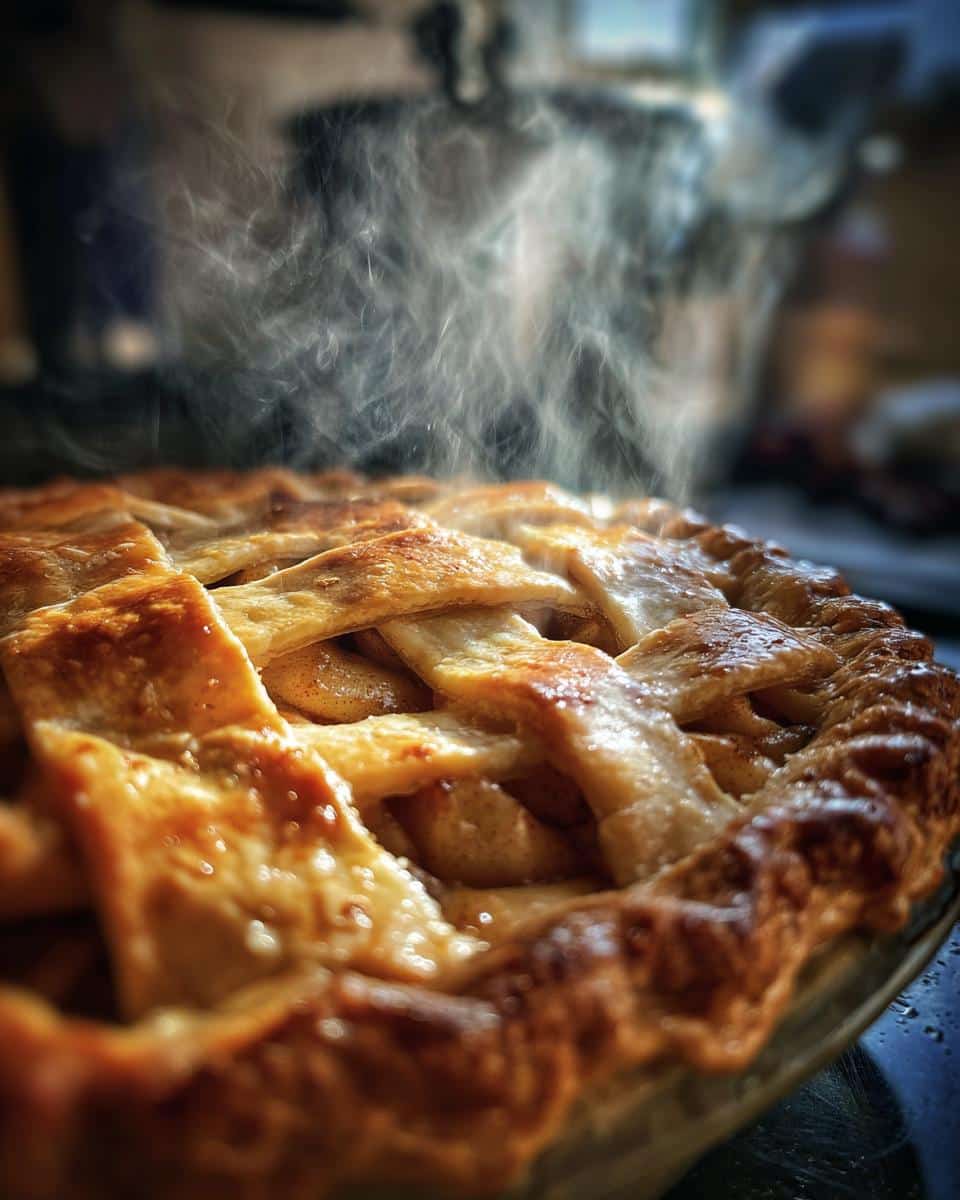
Time for the oven! Pop that pie in, and let it bake at 400°F (200°C) for about 15 minutes. You’ll see it start to puff up and get a little golden. Then, we’re going to lower the oven temperature to 375°F (190°C) and let it continue baking for another 35 to 45 minutes. You’re looking for that crust to be a gorgeous, deep golden brown, and you should see the filling bubbling away happily through those vents. Keep an eye on it – if the edges start to get too dark too quickly, just loosely cover them with strips of aluminum foil. This trick saves the crust from burning while the inside finishes cooking perfectly. It’s all about getting that beautiful crust color!
Cooling and Serving Your Fall Dessert
Once it’s out of the oven, resist the urge to slice into it immediately! Seriously, this is important. Place the pie on a wire rack and let it cool for at least 2 hours. This cooling time allows the filling to set properly, so you get those nice, clean slices instead of a soupy mess. Trust me, patience pays off here for the best fall dessert experience!
Tips and Tricks for the Best Fall Desserts
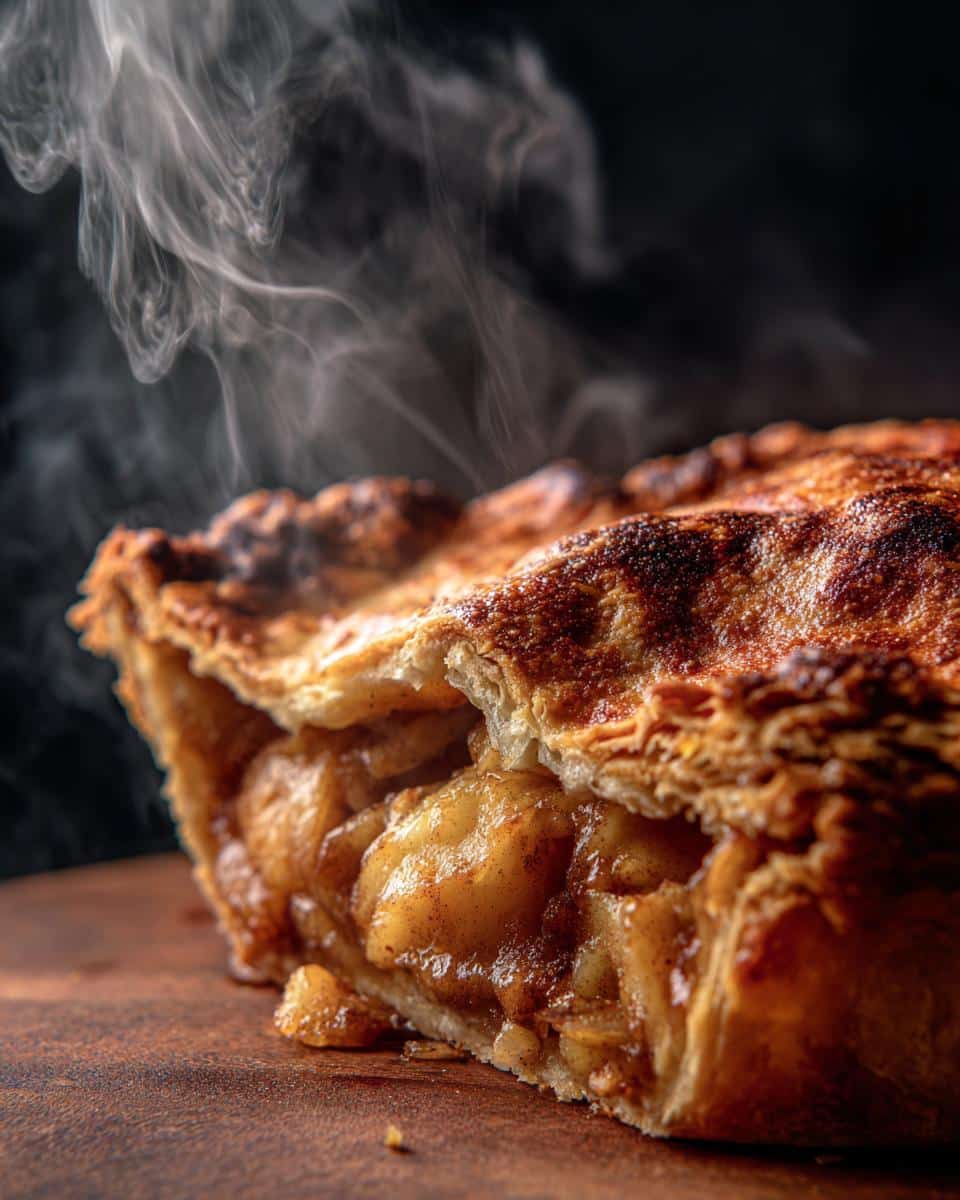
Okay, so you want your apple pie to be the star of your fall dessert spread? I’ve got you covered! A few little secrets make all the difference. For instance, don’t just grab any old apple; mixing varieties gives you the best flavor and texture. And keeping that crust just right? A couple of easy steps will prevent any baking mishaps.
Apple Selection for Optimal Fall Desserts
For the absolute best flavor and texture in your fall desserts, try using a mix of apples! I love combining something sweet and crisp like Honeycrisp or Gala with a tarter apple such as Granny Smith. This combo gives you a wonderful balance of sweet and tart, and they hold their shape beautifully while baking!
Achieving a Perfect Crust Every Time
To get that gorgeous, golden crust and avoid a soggy bottom, make sure your pie is well-vented and that the filling is nice and bubbly when it comes out of the oven. If the edges start looking a little too brown before the center is done, just wrap them loosely in foil – it’s my secret weapon!
Frequently Asked Questions About Fall Desserts
Got questions about making this amazing apple pie? I get it! It’s always good to know the little details for perfect autumn baking. Here are a few things people often ask me:
What are the best apples for fall desserts?
For the most delicious fall desserts, I really recommend using a mix of apples! A combination of sweet and tart varieties, like Honeycrisp and Granny Smith, gives you the best flavor and texture. They hold up so well when baked!
How long should fall desserts like apple pie cool?
This is super important! You really need to let your apple pie cool for at least 2 hours. It might be tempting to dive in, but this cooling time lets the spiced apples and juices set up properly so you get beautiful slices.
Can I make this fall dessert ahead of time?
Absolutely! You can bake this pie a day in advance. Just let it cool completely, then cover it loosely with plastic wrap or foil. It’s still delicious the next day, maybe even better as the flavors meld!
Ingredient Notes and Substitutions for Fall Desserts
Let’s chat about some of the ingredients in this classic fall dessert. You’ll notice we use both granulated and brown sugar. The granulated sugar gives us sweetness, but that packed brown sugar? It adds this wonderful, deep molasses flavor that’s just perfect for autumn baking. If you don’t have allspice, a tiny pinch of cloves or even a bit more nutmeg can work in a pinch, though the allspice really adds a special warmth.
Sweetener Options for Fall Desserts
The mix of granulated and packed brown sugar is key here. The brown sugar really brings out that cozy, caramel-like flavor that’s essential for great fall desserts. Don’t pack the granulated sugar, though – just a light spooning is perfect!
Spice Adjustments for Your Fall Dessert
Feel free to play with the spices a bit! If you love cinnamon, add a little extra. A tiny pinch of ground cloves or ginger can also be lovely additions to complement the cinnamon and nutmeg in your fall dessert.
Serving Suggestions for Your Classic Fall Dessert
This apple pie is fantastic all on its own, but oh my goodness, it’s even better with a few extras! For that ultimate cozy fall dessert experience, I love serving it warm with a big scoop of creamy vanilla ice cream. A dollop of freshly whipped cream is also divine! And if you’re feeling fancy, a drizzle of caramel sauce over the top is just pure heaven. It really elevates this classic fall dessert to a whole new level! For more dessert inspiration, check out these easy plant-based desserts.
Storing and Reheating Your Delicious Fall Dessert
Got leftovers of this amazing apple pie? Lucky you! Once it’s completely cooled, you can store it tightly covered at room temperature for up to two days, or in the refrigerator for about four days. To reheat, just pop a slice into a moderate oven (around 350°F or 175°C) for about 10-15 minutes until it’s warmed through and that crust is nice and crisp again. It’s like baking it fresh all over!
Nutritional Estimate for Your Fall Dessert
Just so you know, the nutritional info for this delicious fall dessert is an estimate per slice. We’re looking at around 350 calories, about 18g of fat (10g of that’s saturated), 3g of protein, and 45g of carbohydrates. It’s a treat, for sure, and perfect for enjoying those cozy autumn moments!
Print
Amazing Apple Pie: 1 Perfect Fall Dessert
- Total Time: 2 hours 30 minutes
- Yield: 8 servings 1x
- Diet: Vegetarian
Description
A classic apple pie recipe perfect for autumn gatherings. This pie features a flaky crust and a sweet, spiced apple filling.
Ingredients
- 1 recipe for double pie crust
- 6 cups thinly sliced peeled apples (about 6 medium)
- 3/4 cup granulated sugar
- 1/4 cup packed brown sugar
- 1 tablespoon all-purpose flour
- 1 teaspoon ground cinnamon
- 1/4 teaspoon ground nutmeg
- 1/4 teaspoon ground allspice
- 1 tablespoon lemon juice
- 2 tablespoons unsalted butter, cut into small pieces
- 1 large egg, beaten (for egg wash)
- 1 tablespoon granulated sugar (for sprinkling)
Instructions
- Preheat your oven to 400°F (200°C).
- Line a 9-inch pie plate with one pie crust. Trim the edges.
- In a large bowl, toss the sliced apples with granulated sugar, brown sugar, flour, cinnamon, nutmeg, and allspice.
- Pour the apple mixture into the pie crust.
- Drizzle the lemon juice over the apples. Dot the top with butter pieces.
- Cover the pie with the second pie crust. Crimp the edges to seal. Cut vents in the top crust.
- Brush the top crust with the beaten egg and sprinkle with the remaining tablespoon of sugar.
- Bake for 15 minutes.
- Reduce oven temperature to 375°F (190°C). Continue baking for 35-45 minutes, or until the crust is golden brown and the filling is bubbly.
- Let the pie cool on a wire rack for at least 2 hours before serving.
Notes
- For a richer flavor, use a mix of apple varieties like Honeycrisp, Gala, and Granny Smith.
- If the crust starts to brown too quickly, cover the edges with aluminum foil.
- Serve warm with vanilla ice cream or whipped cream.
- Prep Time: 30 minutes
- Cook Time: 50-60 minutes
- Category: Dessert
- Method: Baking
- Cuisine: American
Nutrition
- Serving Size: 1 slice
- Calories: 350
- Sugar: 35g
- Sodium: 200mg
- Fat: 18g
- Saturated Fat: 10g
- Unsaturated Fat: 8g
- Trans Fat: 0g
- Carbohydrates: 45g
- Fiber: 3g
- Protein: 3g
- Cholesterol: 45mg