
How to Revive an Orchid: Step by Step Guide
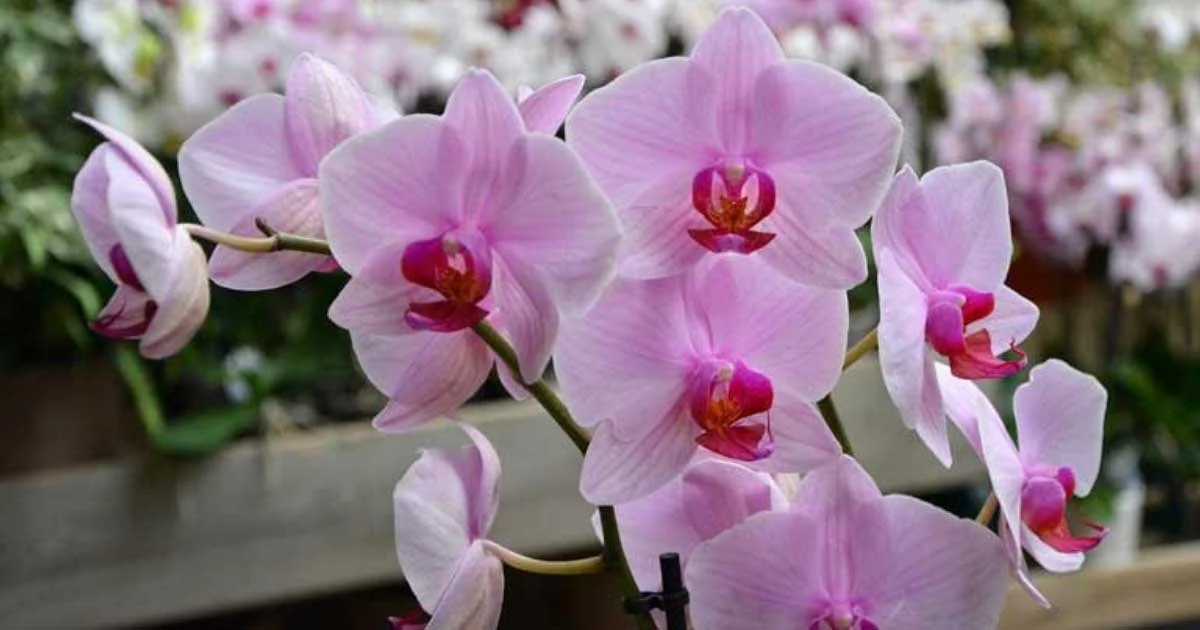
Many homeowners find themselves in a predicament: they adore orchids for their delicate beauty but struggle to keep these stunning plants alive. If you’ve noticed your orchid looking more like a sad memory than a thriving piece of nature, you’re not alone. Although orchids can seem high-maintenance, with patience and the right approach, you can give your plant a new lease on life. In this guide, we will walk you through practical steps to revive your orchid, ensuring it not only survives but thrives.
Understanding the Orchid’s Needs
Before diving into the revival process, it’s essential to understand why orchids often struggle. These tropical plants have specific needs regarding light, water, and potting medium. Many people overlook these factors, leading to overwatering or insufficient light, resulting in limp leaves and poor blooms. By getting to know your orchid’s ideal environment, you’ll have a much clearer path to rejuvenation.
Step 1: Assess the Situation
Start by carefully examining your orchid. Look for signs of distress such as yellowing leaves, wilting, or blackened roots. These indicators can help you determine what actions to take.
- Yellowing leaves: This often means overwatering or insufficient light.
- Droopy flowers: Typically a sign of dehydration or lack of nutrients.
- Blackened or mushy roots: Indicates root rot, often caused by excessive moisture.
Seeing these signs can be disheartening, but don’t lose hope! Orchids are resilient and can bounce back with the right care.
Step 2: Clean the Roots
Once you’ve assessed your orchid’s condition, it’s time for some root revival. Carefully remove your orchid from its pot to examine the roots. Gently rinse the roots under lukewarm water to remove any old potting mix and dead roots. Here’s what to keep in mind:
- Healthy roots are firm and green or white.
- Dead roots are brown, black, and mushy. Trim these away with sterilized scissors to prevent disease.
By giving the roots a thorough cleaning, you’re setting up your orchid for a much easier recovery.
Step 3: Choose the Right Potting Medium
Once the roots are cleaned, it’s crucial to pot your orchid in fresh, appropriate medium. Orchids thrive in a well-draining mix typically made from bark, moss, or specialized orchid potting soil. This ensures they don’t retain too much water.
When repotting:
- Opt for a pot with plenty of drainage holes.
- Position the roots gently within the new medium, ensuring they’re not tightly packed, which can suffocate them.
Step 4: Water and Light Adjustment
Next up is watering. Orchids are sensitive to moisture levels, so be sure not to overdo it. Here’s a simple rule of thumb for watering:
- Winter: Water once a week.
- Summer: Water every 5–7 days, especially if the weather is particularly dry.
Additionally, find a suitable location for your orchid. They prefer bright, indirect light. A windowsill that gets morning sunlight could be ideal. Avoid direct sunlight, as this can scorch the leaves.
Step 5: Patience and Care
After you’ve potted your orchid and adjusted its light and water conditions, it’s all about patience. Allow your orchid time to adjust to its new environment. During this period, observe for any changes, such as new growth or roots, which are good signs that your orchid is on the mend.
Common Mistakes to Avoid
While reviving your orchid, it’s helpful to be aware of common pitfalls:
- Overwatering: This is the leading cause of orchid decline. Always allow the potting medium to dry out between waterings.
- Lack of humidity: Orchids usually thrive in humidity levels of 40% to 60%. If your home is dry, consider using a humidity tray or a room humidifier.
- Not monitoring light: If you notice leaf burn, your orchid might be getting too much sunlight. If the leaves are dark and limp, it could be craving more light.
Signs of Success
So, how will you know if your efforts are paying off? Look for new growth! This can take some time, but when you begin to see new leaves or roots emerging, you’ll know your orchid is responding well to the care you’ve provided.
Frequently Asked Questions
How long does it take for an orchid to recover?
Orchids can take anywhere from a few weeks to several months to bounce back, depending on how drastically you’ve altered their care routine.
Can I use regular potting soil for orchids?
No, regular potting soil retains too much moisture for orchids. It’s best to use a specialized orchid mix that allows for proper drainage.
Should I fertilize my orchid while it’s recovering?
It’s usually best to hold off on fertilizing until you see new growth. Once your orchid starts to recover, a diluted orchid fertilizer can help promote healthy growth.
Conclusion
Reviving an orchid may seem daunting, but with a little care and understanding, it’s entirely achievable! By assessing the plant’s needs, providing the proper care, and being patient, you can restore your orchid to its former beauty. Remember, gardening is often a lesson in resilience—both for plants and for us. So, embrace the journey, and enjoy the process of bringing your beautiful orchid back to life!