
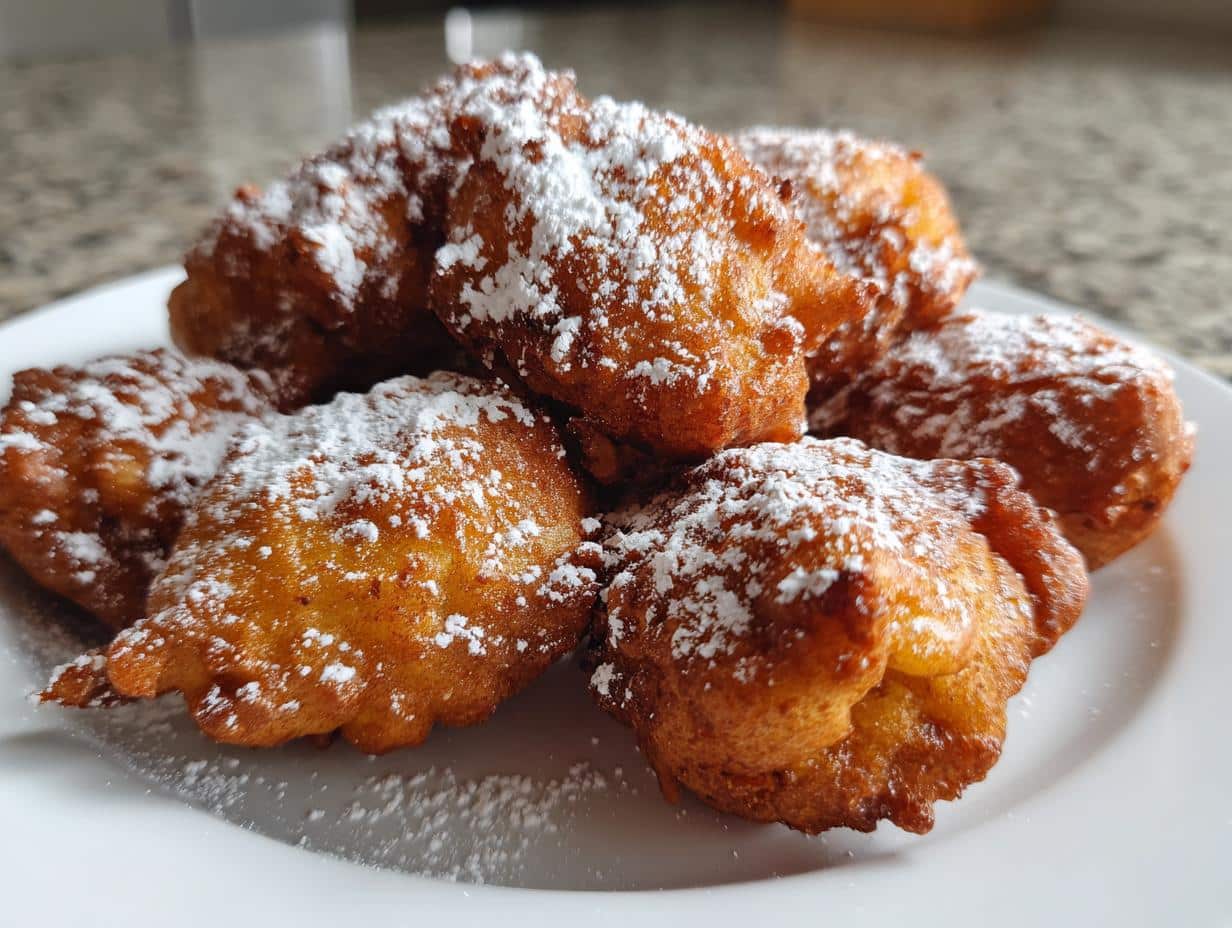
Oh, you know how much I *adore* this time of year! The crisp air, the colorful leaves, and of course, all the cozy flavors. When it comes to fall snacks, nothing beats something warm, comforting, and super easy to whip up. I remember one year, we had unexpected company right when the leaves were at their peak, and I threw these together in a flash. They were gone before I knew it! What I love most about these little pumpkin delights is just how simple they are – seriously, you can have them ready in under 30 minutes. They’re the perfect little taste of autumn without any fuss, which is exactly what we all need when life gets busy.
Why You'll Love These Fall Snacks
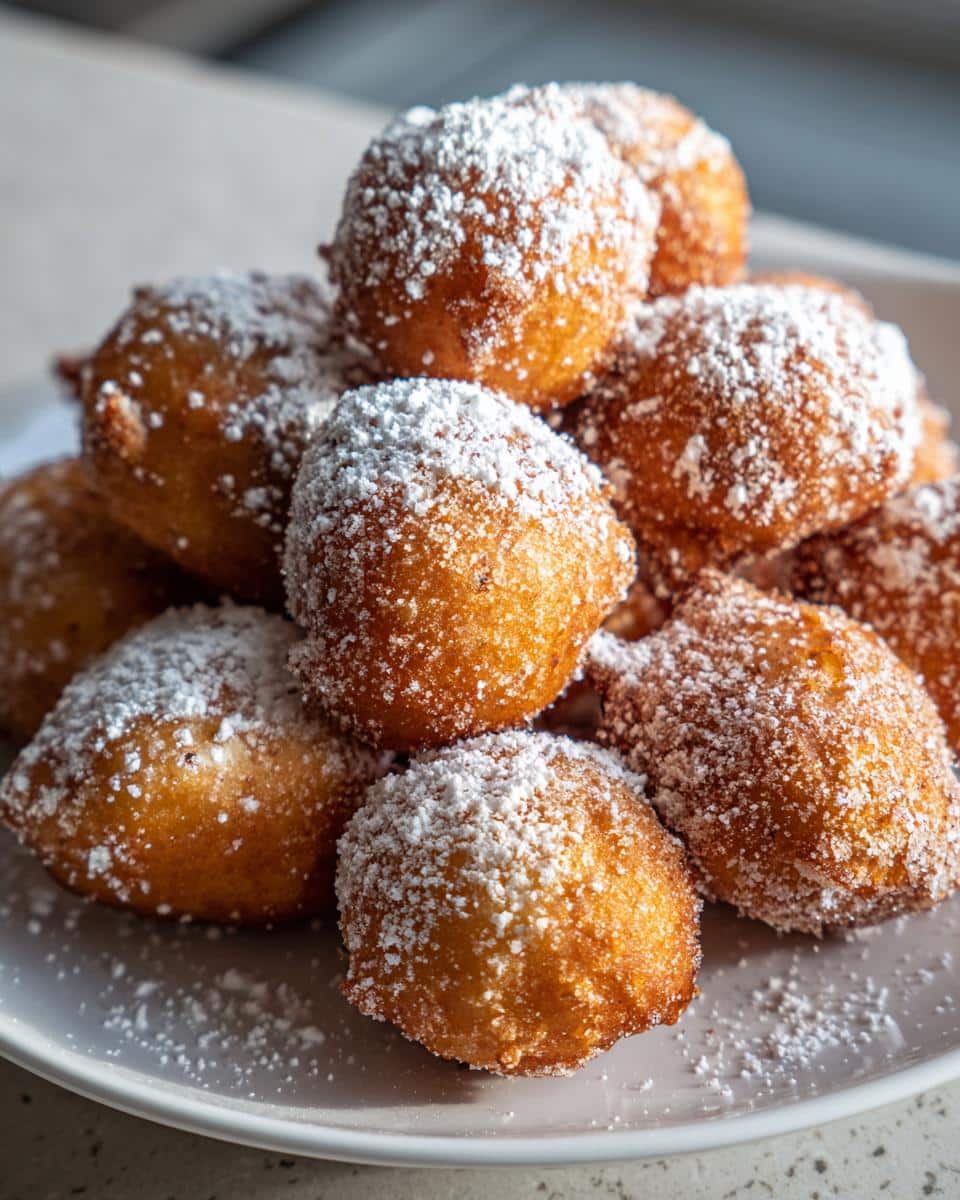
Seriously, these little pumpkin wonders are a game-changer for your autumn snack rotation. They’re ridiculously easy to make, which is a lifesaver when you’re juggling all the fall activities. Plus, the flavors are pure cozy comfort!
Quick Preparation for Busy Fall Days
With just 15 minutes of prep time, these snacks are perfect for those busy afternoons when you need a quick treat without a lot of fuss.
Perfect Seasonal Flavors
The warm blend of cinnamon and nutmeg, combined with that unmistakable pumpkin goodness, just screams autumn. They taste like fall in a bite!
Simple Ingredients, Big Taste
You probably already have most of what you need in your pantry! Using basic ingredients means you get amazing flavor without needing anything fancy.
Gathering Your Fall Snacks Ingredients
Alright, let’s get down to business and gather everything we need for these super yummy fall snacks. The best part is, most of this stuff is probably already hanging out in your kitchen! You don’t need anything super fancy, which is just how I like it. Having all your ingredients measured out and ready to go makes the whole process so much smoother, trust me.
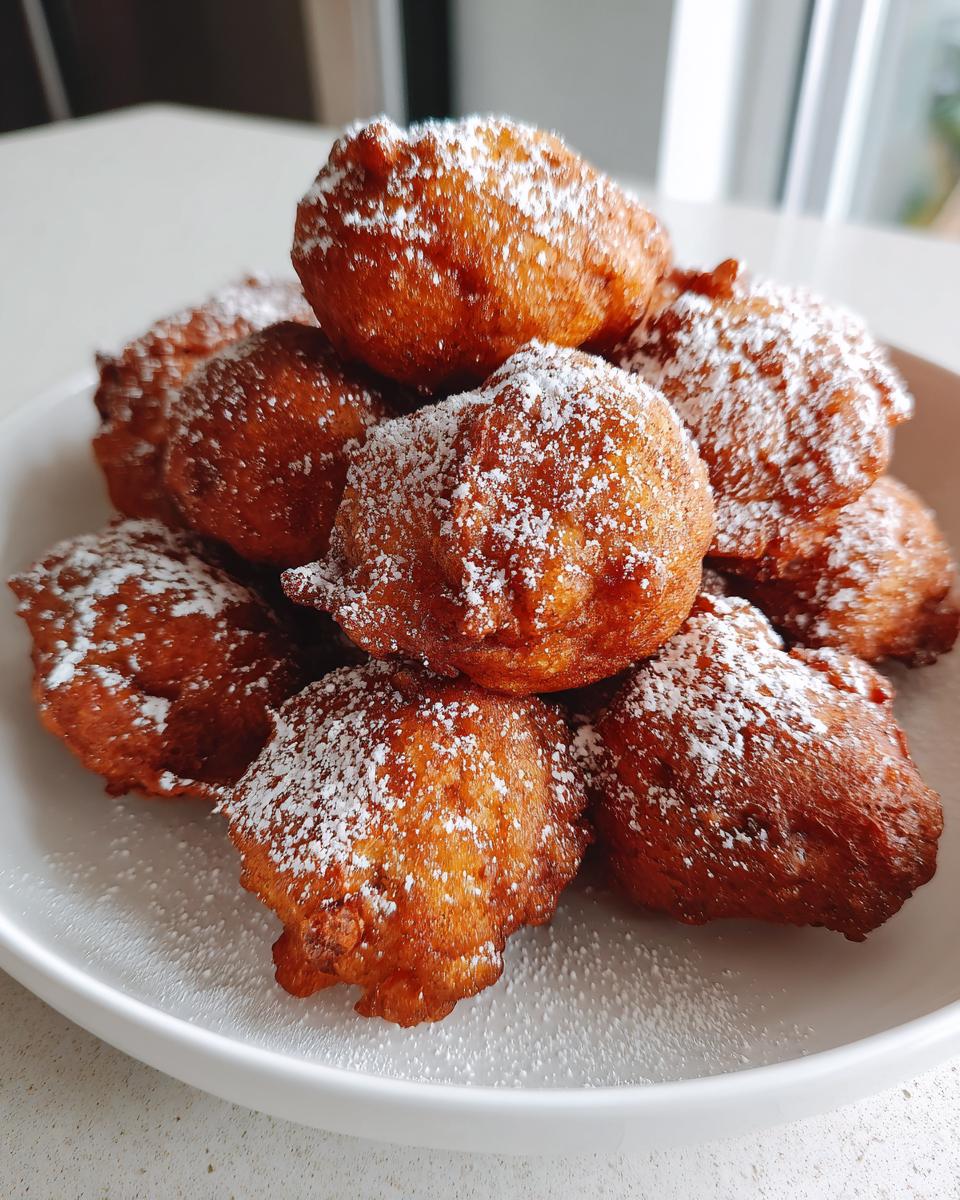
Essential Ingredients for Delicious Fall Snacks
Here’s what you’ll need to grab:
Pumpkin Puree
You’ll want 1 cup of pumpkin puree. Make sure it’s the pure pumpkin, not the pie filling – we want that pure pumpkin flavor!
All-Purpose Flour
Grab about 1/2 cup of all-purpose flour. It’s the base for our little pumpkin bites.
Sugar
We need 1/4 cup of granulated sugar. It gives them just the right amount of sweetness.
Egg
Just 1 large egg is all it takes to bind everything together nicely.
Baking Powder
About 1 teaspoon of baking powder will help these puff up just a bit.
Cinnamon
A good 1/2 teaspoon of ground cinnamon is essential for that classic fall warmth.
Nutmeg
And 1/4 teaspoon of ground nutmeg to really round out those cozy flavors.
Salt
Just a tiny pinch of salt to balance everything out.
Oil for Frying
You’ll need some oil for frying. A neutral-tasting one like vegetable or canola oil works perfectly. Just make sure you have enough to fill your pan about 2 inches deep.
Powdered Sugar
And finally, about 1/4 cup of powdered sugar for that pretty, sweet dusting right at the end.
How to Prepare Your Perfect Fall Snacks
Okay, now for the fun part – making these delicious fall snacks! It’s really pretty straightforward, and honestly, the smell that fills your kitchen while these are cooking is just heavenly. You’re going to love how quickly these come together. Just follow along with me, and we’ll have a tasty autumn treat in no time!
Combining Wet and Dry Ingredients for Fall Snacks
First things first, grab a medium-sized bowl and get your wet ingredients in there. We’re talking about that lovely pumpkin puree, the sugar, and the egg. Give that a good mix until it’s all smooth and combined. In a separate bowl, whisk together all your dry ingredients: the flour, baking powder, cinnamon, nutmeg, and that little pinch of salt. Now, gently add the dry stuff to the wet stuff. Mix them together until you *just* see everything come together. Seriously, don’t overmix! A few little lumps are totally fine and actually better, it means you haven’t developed the gluten too much, which keeps them tender.
Frying Your Delicious Fall Snacks to Golden Perfection
Next up is the frying! You’ll want to heat about 2 inches of oil in a deep pan or a pot over medium heat. You’re looking for it to get nice and hot, but not smoking. A good way to test if it’s ready is to drop a tiny bit of batter in – if it sizzles right away, you’re good to go! Carefully drop spoonfuls of your pumpkin batter into the hot oil. Don’t crowd the pan; give them some space so they can cook evenly. Fry them for about 2 to 3 minutes on each side. You want them to get this beautiful golden brown color. Keep an eye on them, as they can brown up pretty quickly!
Draining and Finishing Your Fall Snacks
Once they’re perfectly golden, use a slotted spoon to lift them out of the oil. Lay them on a plate lined with paper towels. This is super important to soak up any extra oil and keep them from getting greasy. Let them cool just a tad, so they’re not piping hot, and then comes my favorite part – dusting them with powdered sugar! Just give them a nice, generous sprinkle all over. They look so pretty and taste even better when they’re warm.
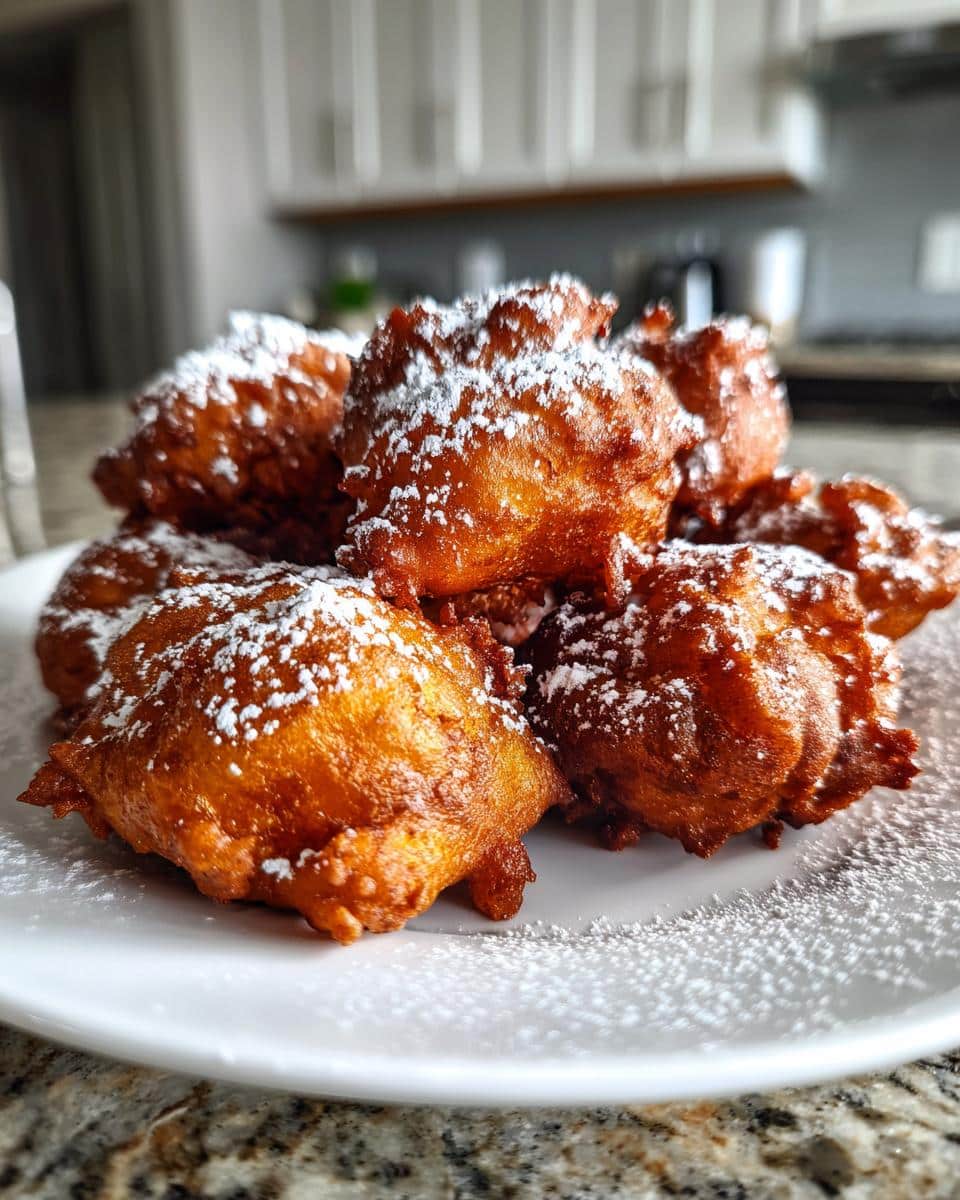
Tips for Making the Best Fall Snacks
Alright, let’s talk about making these fall snacks absolutely perfect every single time. It’s not complicated at all, but a few little tricks can really make a difference. I’ve learned these over the years, and they’re my go-to tips for getting them just right.
Achieving the Right Batter Consistency for Fall Snacks
When you mix your batter, you’re aiming for something that’s thick enough to hold its shape when you drop it into the oil, but not *so* thick that it’s stiff. It should be sort of like a thick pancake batter, maybe a little bit thicker. If it feels too thin, add just a tiny bit more flour, like a teaspoon at a time, until it feels right. You don’t want it runny, or it’ll just spread out in the oil and won’t form those nice little puffs.
Oil Temperature Matters for Fall Snacks
This is a big one, seriously! If your oil isn’t hot enough, your snacks will soak up too much oil and become greasy. If it’s too hot, they’ll burn on the outside before the inside is cooked. Aim for medium heat, and test it with a tiny bit of batter. It should sizzle immediately but not violently. Keeping the temperature steady is key to getting that perfect golden brown color all around. For more on safe frying temperatures, check out this food safety guide.
Customizing Your Fall Snacks
While the cinnamon and nutmeg are classic, don’t be afraid to play around! A little pinch of ground ginger or even a tiny bit of clove can add another layer of warmth. And serving them is flexible too! Sure, powdered sugar is lovely, but have you ever tried a little drizzle of maple syrup or even some caramel sauce? Oh my goodness, it takes these simple fall snacks to a whole new level. They’re great just warm, but these additions make them feel extra special. Try them with a dollop of homemade cinnamon roll frosting for an extra treat!
Serving Suggestions for Your Fall Snacks
These little pumpkin puffs are just wonderful served warm, right after they’ve been dusted with powdered sugar. They’re perfect on their own, but honestly, pairing them with a hot cup of coffee or a steaming mug of apple cider is pure bliss. They make a cozy afternoon snack feel like a real treat, especially when the weather starts to cool down.
Warm and Cozy Pairings
My favorite way to enjoy these is with a creamy latte or a spiced chai tea. The warmth and spice just complement each other so perfectly. They’re also fantastic with a glass of warm apple cider – it really brings out that autumn vibe! For more cozy drink ideas, consider a cozy apple cinnamon muffin pairing.
Storing and Reheating Your Fall Snacks
So, what if you happen to have any of these delicious fall snacks left over? It’s rare in my house, but if it happens, you’ll want to store them properly so they’re still amazing later. And don’t worry, reviving them is super easy and makes them taste almost as good as fresh!
Keeping Your Fall Snacks Fresh
Once they’ve cooled down completely, the best way to store any leftovers is in an airtight container. You can use a plastic container with a lid or even a zip-top bag. Pop them in your pantry or on the counter at room temperature. They’re usually best enjoyed within a day or two to keep that lovely texture. I find they lose a bit of their crispiness after that, but they’re still tasty!
Reviving Leftover Fall Snacks
If they’ve lost a little of their warmth or softness, don’t despair! You can easily reheat them. My favorite way is in a toaster oven or a regular oven at around 300°F (150°C) for just a few minutes until they’re warmed through. This helps bring back a little of that original texture. You can also pop them in the microwave for about 10-15 seconds, but be careful – they can get a bit chewy if you overheat them that way. The oven method is usually best!
Frequently Asked Questions About Fall Snacks
Got questions about these little pumpkin delights? I totally get it! It’s always good to know the little details, especially when you’re trying out a new recipe. These fall snacks are pretty forgiving, but here are some common things people ask me that might help you out too. I hope this clears everything up so you can make the best pumpkin snacks!
Can I bake these fall snacks instead of frying?
Oh, absolutely! If frying isn’t your thing, or you want a slightly lighter version, baking works great. Just preheat your oven to 375°F (190°C). Drop spoonfuls of the batter onto a baking sheet lined with parchment paper. Bake them for about 15 to 20 minutes, flipping them halfway through, until they’re golden brown. They won’t be quite as crispy as the fried ones, but they’re still delicious and a little healthier!
What other spices can I use in these fall snacks?
The cinnamon and nutmeg are perfect for that classic fall flavor, but feel free to get creative! I sometimes add a tiny pinch of ground ginger for a little extra zing, or even a whisper of ground cloves if I’m feeling wild. Sometimes a little allspice works wonders too. Just be careful not to add too much, as you don’t want to overpower that yummy pumpkin flavor. Experiment and find your favorite combo!
How long do these fall snacks stay fresh?
Honestly, they’re best eaten the same day you make them, especially if you like them a little bit crispy. But if you do have leftovers, store them in an airtight container at room temperature. They should stay pretty good for about 1 to 2 days. After that, they can start to get a bit soft, but they’re still tasty, especially if you warm them up a bit!
Are these fall snacks suitable for children?
Yes, definitely! Kids absolutely love these little pumpkin treats. They’re sweet, warm, and just the right size for little hands. The flavors are generally kid-friendly. If you’re worried about spices, you can always reduce the cinnamon and nutmeg a tiny bit for very young children. Otherwise, they’re a fantastic, easy autumn treat for the whole family to enjoy!
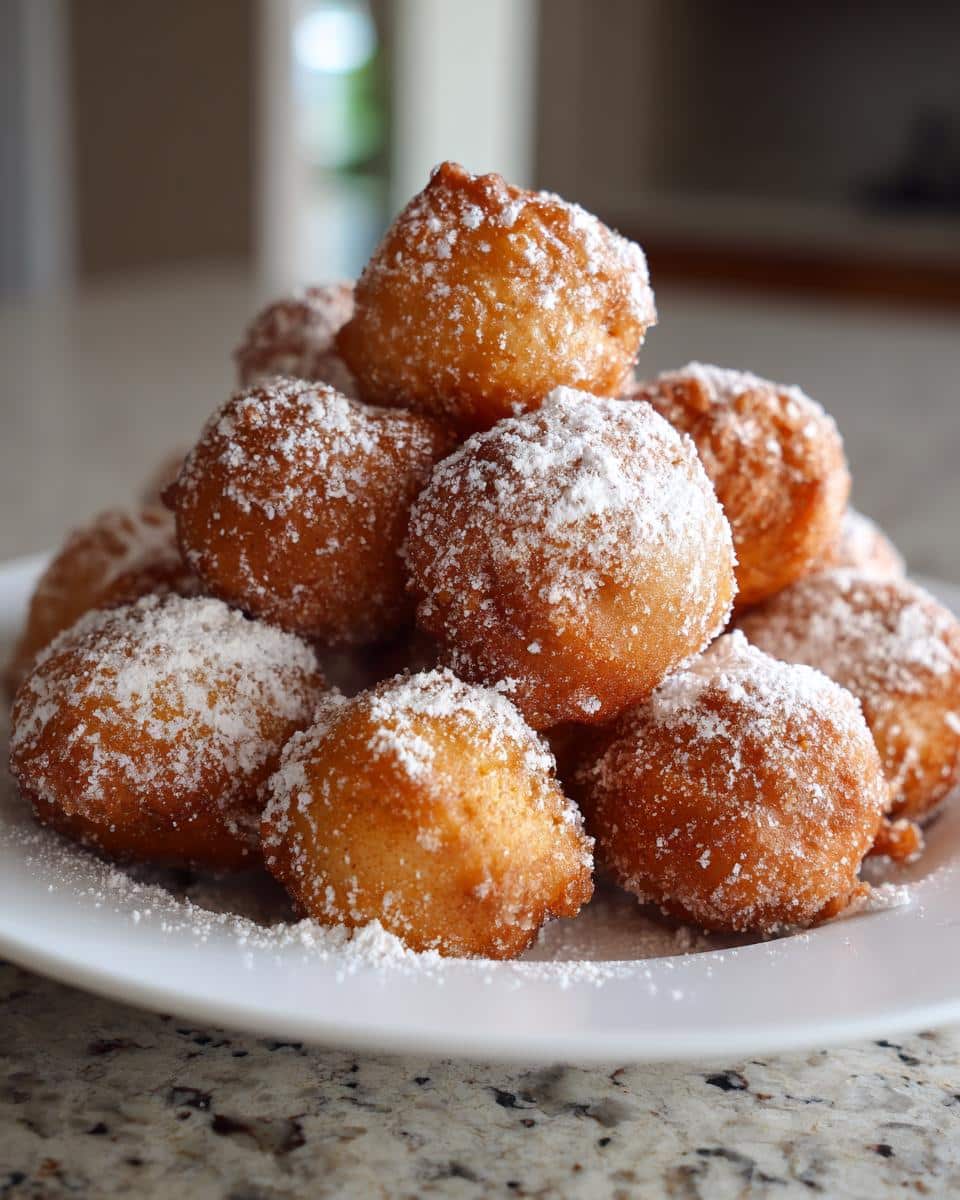
Nutritional Information for Fall Snacks
Just a little heads-up, the nutritional details for these fall snacks are estimates, okay? Everyone’s kitchen is a little different, and how much oil you use or how generous you are with that powdered sugar dusting can really change things up. So, think of these numbers as a general guide rather than exact science!
Estimated Nutritional Values Disclaimer
The nutritional information provided is an approximation based on the ingredients and preparation methods listed. Actual values may vary due to differences in ingredients used, portion sizes, and cooking techniques, such as the amount of oil absorbed during frying.
Print
Easy fall snacks in under 30 mins
- Total Time: 25 minutes
- Yield: 12-15 snacks 1x
- Diet: Vegetarian
Description
Easy and delicious fall snacks perfect for the season.
Ingredients
- 1 cup pumpkin puree
- 1/2 cup all-purpose flour
- 1/4 cup sugar
- 1 egg
- 1 teaspoon baking powder
- 1/2 teaspoon cinnamon
- 1/4 teaspoon nutmeg
- Pinch of salt
- Oil for frying
- Powdered sugar for dusting
Instructions
- In a bowl, combine pumpkin puree, sugar, and egg. Mix well.
- In a separate bowl, whisk together flour, baking powder, cinnamon, nutmeg, and salt.
- Add the dry ingredients to the wet ingredients and mix until just combined. Do not overmix.
- Heat about 2 inches of oil in a deep pan or pot over medium heat.
- Carefully drop spoonfuls of the batter into the hot oil. Do not overcrowd the pan.
- Fry for 2-3 minutes per side, until golden brown and cooked through.
- Remove the fried snacks with a slotted spoon and place them on a paper towel-lined plate to drain excess oil.
- Dust with powdered sugar before serving.
Notes
- For a healthier option, you can bake these snacks instead of frying. Bake at 375°F (190°C) for 15-20 minutes, flipping halfway through.
- Experiment with different spices like ginger or cloves for added flavor.
- Serve warm with a drizzle of maple syrup or caramel sauce.
- Prep Time: 15 minutes
- Cook Time: 10 minutes
- Category: Snacks
- Method: Frying
- Cuisine: American
Nutrition
- Serving Size: 1 snack
- Calories: 150
- Sugar: 10g
- Sodium: 50mg
- Fat: 8g
- Saturated Fat: 2g
- Unsaturated Fat: 6g
- Trans Fat: 0g
- Carbohydrates: 20g
- Fiber: 1g
- Protein: 2g
- Cholesterol: 20mg