


I’ll never forget the first time I tried this No-Knead Bread Recipe – it felt like magic! There I was, just mixing flour, water, yeast and salt in a bowl before bed, only to wake up to this bubbling, aromatic dough that baked into the most gorgeous crusty loaf. The secret? That glorious 18-hour fermentation time works its wonders while you sleep, developing deep flavor and that perfect chewy-crispy texture artisan bakeries charge top dollar for. Trust me, this method will ruin you for store-bought bread forever.
What I love most (besides not kneading – obvious win!) is how forgiving this recipe is. My first attempt looked like something from a Parisian bakery, despite my questionable dough-shaping skills. Even my kids, who normally turn up their noses at “homemade bread,” now beg for thick slices still warm from the oven. Once you taste that crackly golden crust giving way to a soft, holey interior, you’ll understand why this No-Knead Bread Recipe became my weekly baking ritual.
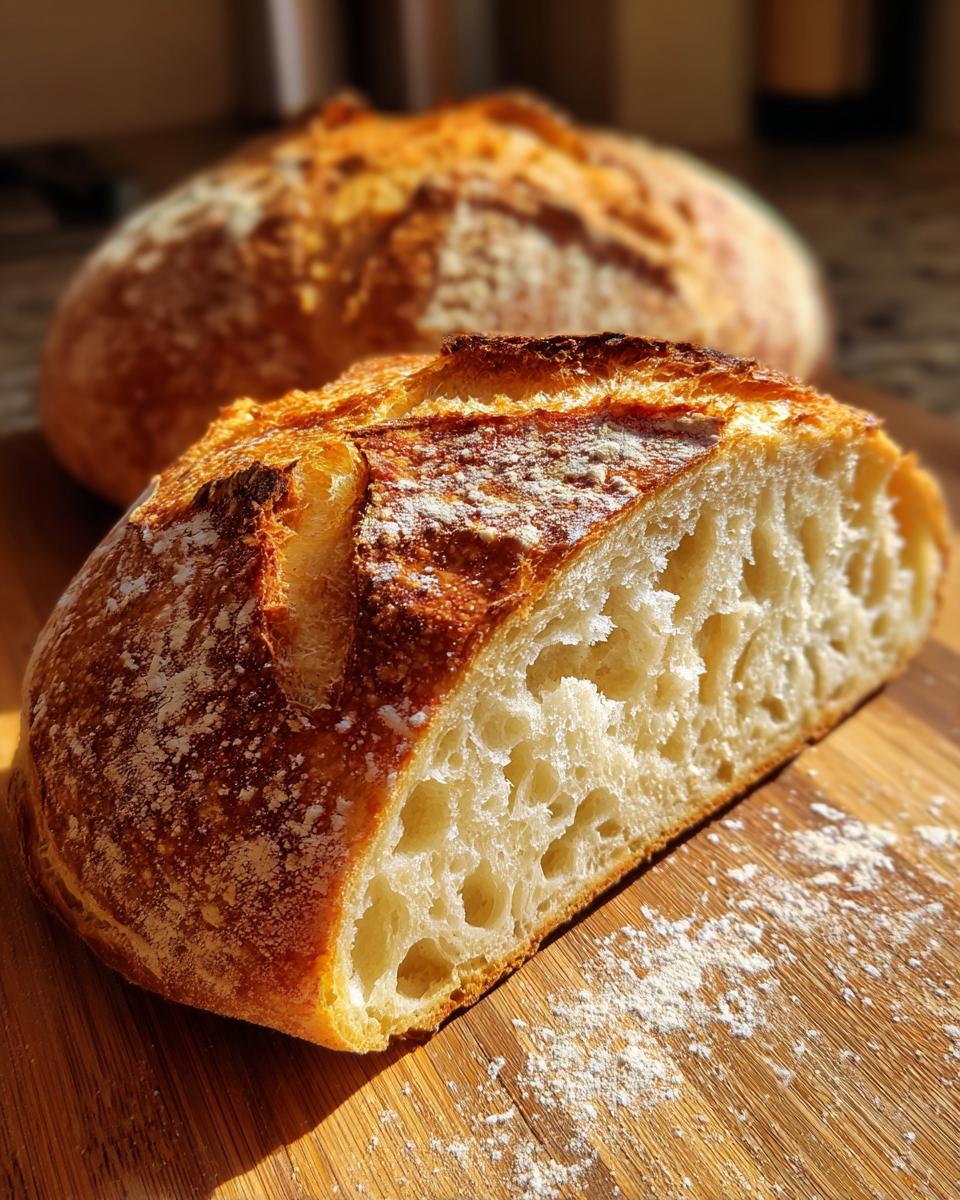
Why You’ll Love This No-Knead Bread Recipe
This isn’t just any bread – it’s the lazy baker’s dream come true! Here’s why you’re going to adore this no-knead bread recipe:
- Literally 5 minutes of hands-on time – mix it, forget it, bake it
- Crusty outside, chewy inside just like fancy bakery bread
- No fancy equipment needed – your basic bowl and oven do all the work
- Customize it your way – toss in herbs, cheese, or seeds
- Smells incredible – your kitchen will feel like a French boulangerie
Seriously, even my cat gets excited when she smells this bread baking – and she’s a picky eater!
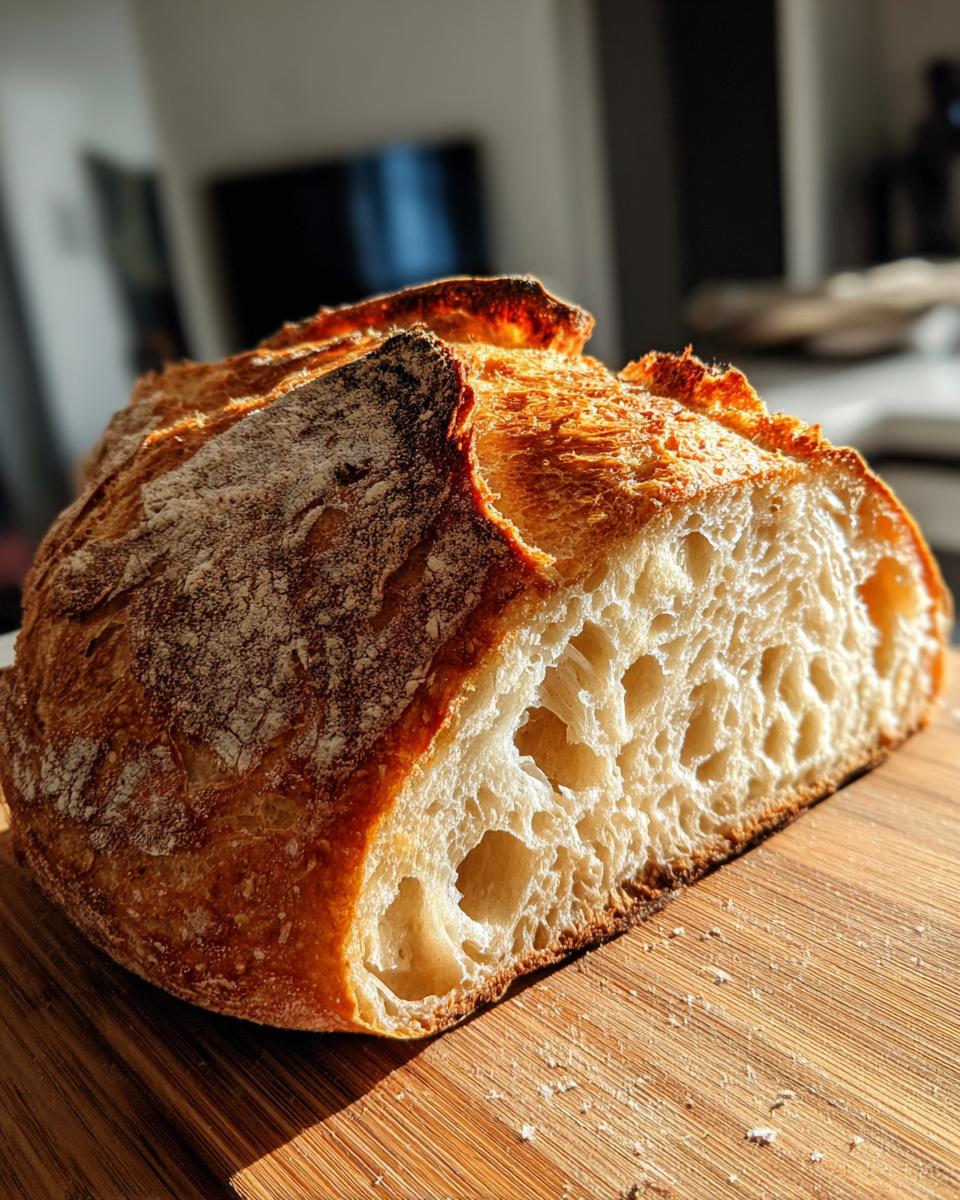
Ingredients for No-Knead Bread
Here’s the beautiful simplicity of what you’ll need for this magical loaf – just four pantry staples!
- 3 cups (360g) all-purpose flour – not self-rising! That bleached white stuff works fine, but I love using unbleached for extra flavor
- 1 1/2 teaspoons salt – I’m partial to kosher salt for even distribution
- 1/4 teaspoon active dry yeast – yes, that tiny amount is correct!
- 1 1/2 cups (360ml) warm water (110°F/43°C) – think baby bottle warm
Pro tip from my flour-covered mistakes: A $10 kitchen scale makes all the difference here. Flour settles differently in cups, but grams don’t lie! That perfect shaggy dough texture depends on precise ratios.
Essential Equipment
Here’s the beautiful part – you probably already have everything you need to make this no-knead bread magic happen! No fancy gadgets required, just these four basic items:
- Large mixing bowl – Big enough for dough to double in size (about 4 quarts)
- Plastic wrap or clean kitchen towel – To cover during the long rise (I’ve used both with equal success)
- Dutch oven – Creates that perfect steamy environment for crust development (any 4-6 quart size works)
- Parchment paper – Lifesaver for transferring the sticky dough safely into the hot pot
That’s it! Well, besides an oven of course. See why I call this the “lazy baker’s dream bread?” Even when I’m feeling extra lazy, I sometimes skip the parchment and just flour my hands really well to plop the dough straight in. Not ideal, but hey – still tastes amazing!
How to Make No-Knead Bread
Alright, let’s turn that flour and water into bread magic! Follow these simple steps – I promise even bread-making newbies can handle this.
- Mix your dry ingredients – In a large bowl, whisk together the flour, salt, and that tiny bit of yeast. Seriously, don’t freak out about how little yeast there is – trust the process!
- Add water and stir – Pour in the warm water and mix with a wooden spoon until you’ve got what we lovingly call a “shaggy dough” – it’ll look messy and uneven, and that’s perfect!
- The long wait begins – Cover that bowl tightly with plastic wrap (or a damp towel) and walk away for 12-18 hours. Yes, overnight! You’ll know it’s ready when the surface looks bubbly and the dough has more than doubled in size.
- Heat your Dutch oven – About 30 minutes before baking time, put your empty Dutch oven (with lid) into a cold oven, then preheat to 450°F (230°C). This gives the pot time to get screaming hot.
- Shape and bake – Turn your risen dough onto a floured surface (it’ll be sticky!), shape it quickly into a ball, then carefully lower it into the hot Dutch oven using parchment paper as a sling.
- Two-stage baking – Bake covered for 30 minutes (this creates steam), then uncovered for 15 more minutes for that gorgeous golden crust. Your house will smell incredible!
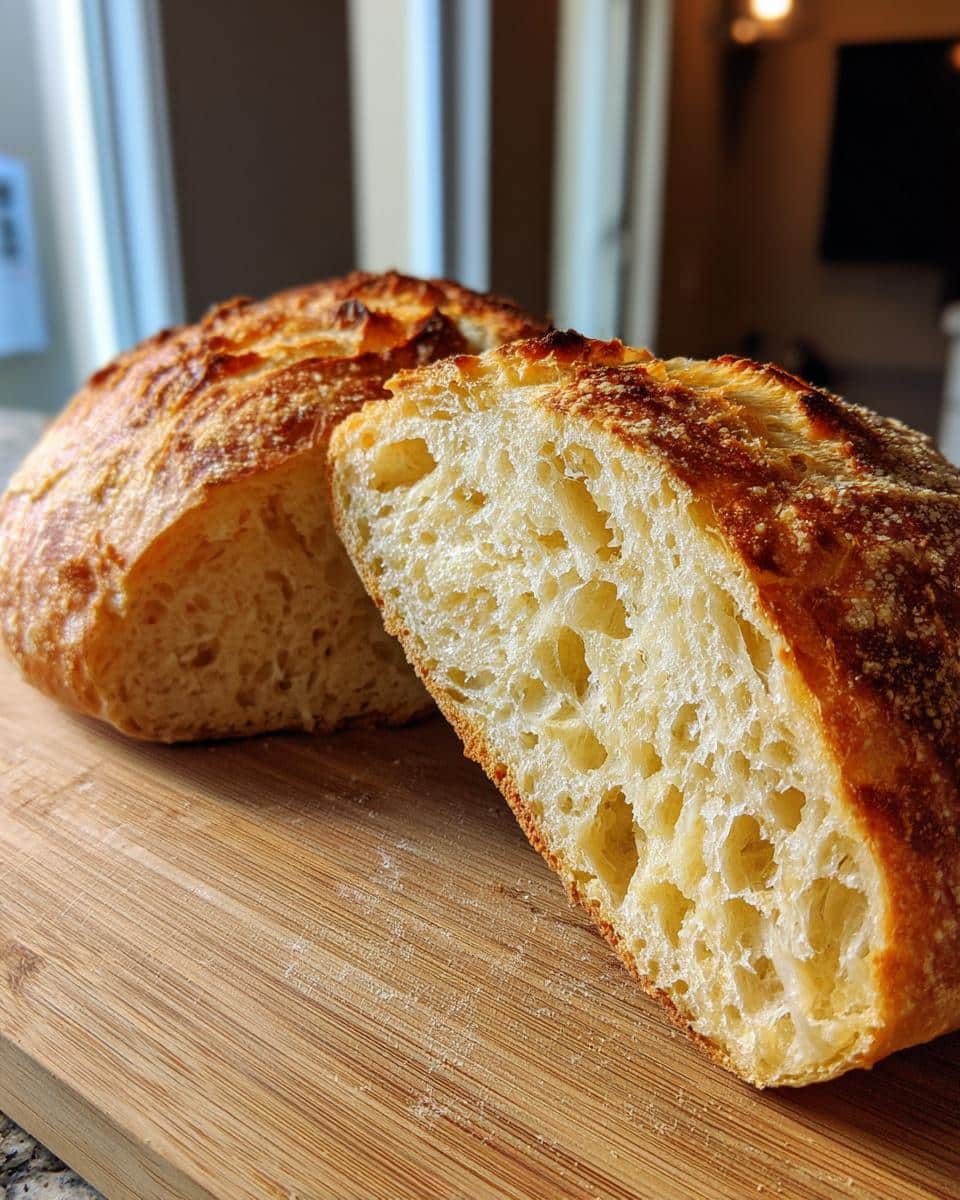
Shaping the Dough
Here’s my favorite shaping trick: after dumping the dough onto a floured surface, I wet my hands (so much easier than flouring them!) and do a quick “fold and tuck” – gently pulling edges toward the center while rotating the dough. This builds surface tension without overworking it. The dough should feel alive and elastic – if it starts resisting, stop handling it! A slightly misshapen loaf tastes just as amazing.
Baking Tips
If your crust gets too dark too fast (happens with some ovens), try reducing the temperature by 25°F after removing the lid. For extra crispiness, I sometimes leave the bread in the turned-off oven with the door cracked open for 5 extra minutes. And don’t you dare slice it hot – I know it’s tempting, but that 30-minute cool-down wait makes the texture perfect!
No-Knead Bread Recipe Variations
Once you’ve mastered the basic no-knead bread recipe, try these easy twists to keep things exciting:
- Herb lover’s loaf: Mix in 1 tbsp fresh rosemary with dry ingredients
- Whole wheat version: Swap 1/2 cup all-purpose flour for whole wheat
- Seeded crunch: Press sesame seeds onto dough before baking
These tiny changes make each loaf feel special while keeping that foolproof no-knead magic. My personal favorite? The rosemary version – it fills the whole house with the most incredible aroma!
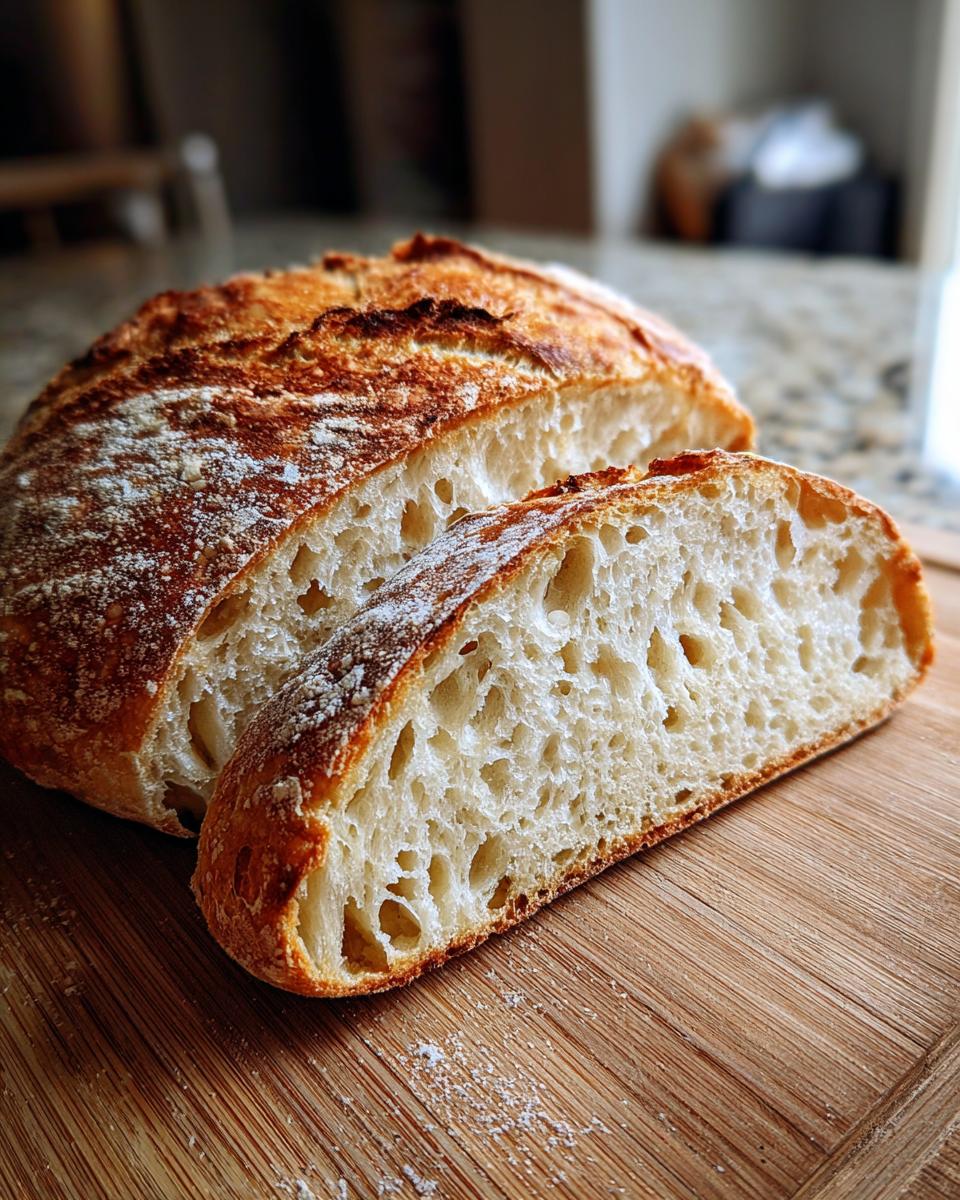
Storing and Reheating
Now, here’s the hard part – not eating the entire loaf in one sitting! If you manage to save some (and that’s a big “if” in my house), here’s how to keep your no-knead bread tasting fresh:
For room temperature storage, just wrap the cooled loaf in a clean kitchen towel or place it in a paper bag – plastic makes the crust soggy. It’ll stay delicious for about 2 days this way. I usually keep mine in the bread box, but honestly, it rarely lasts that long!
For longer storage, slice and freeze the bread in a zip-top bag for up to 1 month. Pro tip: freeze slices individually on a baking sheet before bagging them – that way you can grab just what you need without thawing the whole loaf.
Reheating magic: To bring back that just-baked freshness, pop slices or the whole loaf in a 350°F (175°C) oven for about 5 minutes. For an extra crisp crust, sprinkle a few drops of water on the bread before reheating – the steam works wonders! My kids swear reheated slices taste even better than fresh.
If you’re impatient like me, 20 seconds in the toaster works in a pinch – though you’ll miss some of that signature chewiness. Whatever you do, don’t microwave it unless you enjoy bread that resembles cardboard!
No-Knead Bread Recipe FAQs
After making this bread dozens of times (okay, maybe hundreds – I’m obsessed!), I’ve answered every possible question from friends and family. Here are the ones that come up most often:
Can I use instant yeast instead of active dry?
Absolutely! Instant yeast (sometimes called rapid-rise) works perfectly in this no-knead bread recipe. Use the same amount (that tiny 1/4 teaspoon). The only difference is you can skip proofing it – just mix it right in with the dry ingredients. I’ve tested both versions side by side and honestly couldn’t tell the difference in the final loaf!
Help! My dough didn’t rise – what went wrong?
First, don’t panic! If your dough isn’t bubbly after 12 hours, check three things: 1) Is your yeast expired? (I’ve made this mistake more than I’d like to admit), 2) Was your water too hot and killed the yeast? (110°F is ideal), and 3) Is your kitchen drafty or cold? (Try moving it to a warmer spot like near the oven). If all else fails, add a pinch more yeast and wait another 2-3 hours – sometimes it’s just a slow starter!
Can I halve the recipe to make a smaller loaf?
I don’t recommend it – here’s why: This Dutch oven bread relies on a specific dough mass to create the perfect steam environment and crust. A half-batch would bake too quickly and dry out. If you want less bread, bake the full recipe and freeze half (it reheats beautifully!). Or – hear out – just eat more fresh bread. Problem solved!
Any other burning questions? Hit me up in the comments – I could talk no-knead bread all day! Now go forth and bake that gorgeous loaf.
Nutrition Information
Here’s the nutritional breakdown for this no-knead bread per slice (based on 10 slices per loaf). I always say bread is about joy more than numbers, but it’s good to know what you’re enjoying!
| Nutrient | Amount per slice |
|---|---|
| Calories | 120 |
| Total Fat | 0.5g |
| Sodium | 350mg |
| Total Carbohydrates | 25g |
| Fiber | 1g |
| Sugars | 0g |
| Protein | 4g |
Note: Estimates vary based on exact ingredients used. If you add mix-ins like cheese or seeds, those will change the numbers slightly. But let’s be real – when that crusty golden loaf comes out of the oven, nutrition labels are the last thing on anyone’s mind!
Share Your No-Knead Bread
I’d love to see your beautiful loaves! Snap a photo of your crusty masterpiece and tag me @BreadLover with #NoKneadBread – nothing makes me happier than seeing your baking wins. Crumb shots and golden crust close-ups especially welcome! Let’s spread the no-knead bread love together.
Print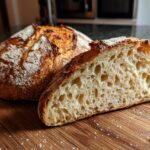
Magical 5-Minute No-Knead Bread Recipe (Crazy Easy)
- Total Time: 13 hours 55 minutes
- Yield: 1 loaf 1x
- Diet: Vegetarian
Description
A simple no-knead bread recipe that yields a crusty, artisan-style loaf with minimal effort.
Ingredients
- 3 cups (360g) all-purpose flour
- 1 1/2 teaspoons salt
- 1/4 teaspoon active dry yeast
- 1 1/2 cups (360ml) warm water
Instructions
- Mix flour, salt, and yeast in a large bowl.
- Add warm water and stir until a shaggy dough forms.
- Cover with plastic wrap and let rise at room temperature for 12-18 hours.
- Preheat oven to 450°F (230°C) with a Dutch oven inside for 30 minutes.
- Shape dough into a ball, place on parchment paper, and lower into the hot Dutch oven.
- Cover and bake for 30 minutes, then uncover and bake for 15 more minutes.
- Cool on a wire rack before slicing.
Notes
- Use a digital scale for accurate measurements.
- Longer fermentation improves flavor.
- Dough should be sticky and wet—avoid adding extra flour.
- Prep Time: 10 minutes
- Cook Time: 45 minutes
- Category: Bread
- Method: Baking
- Cuisine: American
Nutrition
- Serving Size: 1 slice (1/10 of loaf)
- Calories: 120
- Sugar: 0g
- Sodium: 350mg
- Fat: 0.5g
- Saturated Fat: 0g
- Unsaturated Fat: 0.2g
- Trans Fat: 0g
- Carbohydrates: 25g
- Fiber: 1g
- Protein: 4g
- Cholesterol: 0mg