
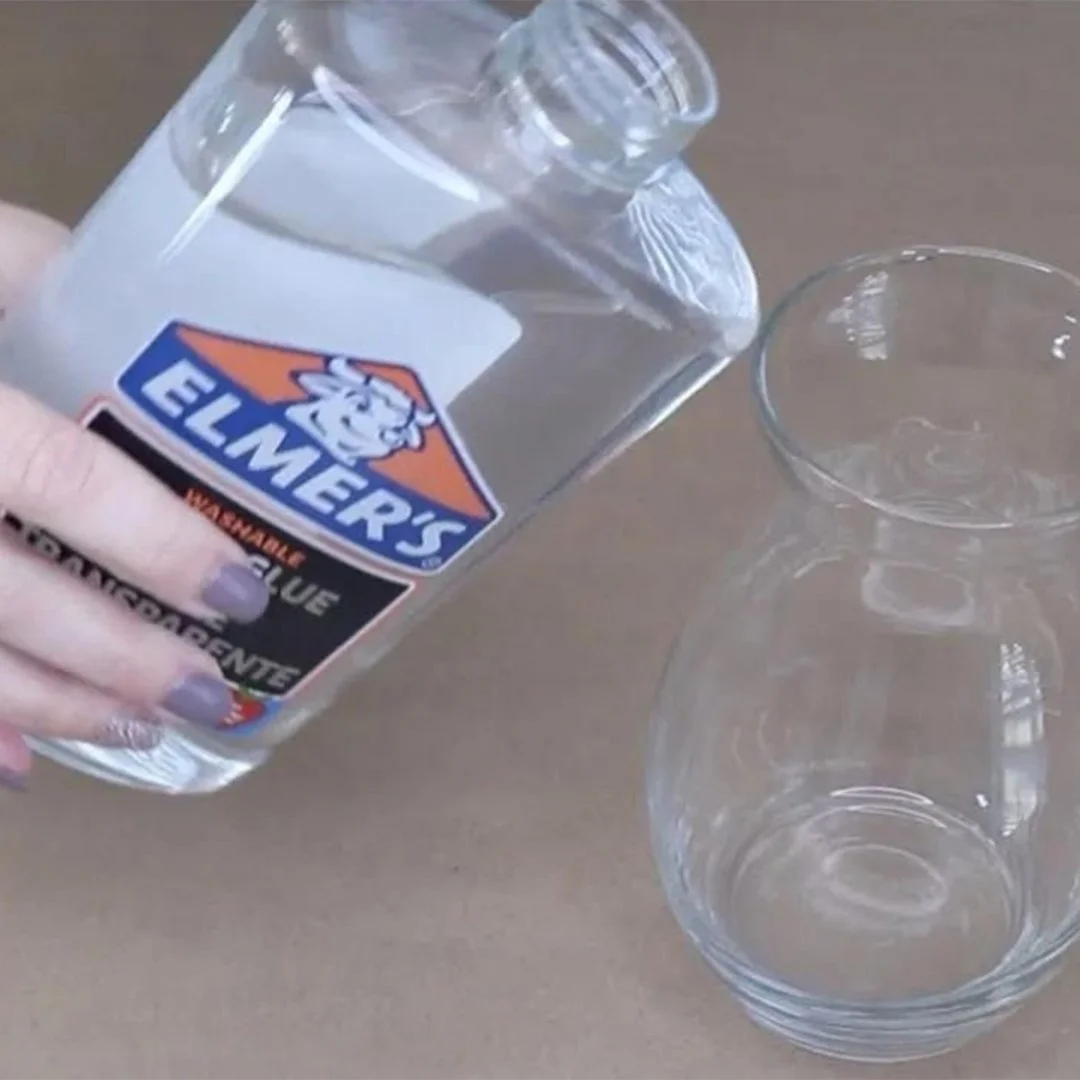
Transform a Dollar Store Vase into Elegant Home Decor with Elmer’s Glue
If you’ve ever picked up an inexpensive glass vase and wished it looked a little more stylish, you’re not alone. Plain glass vases can feel a bit uninspiring, but with a few inexpensive supplies and a little creativity, you can give one a completely new look.
One surprisingly simple method uses ordinary Elmer’s glue to create a textured or frosted effect that makes an inexpensive vase look much more decorative. Whether you prefer a modern, rustic, or vintage style, this DIY project is easy to customize.
Why This DIY Works
Elmer’s glue dries clear, making it a great material for creating subtle textures and decorative finishes on glass. By coating the inside of a vase, you can create a soft frosted appearance or unique patterns that catch the light.
It’s an affordable craft that requires very few supplies and can be completed in an afternoon.
Materials You’ll Need
- Clear glass vase
- Elmer’s glue
- Small mixing cup
- Wooden craft stick or spoon
- Parchment paper or wax paper
- Food coloring, glitter, or acrylic paint (optional)
Step 1: Prepare the Vase
Wash the vase thoroughly to remove dust, fingerprints, and any labels or adhesive residue.
Allow it to dry completely before applying the glue.
Step 2: Prepare the Glue
Pour Elmer’s glue into a small container.
If you’d like a custom finish, you can mix in:
- A few drops of food coloring
- Fine glitter
- A small amount of acrylic paint
For a simple frosted look, use the glue without adding anything.
Stir until the mixture is smooth.
Step 3: Coat the Inside of the Vase
Pour a small amount of the glue mixture into the vase.
Slowly rotate and tilt the vase so the glue coats the entire interior surface. Move slowly to create an even layer.
If you’d like a more artistic look, allow some of the glue to flow naturally, creating soft drips and organic patterns.
Avoid making the coating too thick, as thinner layers tend to dry more evenly.
Step 4: Let It Dry
Turn the vase upside down on parchment paper to allow any excess glue to drain.
Leave it to dry undisturbed for several hours, or preferably overnight.
Once dry, the finish will become clear with a subtle textured appearance.
Step 5: Personalize Your Vase
After the glue has fully cured, you can leave the vase as it is or add extra decorative touches.
Some ideas include:
- Wrapping twine around the neck
- Adding ribbon or lace
- Painting the outside with acrylic paint
- Applying metallic accents
- Decorating with pressed flowers or vinyl decals
Choose a style that complements your home’s décor.
Display Ideas
Your finished vase can be used in many ways throughout your home.
Try filling it with:
- Fresh flowers
- Dried flowers
- Eucalyptus stems
- Decorative branches
- Faux greenery
- Seasonal arrangements
It also makes an attractive centerpiece on dining tables, coffee tables, entryway consoles, or bathroom shelves.
Helpful Tips
For the best results:
- Apply thin, even layers of glue.
- Allow each layer to dry completely before adding another.
- Experiment with different colors and finishes.
- Create a matching set using vases of different shapes and sizes.
- Protect your work surface while the vase dries.
Final Thoughts
You don’t need expensive décor to create beautiful home accents. With a simple glass vase, a bottle of Elmer’s glue, and a little imagination, you can transform an ordinary dollar-store find into a decorative piece that looks far more expensive than it actually is.
Whether you display it with fresh flowers or use it as a standalone accent, this easy DIY project is an affordable way to add a personal touch to your home while giving everyday materials a creative new purpose.